Using Glitter with Resin: Tips, Tricks, and How to Guide
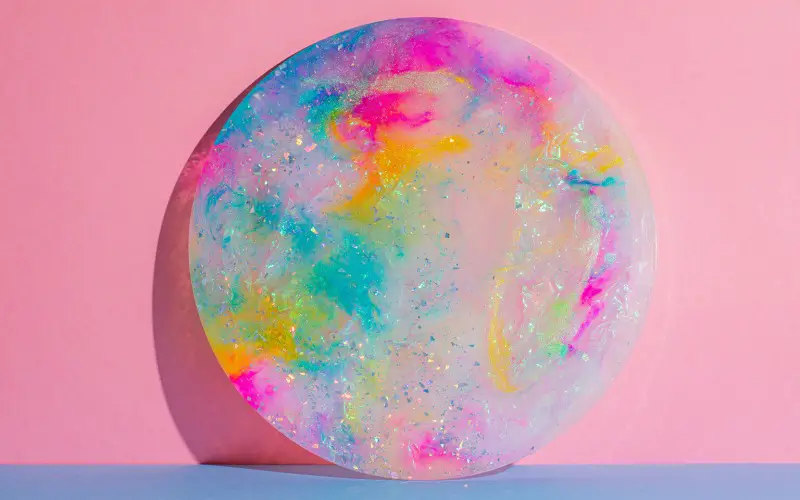
If you are a crafts lover or resin artist who likes to experiment with resin and you want to add a bit of sparkle to your pieces, you’ve come to the right place! Glitter is one of the best ways to spice up your resin art and add a bit of personality and shine to your pieces.
Not only does glitter add a little sparkle to your designs, but it also brings a unique, eye-catching feature to your art. It’s not just about adding a few extra details; it’s about creating something that stands out from the rest. Glitter can be used to add some depth and dimension to your artwork.
Glitter is pretty easy to use, and resin glitter offers a wide range of options, depending on the look you are going for. Choosing the right glitter or even glitter mixes for your project can be pretty fun and could truly be an art in itself.
If you’re interested in trying resin glitter for the first time but aren’t sure how to use it or which option will be best for your project, this article is for you! Keep reading to find some helpful tips, tricks, and instructions to add some sparkle to your next resin project.
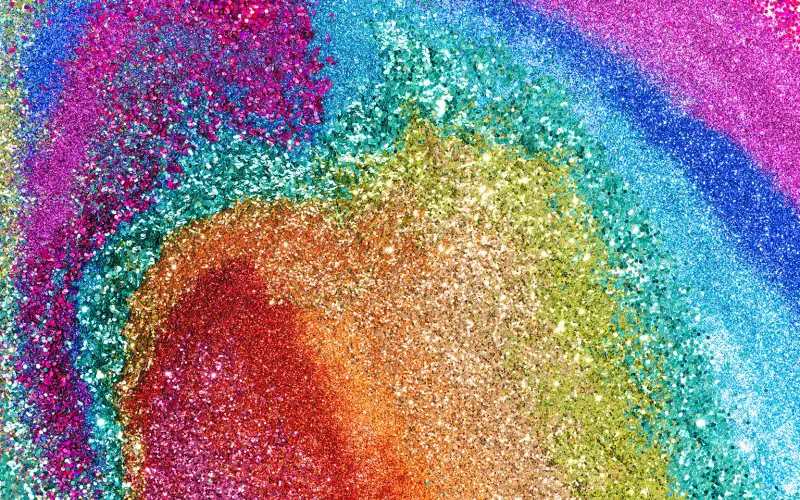
Different Types of Glitter for Resin
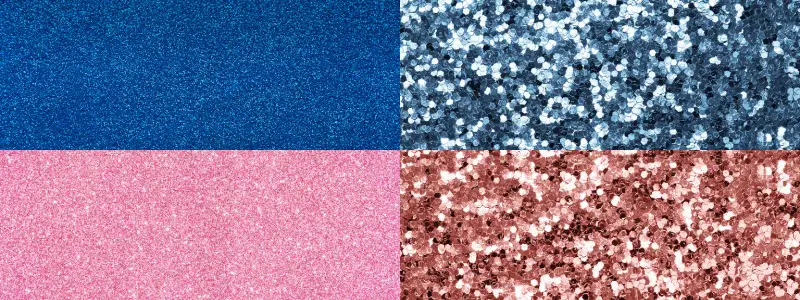
There are many types of glitter, each with its unique properties. Selecting the right type of glitter for your projects will depend on the kind of effect you are after.
The most popular types of glitter used in resin include:
Micro-glitter

This is a very fine glitter powder that can be used to add detail to your piece. This is the right glitter option if you want your artwork to have a fine shimmering sparkle.
*Paid Links
Chunky Glitter
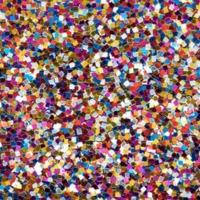
Chunky glitter is larger than micro glitter and has a more rounded shape. These glitter particles reflect light; as the light hits the glitter, you can get a beautiful glint or glittery flicker. The effect of these glitters will depend on the size and color you pick.
*Paid Links
Iridescent Glitter

Iridescent glitter is made from glass beads coated with a special coating that makes them glow when viewed under certain lighting conditions. It’s often used as an accent colorant in resin art projects. However, this glitter is ideal for projects that only need a subtle shininess.
*Paid Links
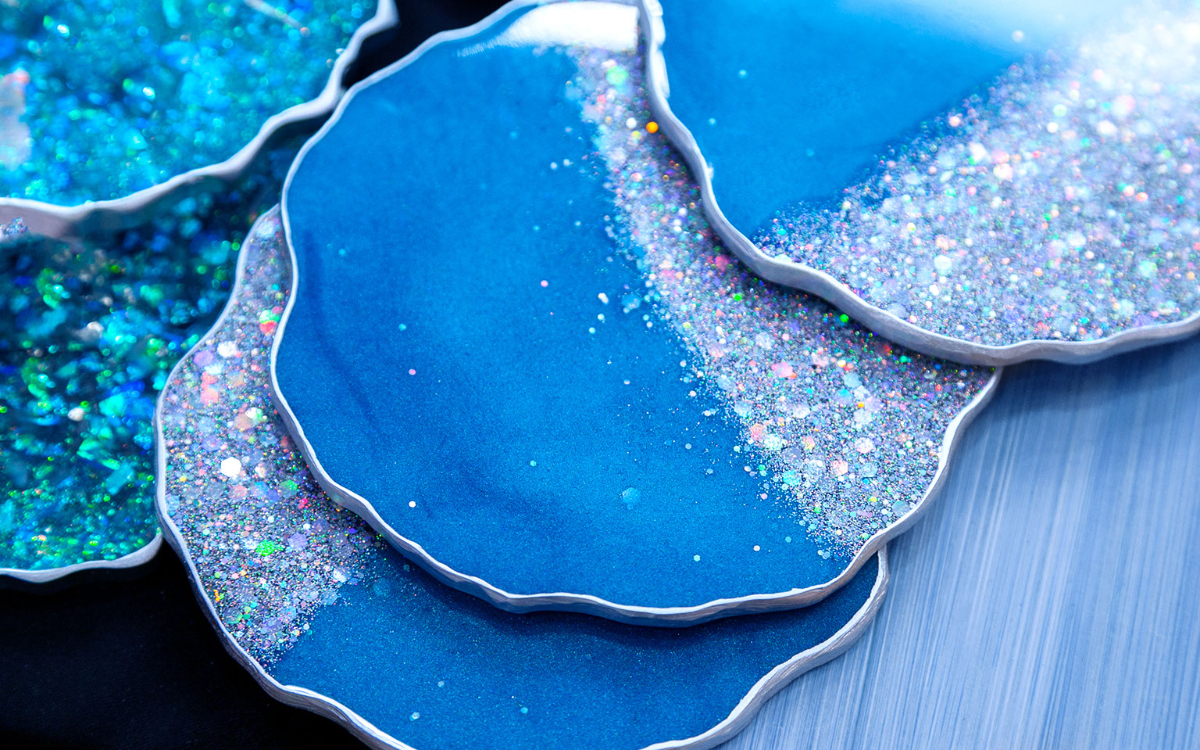
Holographic Glitter

Holographic glitters offer a metallic finish with a secondary rainbow finish that gives you a dazzling effect! Silver is the most popular option because it has the most dramatic impact.
The silver glitter looks like a shimmering ocean with an added rainbow sparkle. This is a good option if you want a full-on glowing effect – like adding diamonds to your art.
*Paid Links
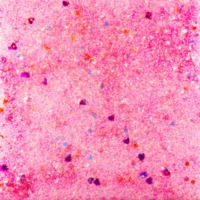
Glitter with Different Shapes

Glitter is not only limited to round shapes. Glitter can come in many shapes, like stars, hearts, leaves, etc. These different types of glitter can add another dimension to your design. Not only does it add a bit of shine, but it also adds a unique shape element.
*Paid Links
Glitter Combinations
Glitter mixes for resin can be a combination of different shapes and sizes to get a more interesting and layered effect. If you like more than one glitter effect, why not mix the different types of glitter that you want to see what interesting effects you can create?
Glitter is not only limited to the options mentioned above. Artists can get very creative by adding a bit of shimmer or sparkles to their designs. Some artists even use nail polish glitter and makeup glitter in their artwork for unique finishes.
There is no need to feel restricted. The options with glitter are limitless! You need out-of-the-box thinking and a willingness to try new things, and you’re set to go.
How Do I Choose the Right Glitter for My Project?
Now that you know the different glitter types, choose the right one for the job. Here are some general guidelines to help you decide which kind of glitter will work best for your project.
Choosing the right glitter depends on what kind of effect you’d like to achieve. For example, micro glitter is excellent for adding texture and depth to your piece. On the other hand, chunky glitter is known to reflect light.
Meaning that chunky glitters will flicker when the light hits them, rather than adding a little twinkle or sparkle to your art. In contrast, iridescent glitter is perfect for adding a subtle glow to your piece.
When choosing glitter for your resin art, you might want to keep these things in mind:
The Size of the Glitter
Heavier glitter particles are more prone to drop to the bottom of your resin mold. However, with the proper technique, you’ll be able to use glitter of any size or shape.
TIP: Glitter size should be smaller than the resin layer to ensure that the resin is fully suspended. So if you are a fan of pouring resin, your glitter size will be restricted to smaller and medium-sized glitter particles. This is mainly because the resin layer of pouring resin is much thinner than most casting resin projects.
The Glitters Shape
Round glitters have a smoother finish than flat ones. Meaning that these glitters do not give a harsh flicker of light. Rather, these glitters are used to create subtle sparkling effects. In contrast, flat glitters work well for creating a dazzling flicker, glim, or sparkle.
The Color of the Glitter
You’ll need to use a glitter color that matches the color of the resin. It’s okay to use glitter that is not the same color as the resin; just make sure the colors go well together.
The Type of Glitter
Consider the effect you’re after and use the right glitter (e.g., transparent, holographic, reflective, chameleon, etc.) to create the same effect.
NOTE: Before starting your resin pours, always do a test run. Some glitters might change color when it comes into contact with resin.
Also, note that micro-glitters tend to sink less and distribute better than large glitters. They also have a more excellent glittering finish. Large glitters are heavier and sink faster, making them harder to deal with in resin projects.
How to Get Glitter to Suspend in Your Resin Pieces
Mastering the craft of glitter and resin art can seem quite complex. There are a lot of steps involved, and there are many variables to consider. But once you master the technique, you’ll see it’s pretty simple.
One of the major oversights of first-time glitter users is that they tend to forget that glitter sinks into resin while casting. This is probably the biggest challenge with using glitter. But there are ways to make sure it stays suspended. Here’s how to do it:
Regulate the Temperature
It’s important to regulate the temperature when your resin starts to set. A quick tip: Cold or cool resin takes forever to cure, and the more time the resin takes to set, the more time the glitter will sink to the bottom. This means that the glitter will clump together, and you won’t be able to get an even distribution.
So, how can we fix this? Well, one way to ensure that your resin sets at an optimal rate is to allow it to set in an area where the temperature is controlled at 70°F (21°C) or higher. If this is not possible, let the resin set and dry in the warmest room in your house.
Give It Some Time
Another thing to remember is that if you’re working with a large batch of resin, it may take longer to set up. So, give your resin plenty of time to harden before pouring in the glitter. This requires waiting until the resin gels completely before adding glitter.
You don’t want to add glitter while the resin is still liquid because the less dense the resin is, the more likely it will be for your glitter to sink to the bottom of the mold. However, when your resin is at the gel-like stage, meaning the resin is sticky and tacky but not dry, it’s time to add your glitter!
Depending on the resin you use, this could take anywhere from 30 to 45 minutes for some and between four to six hours for others.
For the resin adding step, you have two options. Some crafters add the glitter to the resin and then leave it to set at its own pace – trusting that it’ll spread out evenly in the process. Others prefer to mix the glitter with the semi-set resin.
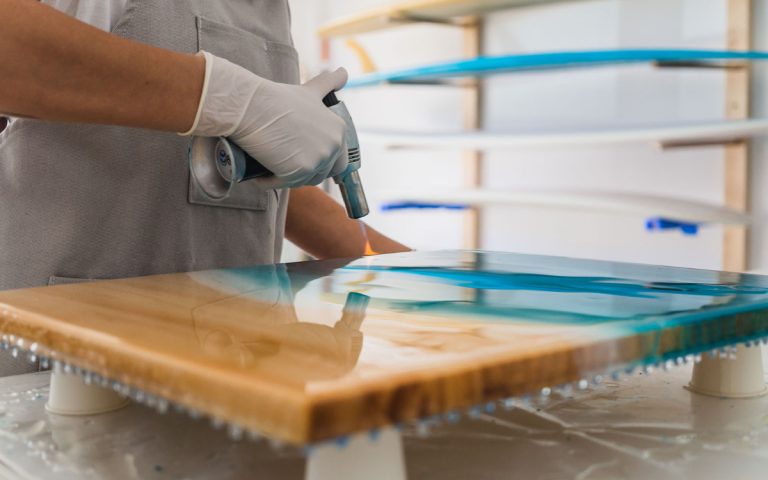
However, taking caution with your stirring motions is essential if you choose the mixing option. Large motions can lead to air bubbles that can ruin your aesthetic. On that note, it’s important to remember to smooth out the resin in the mold after you are done to avoid air bubbles in your finished product.
Try the Sandwich Method
The sandwich method is a popular layering method used to suspend glitter in resin. This method allows you to control how much glitter goes into each part of the mold by building layers of resin and glitter. It also ensures that every part receives the same amount of glitter, giving you a uniform look throughout your piece.
With this technique, semi-set resin and glitter are layered over four to six hours. As a first step, you can pour your resin until it is anywhere between a quarter to halfway. Once this step is completed, you can wait for the resin to gel and add your glitter.
Again, you can either add the glitter and leave it to sink on its own, or you have the option to slightly stir the resin to allow the glitter to distribute into the mix evenly. After the first coat has dried, you can start the process again until the mold is full.
NOTE: If you don’t like how the glitter looks in the finished product, you can always add more glitter to the surface of your resin. Just remember that adding too much glitter will cause the pieces to become cloudy.
Experiment with Different Glitter
You might want to consider experimenting with different glitter brands, textures, and sizes to get a feel of what you like and what would work best for your project. Play around with the different types of glitter and pouring methods until you find something that works for you.
Maybe even try and combine different types of glitter and experiment with some of the effects you can get. The possibilities with glitter are limitless! You might have to be patient with a few trial and error runs before getting the desired result.
But this is part of the process, and it could be enjoyable to experiment with different looks until you find your unique style.
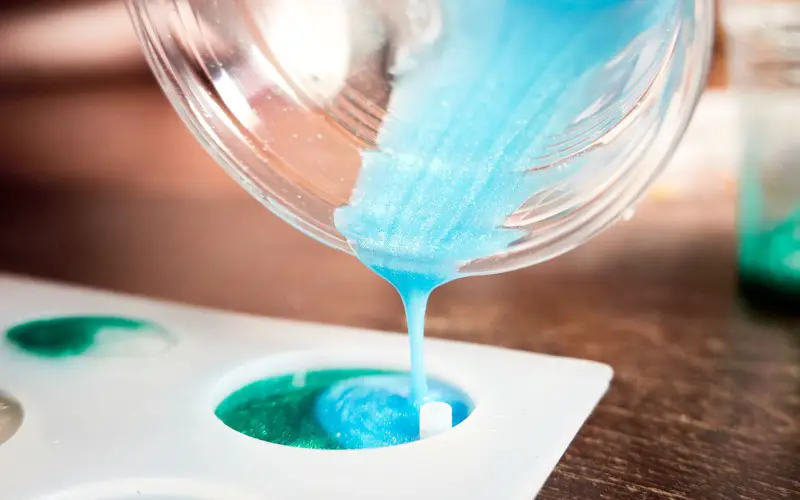
Adding Glitter to Pouring Resin Art
Though pouring resin is a little more restricted in terms of glitter size, in general, it’s easier to add glitter to your art piece than with casting resin. This is because the resin layer is much thinner and will dry more quickly.
A thinner resin layer also allows the artist to manually place or move the glitter pieces to the area where they would like them to be. Unfortunately, this means you will have little control over where your glitter particles are placed within your artwork.
There are five ways to add glitter to a pouring resin project:
Method One
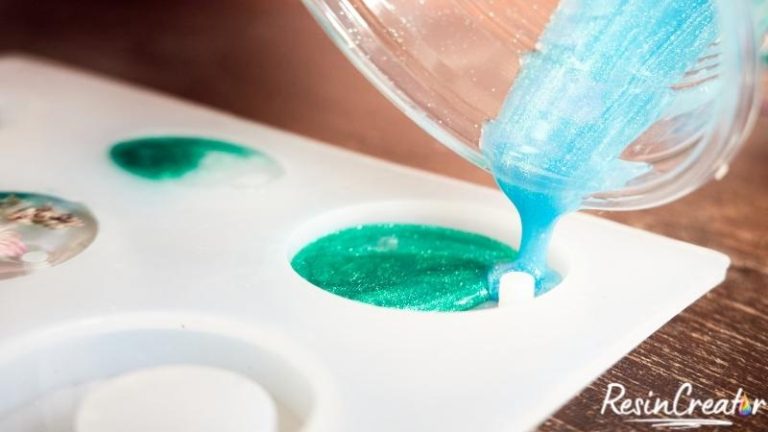
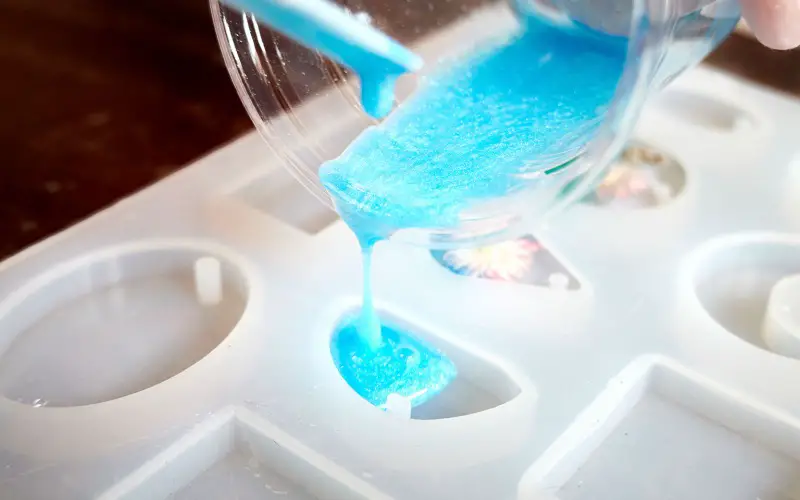
Add the glitter to the resin before pouring it and mix it well together. This will create a glitter resin that you can use to easily pour over cutting boards, coaters, or even jewelry to add a shimmering effect.
You can also adjust the amount of glimmer you like by adding more or less glitter to the pouring resin. Less glitter will cause a subtle sparkling effect, while more glitter will add a shimmering shine to your craft project.
Take note that this method works best with very fine glitters because these glitters can easily be mixed, and they usually stay evenly mixed even when drying.
Method Two
This method involves ‘gluing’ your glitter before pouring your resin over the glitter layer. You can glue the glitter pieces to the surface of your art piece using transparent glue or a thin layer of resin.
If you glue large glitter pieces to your surface, you can even use a paintbrush to add a bit of resin to the glitter. You can then place the glitter, resin side down, on the area that you would like it to be.
This method works well with a medium-sized glitter, but if you are going for a full-on glitter layer, you can also glue an entire layer of glitter by simply adding a thin layer of resin first and then adding the glitter on top. Once this layer has set, you can pour your resin over the glitter layer.
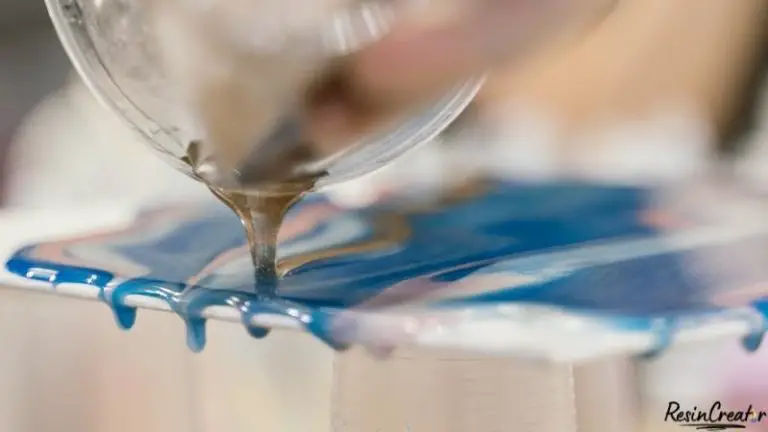
Method Three
This method involves a regular resin pour and then adding the glitter afterward. This works best with chunkier glitters that can sink into the resin. You can manually place the glitters in the desired spot using a toothpick or a similar tool.
Method Four
This method involves glitter that is added to the surface of the resin layer of the artwork rather than being suspended in the resin itself. With this method, you can add fine glitter to the surface of your resin pour after the resin has dried.
Method Five
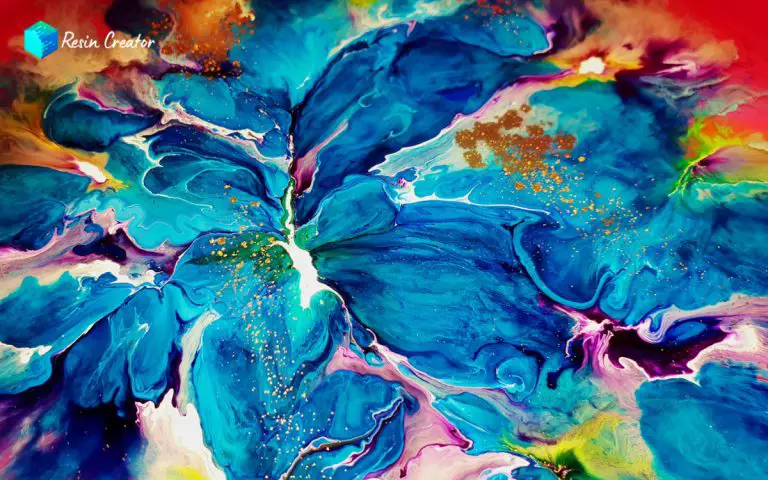
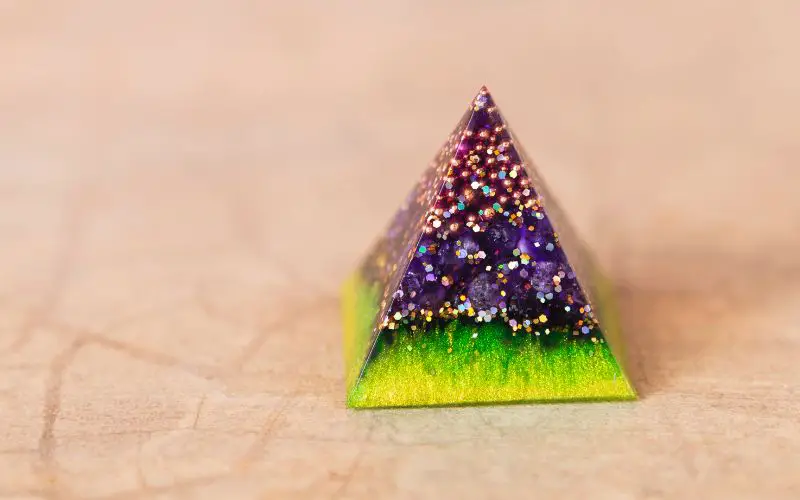
If you want to add more depth to your piece, you can add more than one layer of glitter with the method of your choice. You can even add layers with different glitter shapes or colors. Adding different colored glitter can give a unique effect, with rainbow colors gleaming through the different layers.
Final Thoughts
Glitter is an excellent way to add a little shimmering sparkle to any resin art piece. Although there can be some challenges with applying glitter to resin, this can be overcome by practicing your technique. Remember, art should be fun! And part of the fun lies in finding what works well for you and doesn’t.
Do you have some other helpful tips for using glitter with resin? Please leave a comment. We would love to hear from you!
Happy crafting!