Torches for Resin – Everything You Need To Know in 2023
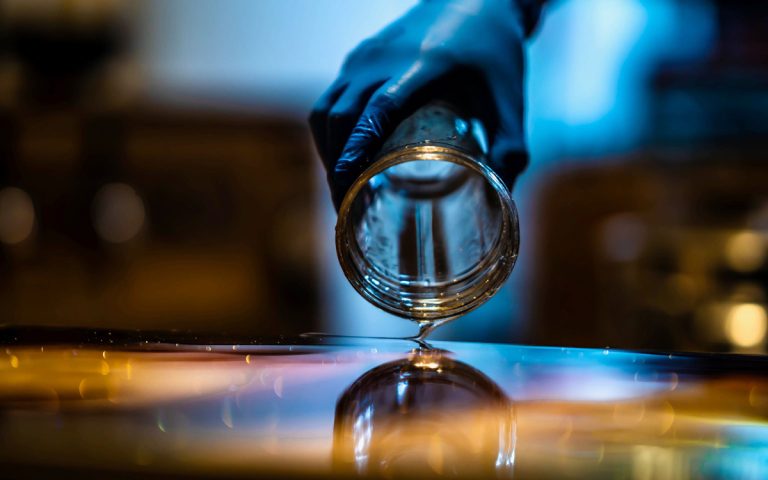
Bubbles in resin artwork can be one of the most frustrating things artists have to deal with. But, luckily there are a few ways to get bubbles out of your artwork. One of the best ways to do that is to apply heat to your resin. The heat softens the resin and allows the bubbles to burst when the heated air breaks the resin’s surface tension.
A heat torch, in particular, is a convenient tool. It has the advantages of direct heat application and allows for much greater control. In addition, it effortlessly breaks the air bubbles on your resin creation, and as a bonus, it zaps and gets rid of any little dust and dirt particles.
In this article, we’ll take a closer look at this special tool. We’ll discuss the different uses and types and compare them to other methods to remove resin bubbles. As a bonus, we’ll also look at the top three best heat torches for resin arts and crafts.
Why Use a Torch for Resin Art?
A heat torch is a handy tool in the world of resin art. It is used for the following purposes:
Pop Air Bubbles
The first, and most important application for a torch in resin art, is to pop air bubbles. Air bubbles are easily formed and trapped in the resin when you mix or pour the resin. If the resin and hardener have a thin consistency, most bubbles will pop or escape naturally as the epoxy resin dries.
However, if the resin has a thick consistency, chances are that the bubbles will require some interference to remove them. If you don’t remove the bubbles, they can compromise the integrity of your piece, and the bubbles will permanently cure into the resin, which could ruin the clear aesthetic most artists are after.
You can use a heat gun to prevent this from happening. Apply the heat to the resin after the pouring stage, before the resin cures.
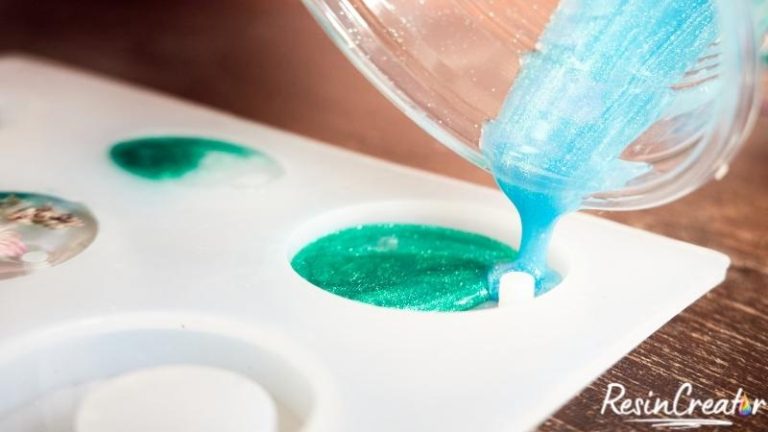
Create Cells
Another reason artists use torches in resin art is to create beautiful cells. The concept is similar to that of acrylic pouring, where you apply heat to break the surface tension of the paint and allow the cells to form more readily.
To create cells in your resin, add a few drops of silicone oil to your resin mixing cup before you pour the resin. After you’ve poured the resin, you can apply heat to the resin to remove bubbles and aid in the resin cell formation. The heat acts as a catalyst.
Removing Bubbles: A Torch vs. Other Methods
Different methods you can use to remove bubbles from your resin craft project, include:
Popping Bubbles With a Pin or Toothpick
Though it is possible to pop bubbles with a pin or a toothpick, it is a very timely process, and it will be nearly impossible to pop all the bubbles before the resin cures. Therefore, this method is helpful for last-minute touch-ups only— targeting individual bubbles still trapped in the resin.
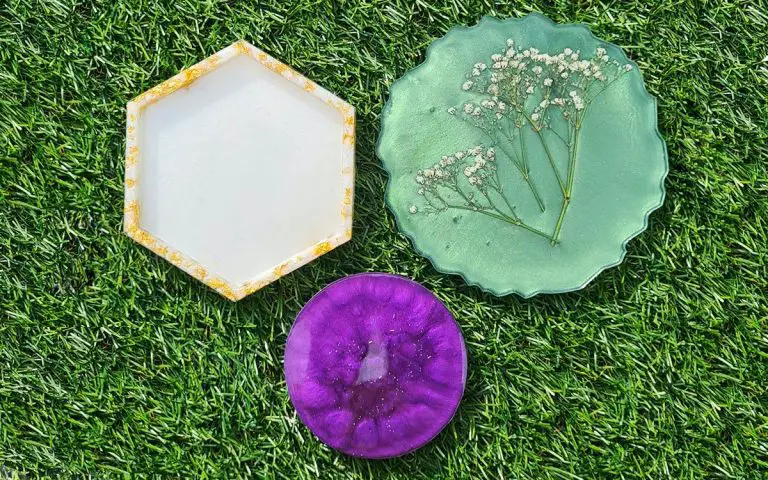
Using a toothpick is also acceptable while working on projects that include delicate flowers. The bubbles near flowers might not be right on the surface, so you might need to reach down farther to pop them with the toothpick. This won’t harm the delicate flowers, unlike using a heat torch, which might cause harm.
Blowing on Bubbles
Blowing on bubbles through a straw can indeed make them pop, but it’s also a prolonged process. This approach might be practical for tiny objects like jewelry, but, like popping bubbles with a pin or toothpick, it is only suitable for some resin crafts.
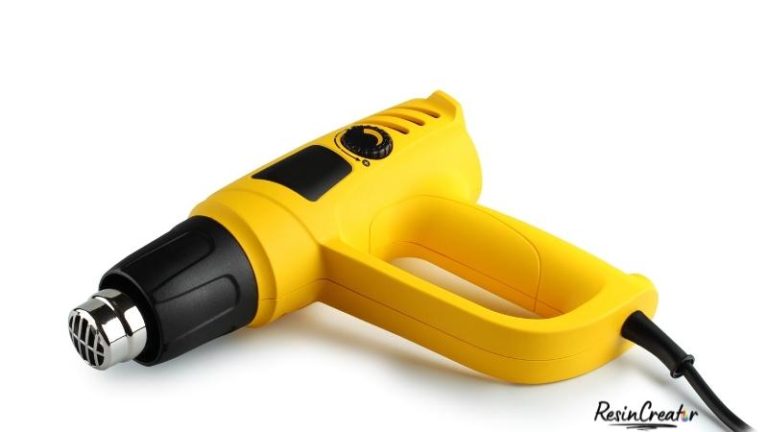
Using a Hair Dryer
Though some craftsmen advise using a hairdryer instead of a heat gun to pop air bubbles, we don’t recommend doing so. Most hair dryers don’t heat to the right temperature and only blow the resin around, creating a bigger mess. It can also blow dust and hair into your vulnerable wet artwork, which can be challenging, if not impossible, to remove.
Hair dryers do, however, have their place in resin art. And that is to create beautiful flow art, like ocean scapes or abstract art, but a dedicated heat gun will do a better job even for these artworks.
Heat Gun
A heat gun and a torch are both useful tools in resin art. Most resin projects can benefit from using a torch; however, because it uses an open flame, it is not recommended for use with silicone molds or alcohol inks.
Alcohol inks are flammable and can catch fire, whereas silicone molds can melt when exposed to an open flame. Therefore, heat guns are more appropriate in these circumstances.
Alcohol
You can also use alcohol to treat resin bubbles. Spray the resin’s surface with rubbing alcohol after filling a spray bottle with it. The alcohol causes the bubbles to pop by lowering the surface tension. Though this method can be effective, it could be more effective in removing microbubbles.
The best use of alcohol to remove bubbles is for projects where you cannot use torches. This includes delicate projects, like working with real flowers, where the flame might damage them. Just note that if you use alcohol, you cannot use a torch afterward, as alcohol is flammable.
Hazards associated with alcohol sprays include eye irritation and the potential for drowsiness or dizziness. If you do decide to use alcohol, be sure to wear your respirator while using it and operate in an area with good ventilation.
Using a Torch
A torch is undoubtedly the most effective and powerful way to remove resin bubbles. It applies heat directly to the resin and allows the bubbles to pop. This method works well on small and large projects alike. It can be helpful to purchase a heat gun with intensity settings.
This will make the tool more versatile as you can adjust the intensity based on the type of project and size you are working on.
What Projects Are Not Suitable for Heat Torches?
Heat torches with open flames are unsuitable for silicone molds and projects using alcohol inks. This is because the silicone mold can melt in the open flame, and the alcohol could catch fire. Heat torches are also not best suited for projects that use delicate flowers or other delicate inclusions because they could damage them.
How To Use a Blow Torch?
Please read the instructions that come with the heat torch before beginning because each one will have somewhat different instructions for how to switch it on, how to adjust the flame, and how to refill it.
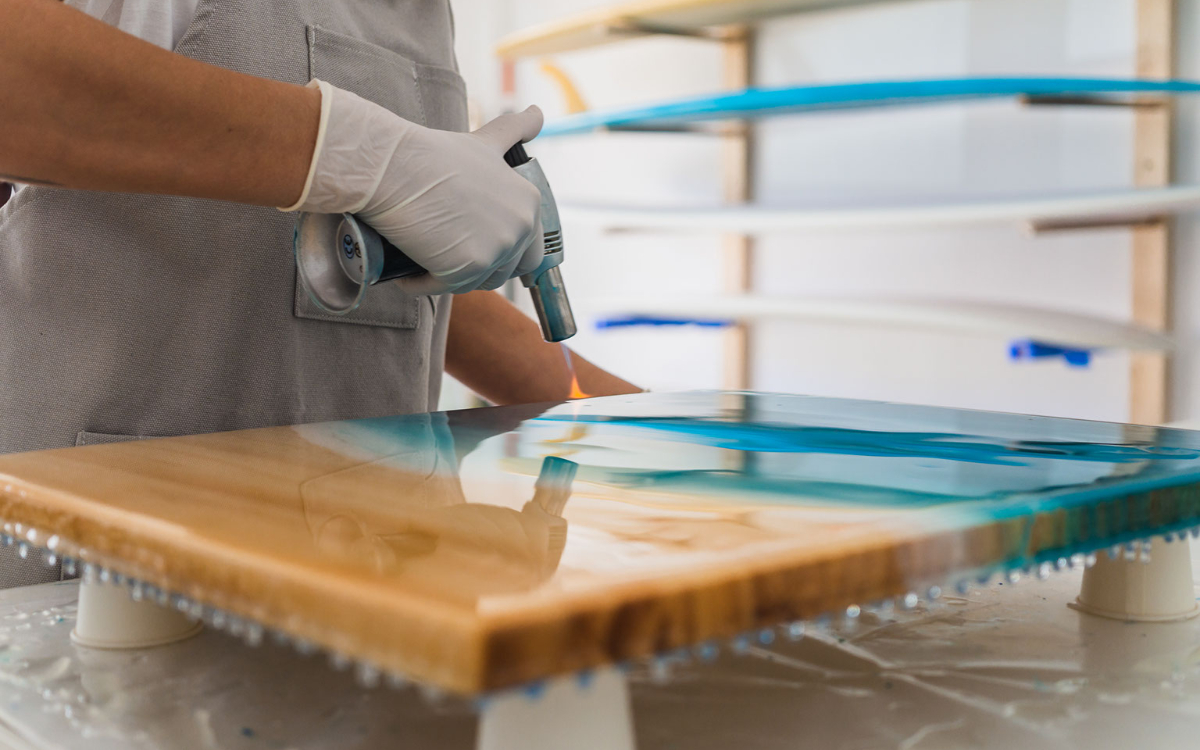
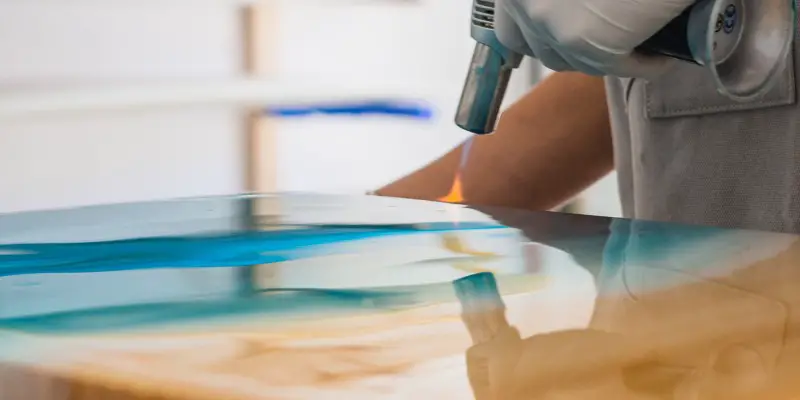
However, we’ll outline what to do when using the heat torch. First, turn on the torch next to your resin artwork, which should be resting on a flat, sturdy surface and curing beautifully in a warm environment. Once you’re close to your work, hold the torch over the resin project and slowly bring it closer until you see it bursting into some bubbles.
Move your torch back and forth in sweeping motions as if you were ironing clothes. Make a few good passes with the torch across the entire surface of your piece of art until all the bubbles are gone.
Leave the flame in one location for a short time. Over-torching can result in dimples or ripples in your resin surface, yellowing, and even burn marks!
During the first few hours of curing, the bubbles could reappear, so keep an eye on your art and repeat the torching process if necessary.
Once the torching is complete, cover your work to prevent dust, grime, or bothersome pet hair from getting inside.
Note: Let the torch’s flame brush the epoxy’s surface when using it. Keep the torch moving in even, overlapping strokes. You risk burning the surface if you leave the flame in one spot for too long.
Things To Consider When Selecting a Resin Torch
To get the best value for your money while buying a torch for art, there are a few qualities to keep an eye out for:
- Gas type: The butane torch is the most popular heating tool for resin art. These are portable, simple, and reasonably priced to purchase and maintain. In addition, butane is safer and more effective than propane; what’s more, burning butane yields carbon dioxide rather than propane’s more dangerous carbon monoxide.
- The igniter: The igniter is the button that produces the spark needed to start the flame. This button needs to be easy to press but not too simple that it could light on the accident. You can find the majority of these buttons near where your thumb would be on the device’s back.
- Flame intensity: The more expensive torches let you choose the flame intensity level (weak or strong). When working on projects of various sizes, this is handy.
- Flame area: The area the flame covers is crucial, just like the flame intensity. The torch’s valve and intensity level guide control of the amount of flame. Larger holes allow the torches to heat the resin more quickly and cover more ground. For bigger paintings or artworks, this is practical.
- Handle: Most handles are tiny cylinders with an inside butane tank. You should be able to hold it comfortably in your hand and grasp it well. Having the other features conveniently located for one-hand use is also a plus.
- Stand: To prevent any possibility of a gas leak, we advise keeping your torch upright when not in use. In this case, a stand or platform at the base of the torch handle is practical.
- Safety: Most torches come equipped with a safety switch that you can push or depress to release the gas. This is an essential feature to look for when selecting a torch.
- Refill: Last but not least, consider whether or not it is possible to refill the torch. You can refill most torches by turning the torch upside down and inserting a refill container into the opening at the bottom. The torch should come with additional refilling instructions.
When choosing a butane torch, you should consider how the torch performs in each area.
The Best Blow Torches for Art Projects
Below is a list of our top picks for the best resin art torches.
How We Selected Each Resin Torch
We aim to suggest the best supply or tool for artists based on your requirements. We’ll ensure you receive good value for your money by doing the research for you, whether you’re looking for top-notch equipment or beginner’s essentials.
We research art materials on the Internet and read user reviews from actual customers. We also consult experts for guidance and rely on our collective experience as artists, teachers, and artisans.
1. Sondiko Butane Torch
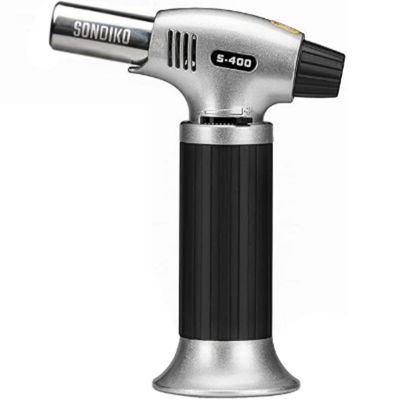
The Sondiko torch is a budget-friendly blow torch with good value for money. This torch is great for beginners; it’s nice and compact and has excellent reviews on Amazon. It is ideal for studio tasks like pouring paint and creating resin art. Additionally, it has a flame size adjustment and is comfortable to hold.
Pros
- Budget-friendly
- Safety lock
- Adjustable flame & continuous flame mode up to 2372 °F
- Refillable
- Adjustable flame
Cons
- No fuel gauge
- It does not come with a butane tank
- Inconsistent ignition
*Paid Links
2. Jo Chef Butane Torch
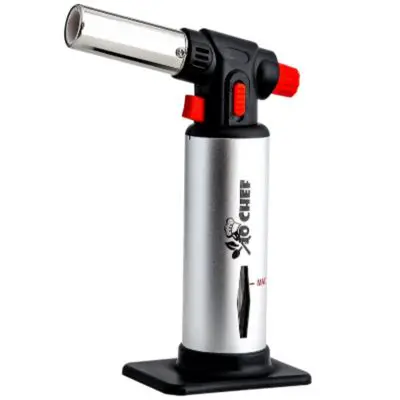
The Jo Chef’s butane torch comes with a very sleek design. It comes in both silver and black. Unfortunately, there is no extra grip on the handle. However, the manufacturers crafted this torch with professional-grade materials and multiple safety locks.
An adjustable flame is a must for your resin so you have better control of the outcome. This torch has an adjustable flame temperature of up to 2,500 °F.
Pros
- Adjustable flame
- Compact size and sleek design
- Refillable
- Safety lock
Cons
- Possible issues with butane valve leaking
- Igniter has a short lifetime
- It doesn’t hold much fuel
*Paid Links
3. FunOwlet Butane Torch
Next up is the FunOwlet’s butane torch. There is only a torch head in this product. It has a touch ignition that is simple to operate and an adjustable flame. The flame can get as hot as 2500 °F. There is an integrated gas flow regulator and air flow control valve to guarantee the ideal flame size for your needs.
However, this butane torch will require a new canister since it lacks a refillable gas valve. This is the ideal option for you if you want something that doesn’t require refilling.
Pros
- Press to light the ignition
- Adjustable flame size
Cons
- Non-refillable
- It can be hard to find replacement canisters
- Possible backfire and inconsistent flames
*Paid Links
Torch Safety
We advise you to follow a few straightforward safety precautions when using a product that generates heat or open flame.
1. Read the product’s instructions. You can reduce the likelihood of unpleasant events occurring if you use your torch as instructed.
2. Keep a fire extinguisher nearby.
3. Tell people when you’re using a torch. Just like the buddy system, having a backup plan for emergencies will help contain them if they ever occur.
4. Always be aware of your actions, especially while using an open flame or a gadget that generates a lot of heat.
FAQ
Can I Use a Lighter Instead of a Torch?
Yes, you can use a lighter to release trapped air bubbles, but it won’t be as effective as a heat torch and is also not as safe. In addition, the chances of burning yourself with the open flame are higher with a lighter.
Take note that, like a torch, it is not recommended for use with silicone molds or alcohol inks.
How Long After Pouring Resin Can You Torch?
Wait around two minutes after you’ve combined and poured the resin and hardener. Then use the torch to remove any air bubbles. Check often over the following one to two hours to be sure no new bubbles form.
The Bottom Line
Resin bubbles can be pesky and unsightly, but luckily it’s possible to remove them with the right tools. Heat torches are the best tools to remove most air bubbles. They are easy to use and can remove bubbles in a few minutes.
We hope this article was insightful and that you feel confident in selecting the best heat gun for your needs. Please contact us in the comment section if you have any questions.