Resin Casting: All You Need to Know in 7 Easy Steps
So, you’d like to start casting resin and probably have an idea or two (or 10!) floating around in your creative mind. Well, this is the place to be!
Many people start with resin casting and give up shortly after – we know because we’ve walked that road ourselves. This is most likely due to not getting the basics right.
By the time you’re done reading this, you will be well-equipped and well on your way to creating your very first, successful, totally awesome, mind-blowingly unique resin casting project!
Let’s go through these seven simple steps to get you on your way.
Step 1: Getting the Right Resin
Now depending on what project you’d like to create, you need to use the best resin for casting that particular project. This is an essential step because using the incorrect type of resin could result in your project not curing (resin talk for “setting“) or flash curing (again, resin talk for “setting in a flash“).
You can quickly and conveniently purchase resin at many outlets and online stores. There are several brands to choose from and lots of reviews to browse before making your choice.
Let’s have a look at the two main types of resin that are best suited to resin casting for beginners:
Epoxy Resin
- Best suited for crafting
- Example: coasters, platters, keychains
- Very versatile, strong, and durable
- Adheres well to most materials
- A two-part mixture (epoxy + hardener)
- Brands: PRO Marine Table Top Epoxy, Craft Resin Epoxy Resin Kit
*Paid Links
UV Resin
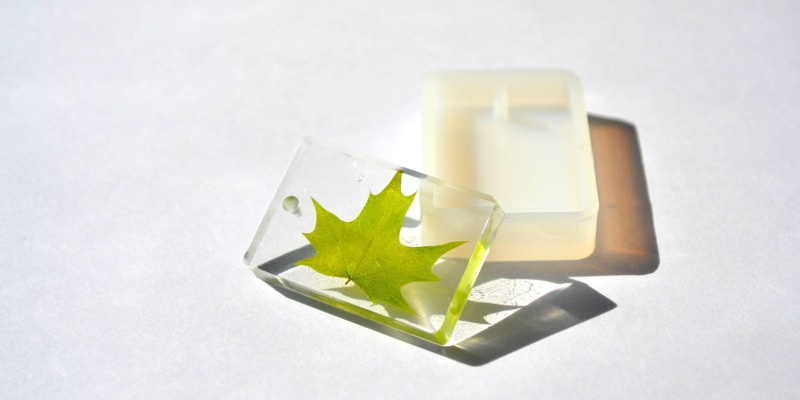
- Best suited to tiny projects
- Example: earrings, pendants, to coat leaves or petals
- Quite expensive
- Sets very quickly – only requires a UV light to set
- A one-part solution – no measuring, weighing, or mixing required
- Brands: Osbang UV Resin, Wayin UV Resin
*Paid Links
You might have thought, “is casting resin the same as epoxy resin?”. Well, it’s two different things entirely. Let us explain.
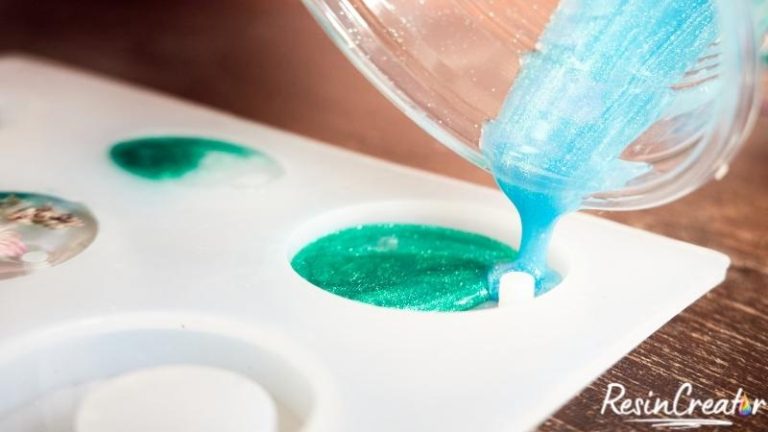
Casting resin is the act of pouring resin, whether it be into a mold or onto a flat surface like a table.
Epoxy resin is a type of resin. It is the latest type introduced to the resin family. It has quickly grown in popularity as the crafter’s go-to resin due to its ease of use and ability to adhere to almost any material.
Step 2: Essential Tools
Now that you have the best casting resin, you’ll need some tools to help you create those masterpieces. You can get a resin starter kit with all the basics you’ll need.
Alternatively, you could rummage through your kitchen cupboards and gather the essentials.
As you progress through your resin journey, you will find little bits and bobs that work for you and become part of your “essential resin toolkit“. This could be toothpicks, tweezers, or that old jug standing at the back of your cupboard.
So, to get you started, here’s what you’ll need:
Mixing Cups
- These are essential, and you can use anything from plastic cups to empty yogurt tubs (make sure it’s nice and clean).
- Silicone mixing cups are a great option as they’re reusable.
Mixing Sticks
- Wooden popsicle sticks are commonly used but porous and could add those dreaded bubbles to your resin – you don’t want this, we don’t want this, nobody wants this. Unless, of course, that’s the look you’re going for.
- A good alternative is silicone or plastic mixing sticks, which are also reusable and will last you quite some time.
A Heat Gun
- Heat guns are handy little tools, and you will most likely want to add it to your “essential resin toolkit.“
- It’s perfect for creating waves in an ocean design or creating cells.
- A heat gun will also help to get rid of any bubbles on the surface of your project – the heat from the gun helps to pop the surface bubbles but will also blow or move your design.
A Blowtorch
- This useful tool will get rid of surface bubbles without changing your design.
- Be careful to let only the flame’s heat touch the resin. This is all that’s needed to pop those bubbles.
- The actual flame of the torch could burn your resin and your mold – so don’t get too close.
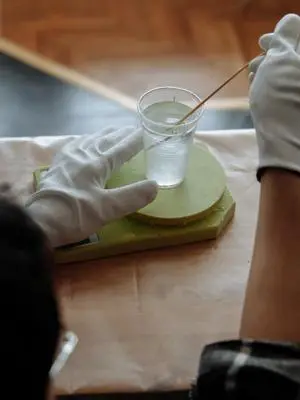
A Scale
- This is a must-have if the resin you’re using must be weighed before mixing.
- A small, digital kitchen scale is perfect for this job.
Molds
- This is what will shape or mold your design; there are so many options.
- You might ask yourself, “how do you use resin molds?” well, you place your mold on a flat surface, then pour your resin into it, and your mold will hold your resin in that shape.
- Other options you can explore are little bowls or trays that you have lying around, and you could give them a second chance at life.
TIP: Start with a small mold and then move on to bigger molds as you become more comfortable with casting resin but let’s discuss this more in our next step…
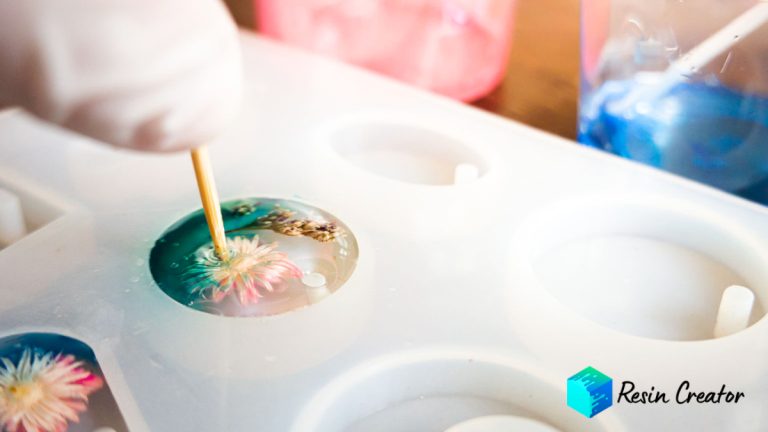
Step 3: Molding
Molds are just so vital that they need a step of their own.
The most popular choice for molds is silicone molds. However, there’s a variety of shapes and sizes to choose from.
Silicone molds are a great choice if you’re starting out or if you want specific designs that are always the same shape or size, such as:
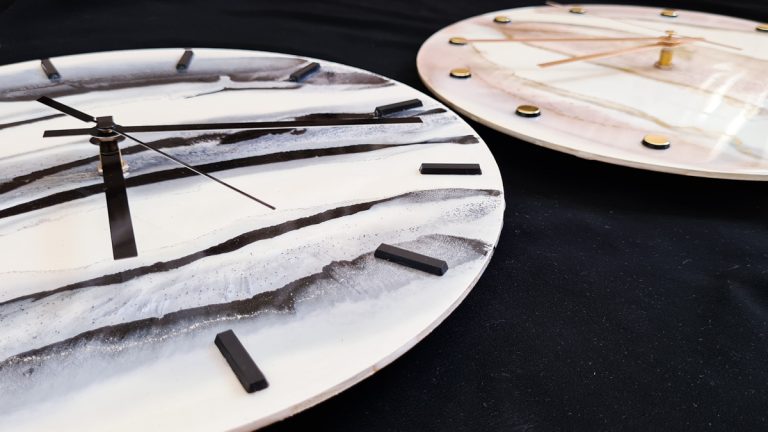
- Coasters
- Platters
- Trays
- Cake stands
- Bookmarks
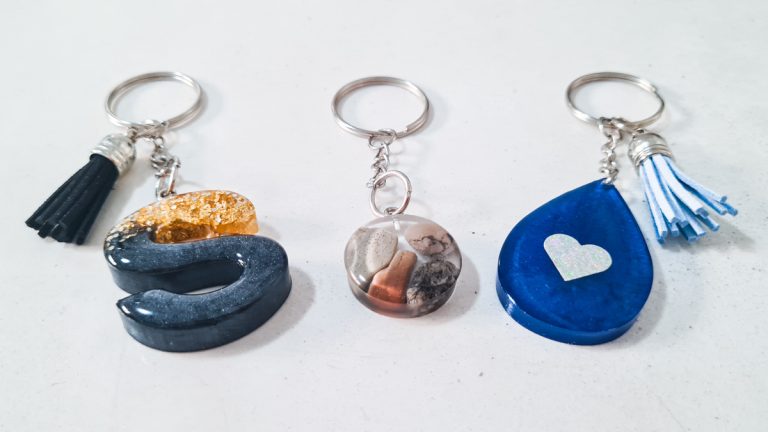
- Keychains
- Games (chess, dominoes, tic-tac-toe)
- And so much more!
You can also make your own silicone molds for resin. If you want to know how then see our guide on making your own silicone molds.
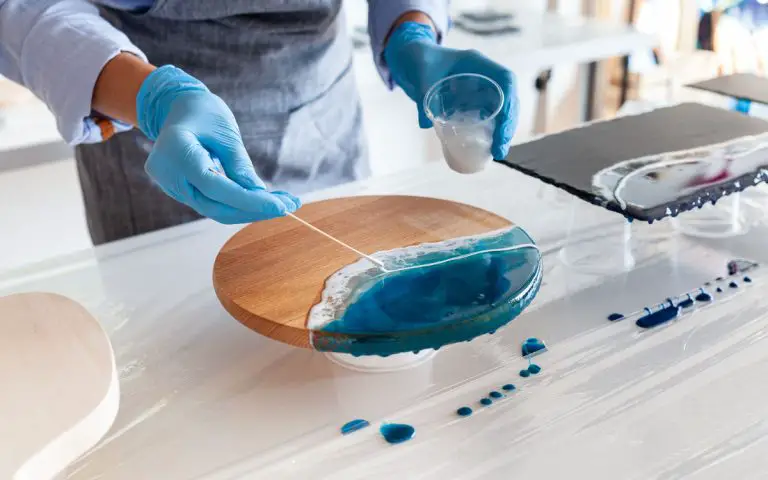
The cool thing about resin is that it works well on almost any surface. This means that you can cast your resin onto or into nearly anything.
If you’re starting, we’d suggest using a piece with a lip or rim that can hold your resin on the surface. Otherwise, your resin will drip down the sides, which will change the look of your design and might be a bit trickier to work with.
Let’s look at some exciting options:
- A dish or bowl – turn it into something decorative that becomes a conversation piece at your next dinner party
- A photo frame – take an old dusty frame (dust it off before use, please 😊) and create your wall art
- A little side table – give it a new chance at life that will be an eye-catching, statement piece in your lounge
- A big shell – picture a mini ocean in a shell and then gift it to a friend who loves all things about the ocean
There are endless possibilities; your imagination is the only potential limitation to your resin casting ideas. So let your creative mind run free.
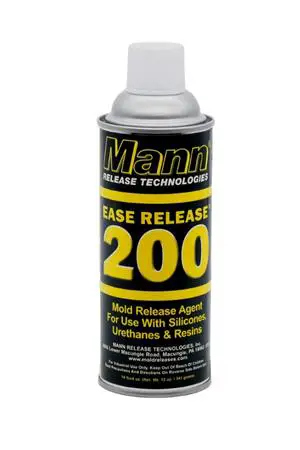
TIP: Using a mold release agent will prolong the life of your mold, and we highly recommend you do this. Ease Release 200 (Paid Link) is a great option and is available on Amazon.
However, if you’ve asked yourself, “can you use Vaseline as a mold release for resin?” we’d instead steer clear of this. The vaseline will affect your resin and will result in a cloudy haze and what could also appear as cracks in your project.
Step 4: Safety Check
You have all your materials and tools. Let’s start casting resin, right? Nope. Before opening that resin bottle, consider your safety and get proper PPE (Personal Protection Equipment).
So, you’re wondering, “why is this necessary? Can’t I just get on with it?”. Well, the long & the short of it is – safety first. Mixing your resin (epoxy + hardener) creates a chemical reaction – sometimes you can smell it, and sometimes you can’t, but it’s always there.
This chemical reaction gives off fumes and creates heat. Now, these fumes are harmful to us humans. However, there are tried and tested ways to protect our fragile bodies.
Safety Equipment
Here’s what you’ll need before diving into your first project:
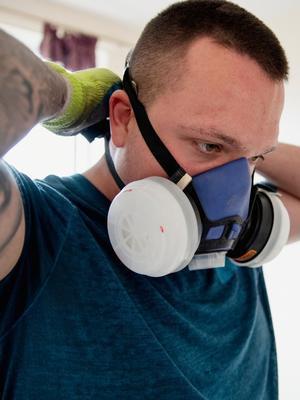
- Nitrile gloves
- A respirator
- Safety goggles
Besides the actual PPE that you need to wear, here are some extra tips for you:
Good Ventilation
- Work in a space or room that has good ventilation
- Keep the windows open
- Get a fan
- Don’t work in common household spaces like the kitchen or lounge
Baby Wipes
- These are a game changer and are perfect for wiping up spills
- They also work great to wipe off and clean your tools and mixing cups
Note: For more info on safety, please read our full article on Epoxy Resin Safety.
Step 5: Measure & Mix
Congratulations! You’re now ready to get on with it. You have all your resin materials, tools, and PPE – let’s do this.
So how do you prepare resin for molds? It’s a simple process that you’ll soon get the hang of.
Mixing and measuring your resin might seem daunting because it’s pretty specific and calculated. However, too much hardener or too little epoxy and your resin could be wasted.
However, your resin will come with specific measuring instructions. For example, some have a 1:1 or a 2:1 ratio but read the label to be sure as it will be specified there.
Some resins are measured in weight (grams) and others in volume (milliliters). This will also be indicated on the label.
Another essential element when mixing resin is temperature. If your workspace is too cold or too hot, your resin won’t mix properly. The ideal temperature is around 24 degrees Celsius.
Once you’ve measured your epoxy and hardener, you will combine the two and start to mix. Now mixing is just mixing, right? Well, not exactly. Here are some dos and don’ts to help you mix like a pro:
- Mix slowly. This will reduce the number of bubbles in your resin.
- Stir and scrape your mixing stick around the sides and bottom of your mixing cup. This will ensure that your epoxy and hardener are correctly combined so that they will cure properly when you cast your resin.
- Don’t rush this process. Proper mixing could take around 3 to 5 minutes. This should also be indicated on the label.
- Once your resin is clear and streak-free, it’s ready
Once you combine your epoxy and hardener, the working time of your resin begins. This refers to the time you have to cast your resin before it starts curing and becomes too thick to pour. The working time should be indicated on the label, usually between 20 to 40 minutes.
TIP: Heating your epoxy (not hardener) in a tub of warm water will help it mix through much easier, especially when it’s a bit colder.
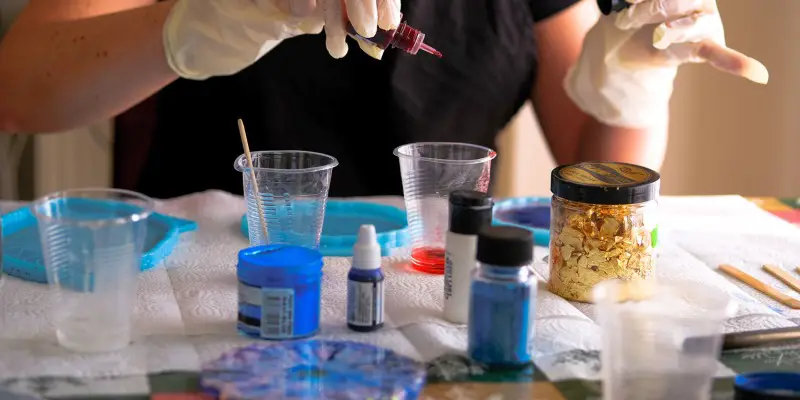
Step 6: Colors & Inserts
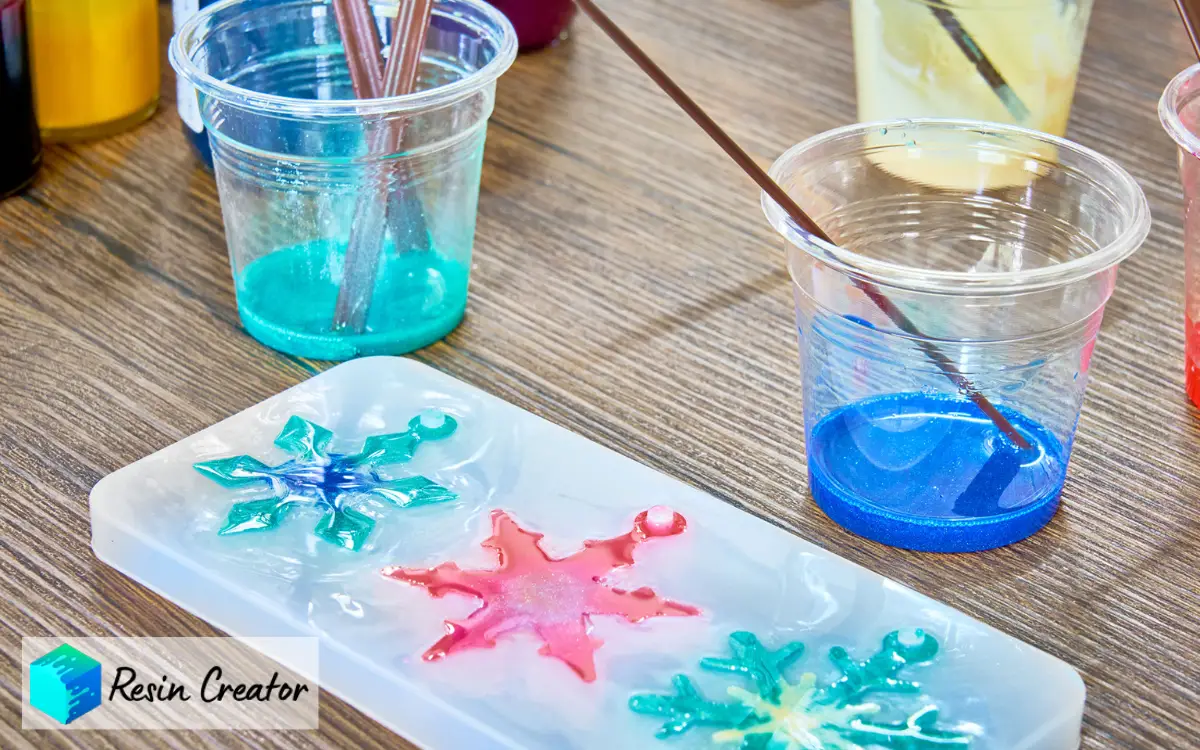
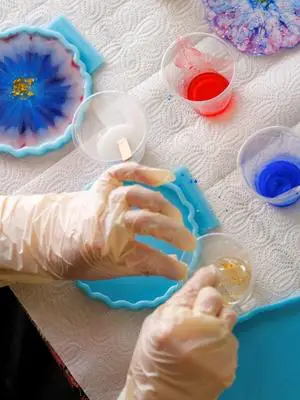
Let the fun begin!
The world is your oyster when coloring your resin and adding inserts. First, you must decide what color pigment you prefer and what insert suits your project when casting resin.
For more information, see our articles on colors for resin and how to color your resin.
Here are a few conventional ways to color your resin:
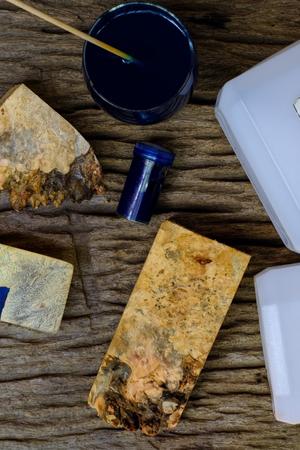
- Alcohol inks
- Acrylic inks
- Mica powders
- Pearlescent powders
Here are a few unconventional ways to color your resin:
- Food coloring
- Acrylic paints
- Nail polish
- Eye shadow
One thing to remember is the quantity of your coloring vs. the amount of your resin mixture. The coloring should not be more than 10% of your resin mixture. Too much coloring could result in your resin not curing correctly.
Now once you have the color you want, or perhaps you want a clear resin with a little something interesting in it, you might consider the following inserts:
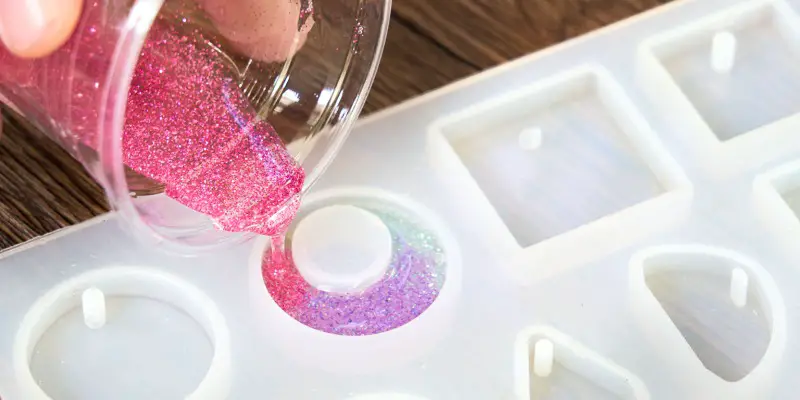
- Glitter is a trendy choice and will instantly add a touch of ooh-la-la.
- Gold leaf foil adds a touch of luxury, and sometimes it’s all you’ll need.
- Clay inserts come in many designs, mainly fruit and flowers, and work well in small projects like keychains or bookmarks.
- Metal charms or trinkets are a relatively inexpensive but charming addition.
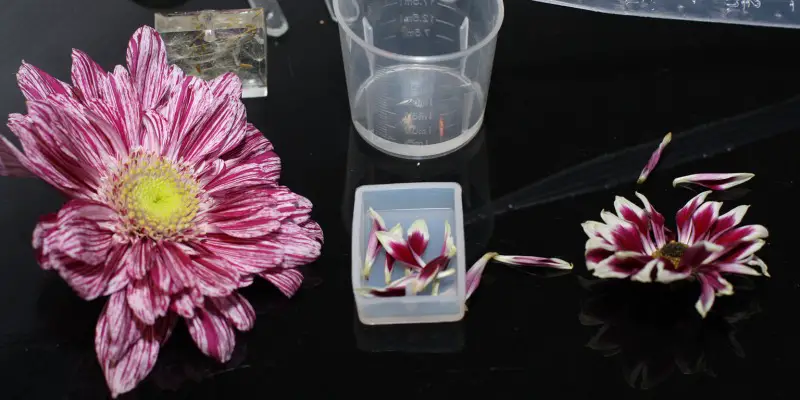
- Dried flowers or fake flowers, there’s something magical about casting flowers in resin. Use the full flower or just the petals or even just the leaves.
- Pebbles or small stones are perfect on their own or add them to a beach theme.
- Shells, need I say more?
Whichever option you choose – or options it’s good to play around with and mix and match – is totally up to you and depends on what design you have in mind for your project.
Sometimes accidents may happen and can lead to the best outcome you could have imagined.
As we said, the world is your oyster, and your options are practically endless. As long as the insert is completely dry, you can use it in your resin.
TIP: Coating an insert in resin and allowing it to cure before inserting it into your project will enable it to be better preserved – like an insect (a dead one!) or a piece of wood.
Silica gel (some say powder, others say beads) is your best option to dry any flowers or leaves. Here are some options for you to consider:
*Paid Links
Step 7: Casting Your Resin
Ok, it’s only taken us six steps to get here. The time is now. Make the magic happen.
You’re protected – check!
Your resin is mixed – check!
You’ve mixed your colors and added your inserts – check!
Your mold is on the table in front of you – check!
The window is open – check!
Now go and do your thing and make your idea a reality. There is no right or wrong way when it comes to casting resin. It’s art – let it flow.
However, if you’re going for a specific design, you’ll need to plan which color you’ll be pouring first or in which order you’ll be pouring them.
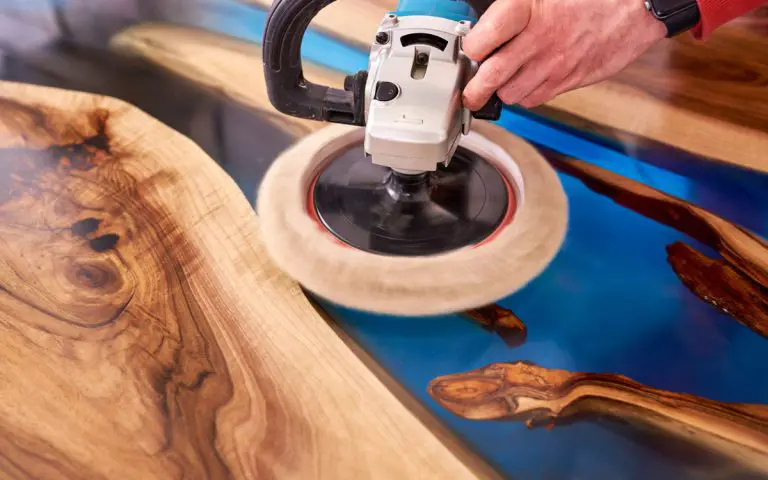
The only other thing to consider here is the curing time of the resin. Give it the time it needs and then de-mold. As simple as that – it pops out of the mold.
Final Thoughts
All we can say is that practice makes perfect. Not that we’re after perfection, this is a perfectly imperfect art.
But there are certain tricks that you can only gain through your own experience.
Remember, safety always comes first! Wear your PPE.
So go on, have fun, and be amazed by what you’re capable of.
If you enjoyed this article or learned something interesting, share it with a fellow resin enthusiast.