Why Is My Resin Still Sticky?: Tips for the Perfect Resin Mixture
Are you wondering, “why is my resin still sticky?”. Unfortunately, without following all of the instructions, there is a chance that your resin will end up too sticky.
Epoxy resin commonly fails to cure correctly. In these cases, the problem lies in an essential chemical reaction, which is necessary for the resin to cure correctly, not taking place. If you end up with sticky resin, you may not have mixed the epoxy properly or didn’t measure your ingredients correctly.
In this article, we will discuss all the sticky resin mishaps you can encounter while working with the material. Keep reading!
Why Is My Resin Still Sticky?
When working with resin, especially as a beginner, you are likely to run into three sticky issues:
Sticky and Soft Spots
Your resin mixing process may have produced an almost perfect cured surface, save for some soft or sticky spots. If that is the case, the chances are that you probably scraped the hardener or unmixed resin from the sides.
In this case, you should scrape off the liquid resin the best you can, prepare a fresh coat, and pour it over the surface.
Tacky and Sticky Resin
There could be several reasons why your resin turned out sticky and tacky.
One of the most common reasons is that you didn’t measure the ingredients accurately. Or, you may not have mixed the ingredients well.
You also may have cured the resin mixture at a cold temperature. The best you can do is move your resin piece to a warmer spot and see if it dries appropriately.
If the piece still hasn’t dried, you can try re-pouring a fresh coat of resin.
Runny or Liquidy Resin
Does your resin have a runny consistency or texture? Then it is likely that you failed to follow the correct ratio of resin and hardener, which is 1:1.
The other possibility could be that you added too much colorant into the mix, which is usually why resin can have a runny consistency.
In this case, you should scrape off the liquid resin and then pour a new resin coat to even it out.
What If My Resin Is Sticky Days After Pouring?
Resin can remain sticky even days after you first pour it. If it’s stayed sticky this long, then the chances are that your resin won’t harden.
In this case, you must fix the incorrect resin texture or replace it with a new batch.
If you are willing to take corrective measures to fix the sticky resin, here’s what you can do:
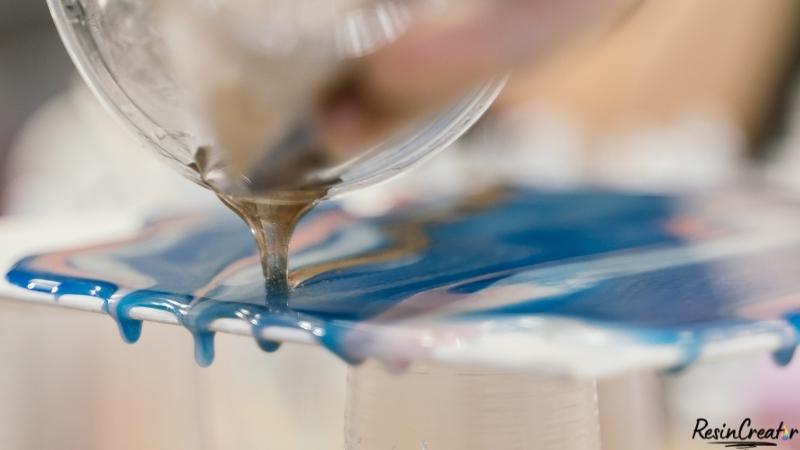
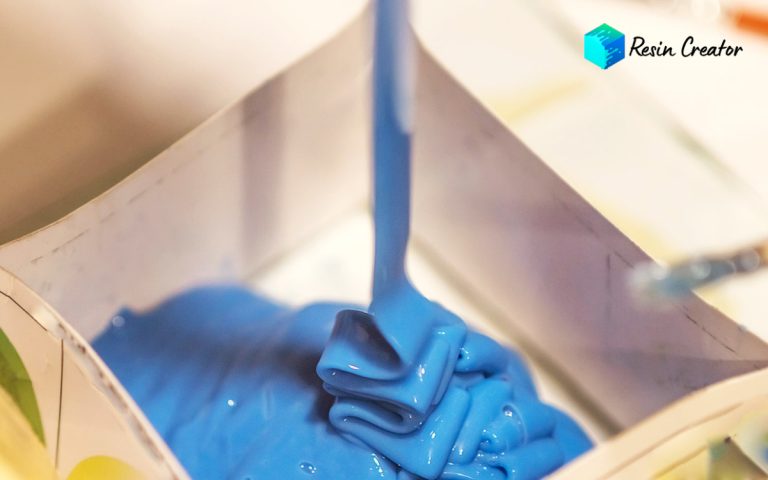
Three-Minute Mixing
You should mix your resin mixture thoroughly for 3 minutes, scraping the bottom and sides of your container as you mix.
The problem starts when you do not mix resin properly, and the mixture starts sticking to the bottom and the sides of the container. This way, your mixture won’t catalyze or cure. So it is in this case that resin usually fails to harden.
Precise Measuring
You should measure the resin carefully, especially when measuring volume. If you add the hardener or the resin more than the other, the chemical reaction won’t happen.
Hence, your resin mixture will most likely not cure as it should.
Why Is My UV Resin Still Sticky After Curing?
The surface of UV resin or light-curable coatings and adhesives being sticky or tacky on the surface is common. We refer to this phenomenon as oxygen inhibition, which occurs when the atmospheric oxygen prevents the surface from curing.
This phenomenon occurs on the polymerizing material. You will find this condition present typically when radical polymerization is happening.
However, for a UV resin to cure and dry as it should, without any tackiness and stickiness, you must assess the composition of the adhesive. Moreover, the UV light’s coating formulae, wavelength, and intensity are also equally responsible.
For a tack-free surface, here are the factors to consider:
- Be ready with counteracting solutions for oxygen problems in the mixture.
- Measure the time accurately to ensure the resin has ample time to cure.
- The UV lamp is powerful enough to help the resin cure within your desired time.
- The UV lamp’s wavelength did not match the curing wavelength range necessary for the UV resin.
- Thoroughly dry and clean the UV resin.
Why Is My Resin Still Sticky After 24 Hours?
If the resin is still sticky after 24 hours, the reasons could be the same. These include improper mixing, inaccurate measurements, colder curing temperatures, dirty or wet utensils, etc.
Let’s analyze the typical problems that could cause a gummy, soft, or tacky resin after 24 hours:
- You chose a very low or cold temperature, which is unsuitable for curing. You must note that epoxy requires a lot more time to set. It’s best to increase the temperatures to expedite the process.
- In the case of inaccurate measurements or not thoroughly mixing, you must remove the tacky spots by scraping them off and pouring a fresh batch over the piece. If not that, simply discard the piece and start all over again.
You should note that no hardener or liquid thinner can fix a messy resin piece. Likewise, nothing can harden a loose resin mixture but removing uncured epoxy resin and pouring a new batch is possible.

An Alternative Solution
After 24 hours, if the epoxy resin is still sticky, you could consider a few alternative solutions to salvage it.
For example, hardware stores sell a unique product called resin spray. This is a constructive and instant solution to fix tiny sticky spots in the resin mixture in certain places.
All you have to do is treat the sticky spots or smaller imperfections with resin spray. It will dry quickly and leave behind a smooth and glossy finish for you. Resin spray is very common in DIY projects, and it is also effortless to use for beginners.
Resin Pouring – Do I Need a Mold for It?
As a beginner, you may wonder how necessary molds are to cast resin.
The many options may confuse you, but the truth is that you don’t necessarily need to use molds to pour resin mixture on something. However, molds are a must when you’re planning to make 3D objects.
But when it comes to pouring resin, you will need cups (Paid Link) to mix and pour it.
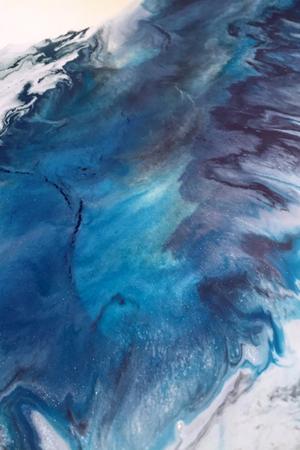
Coloring Resin – How to Do It
When working with resin, you can choose between two options: to color or to leave it clear. While there are several options for coloring resin, you can opt for two easy solutions: acrylic paints or alcoholic ink.
You can also opt for resin pigments, which are quite popular among resin artists. The pigments come in a powdery form and lend a uniquely opaque look to resin art.
However, regardless of your choice, remember that acrylic paints can sometimes struggle to stick to certain kinds of resin. Alcohol inks, on the other hand, are more transparent. You could experiment to see what works best for you before you start applying a solution to your main resin projects.
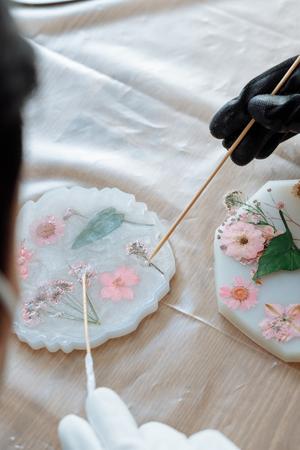
Resin Inclusions – What They Are
Inclusions are decorative items that resin artists incorporate into the resin mixture. The purpose is purely artistic: to create exciting and fun visual elements in the finished resin art items. Artists can get especially creative with their art, as you can put just about anything in resin.
These include clay, fabric, paper, wood, plastic, metal, powders, glitters, and natural elements. You may have already seen artists integrating these options in their work to produce jaw-dropping results.
When embedding decorative elements in your resin mixture, you should avoid certain components containing moisture. These include items like fresh leaves or flowers. If you experiment with a moist element, its water content will react with your resin mixture, turning the leaves and flower to an unbecoming brown or causing ever-sticky resin.
However, if you are working on a nature-related piece, you can easily incorporate dried leaves and flowers, which work beautifully with resin projects.
Things like feathers or straws do not work well for resin; it makes them lose their shine.
Some Helpful Tips
In case you don’t want to start all over again or don’t have the supplies for a new batch, here are some alternate solutions you can try:
- Try curing your UV resin with direct sunlight instead of a UV lamp. While direct sunlight might take more time, it will eventually ensure complete dryness.
- If you’re planning on working on a larger resin project, especially if it’s for a client and you’re relatively new to it, we recommend doing a test round first. Doing so will help catch any possible mistakes and perfect them before attempting the project.
- When working with resin and hardeners, you must follow the label’s instructions accurately and not deviate from them.
- If you’re adding color to the UV mixture, ensure that it isn’t more than 6% of the total mixture.
- Try to choose a really warm place to work on your resin project.
- Seam lines may appear when you’re trying to fix the sticky or imperfect spots. So, it is better to pour a fresh batch over the entire resin surface for evenness between the old and new layers.
Things to Do With Leftover Resin Scraps
When you fix sticky resin by scraping off the sticky bits, they may dry off or harden later. Perhaps you may have poured more resin into the mixture than necessary and have plenty left over. So what do you do with the remaining resin bits?
You can put your leftover resin scraps to good use! Here are some helpful ideas:
- Create a collage, paint, or mount photographs onto wood panels with leftover resin.
- Use the remaining resin to brush onto rocks and seal them.
- Start a 3D project, such as driftwood, by applying amounts of leftover resin onto your gloves and applying it to the project.
- Take a wood slice, and your leftover resin and create a beautiful coaster.
Final Thoughts
To achieve a successful resin piece, you need to measure the ingredients in the recommended proportions, mix them thoroughly, and dry them in warmer spots. Without these essential steps, you could have a runny, tacky, or sticky resin piece.
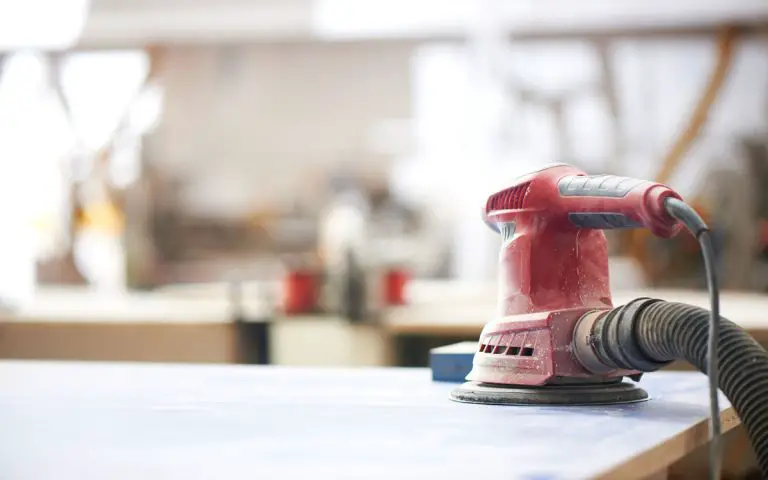
It is also essential to choose your tools before you start mixing. However, if, despite everything, you end up with a tacky or sticky mixture, you could try some fixes.
For instance, curing the resin in sunlight, scraping off the soft spots, pouring a new batch, and other fixes might help you salvage your piece.
If you found this article helpful, share it with a fellow resin art enthusiast!


Great post. I’m going through a few of these issues as well..