Working With Resin – Best Practices and What to Avoid
Working with resin can seem daunting – “seem” is the operative word here!
Where do you begin, right? Is resin hard to work with? How do you create exquisite resin pieces that light up your soul? We know you have so many questions you need answering.
You might be a beginner resin artist or someone with a few projects under your belt. Either way, we have some insights, tips, and tricks to help smooth your resin journey.
And we’ll try and answer all those burning questions you have, such as:
- Is resin hard to work with?
- When can you take resin out of the mold?
- How to keep resin colors from blending?
- How to keep things from floating in resin?
- How to pour epoxy resin into molds?
So sit back, and take notes if that works for you but please bookmark this article or save it to your favorites!
Our Top 5 Best Practices
- Just Start and Go For It
As soon as you start working with resin, you’ll gain experience and know more about resin than you did yesterday. Yes, you might have beginner’s luck, and your project would be everything you imagined. Or you’ll learn what to do differently next time – we call it “a resin lesson” 🙂
- Wear Your PPE
This is a golden rule – never skip your PPE. We’re so strict on this point, so we have an entire article about resin safety. Let’s dive in!
- Planning is Key
You may or may not know that resin has limited working time. This means you need to plan your resin project: schedule time, know what you want to create, get all the supplies you need, and have a designated work space. Check out our article on resin casting to help you plan like a pro.
- Read the Instructions
Not all epoxy resins are the same. Their mix ratios and curing times may differ. Thankfully, there are labels! Be sure to read it before you start your project to know how much resin and hardener to mix and how long your project will take to cure.
- Expect “A Resin Lesson”
You will make mistakes, and sometimes projects won’t go as planned. It’s better to expect a lesson and to learn from it than to be caught off guard and lose your train of thought and all excitement to complete a project. It will happen; it’s inevitable. Consider it a notch in your belt and a stepping stone for your next project.
Our Top 5 Things to Avoid
- Never Guesstimate When Mixing Resin
Resin is a very calculated composite and needs a specific amount of resin and hardener to work properly and cure fully. So no guessing games here! Always weigh your resin and hardener according to its instructions.
- Avoid Mixing in a Hurry
You should always mix your resin slowly. This allows your resin to be mixed thoroughly, cure properly, and helps reduce the number of air bubbles in your resin mixture. We don’t like bubbles! No one likes bubbles! And if you don’t already do, you too won’t like bubbles – mix slowly and thoroughly.
- Don’t Work in Your Kitchen
In fact, don’t work in any common household space. Resin gives off fumes while it cures, which can harm humans and pets. Having a designated room with a door you can close and good ventilation is best.
- Don’t Trust Your Eye as a Level
We can generally see when a picture frame is not hanging straight. But resin is not like a picture frame – it’s a liquid. So invest in a level and check that your surface is level before working on your project.
Because when your resin design starts running towards one side, your tears might just start running down your cheeks!
- Don’t Throw in the Towel
We’ve bumped our heads many times, and our goal is to share those experiences with you so you can have fewer or no bumps! So believe in your passion and learn from your bumps, but don’t believe everything you see on the internet – yes, we realize this article is on the internet, too 😝.
Some resin tutorials leave out some very important steps, and then you’ll question yourself and wonder why your project didn’t turn out as expected. Take it all in your stride.
Everything In Between
Let’s look at some of the nitty-gritty details of working with resin.
Is Resin Hard to Work With?
The short answer is no. Resin is quite easy to work with once you understand the basic workings of it, such as:
- How much resin and hardener do you need to mix?
- How to weigh your resin and hardener using a digital scale.
- You need to wear proper PPE (personal protective equipment).
- How to mix resin properly (we explain this in detail below and have a video tutorial!).
Once you understand these basics, you’ll be fine. Yes, there’ll be learnings along the way, but that’s part of the process and adds to your experience and knowledge in resin.
How to Mix Resin
Mixing is mixing, right? No, not really! Watch our video below on how to mix resin properly and follow these pointers:
- Use a clean, dry container and a silicone mixing stick for your container and mixing stick.
- Ideal temperature: Ensure that your workspace is at 75 Fahrenheit or 24 degrees Celsius.
- Looks cloudy and clumpy: It’s normal for the mixture to look a bit cloudy and clumpy and to have some streaks in it when you begin to mix – the initial mixing of the resin and hardener creates this.
- Mix slowly: Yes, we’ve said it before 😛 And we’ll say it again – mix your resin slowly to avoid air bubbles.
- Mixing motion: Stir the resin in a circular motion and back-and-forth motion.
- Scrape that container: Scrape the sides and bottom of the container with your mixing stick – don’t miss any of it to ensure you mix it all well.
- Don’t rush: Mix your resin for the required time (check the label). Thankfully, the resin manufacturers have done all the hard work and tests, so let’s follow their instructions.
- Clear and smooth: As the resin and hardener combine, your mixture will become clear, smooth, and streak-free. This is a good sign!
- Don’t stop: Just because your resin is clean, smooth, and streak-free does not mean you can stop mixing. Continue to mix your resin for the specified time so that everything is fully combined and mixed completely.
Mixing Slow vs. Mixing Fast
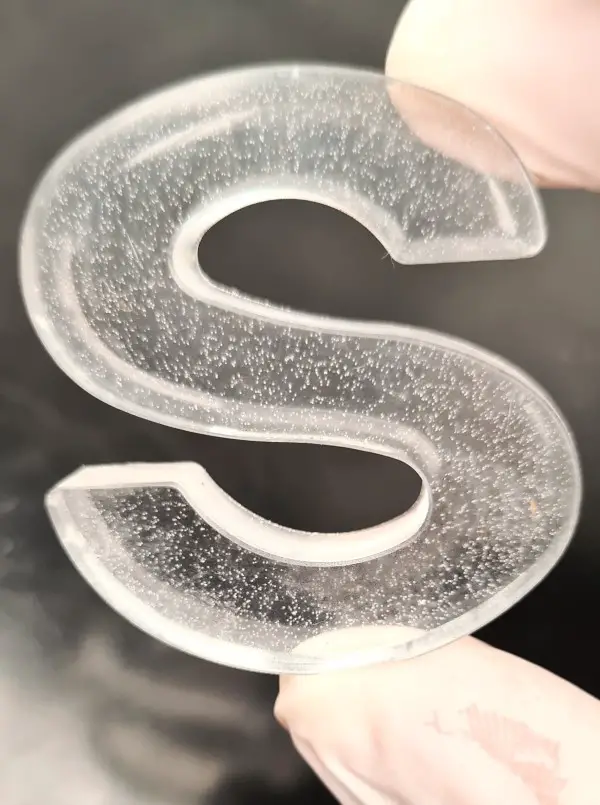
So what will happen if you mix your resin fast – as if you’re beating eggs for a nice chocolate cake? Well, you’ll have lots of air bubbles in your resin.
- Is this the worst thing? Honestly, it’s a yes and no-answer because it ultimately depends on what you want to design and achieve.
- Can I still use my resin if it has lots of air bubbles? Yes, you most certainly can. It will cure, but the finish won’t be crystal clear.
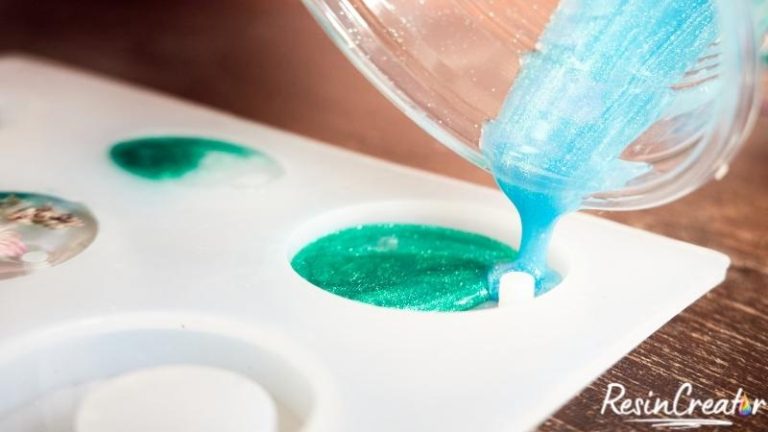
- Is there a way to cover up lots of bubbles? Yes, there is. Mica powders or pearlescent powder pigments are great at covering up air bubbles. They will give your resin an opaque color which won’t allow you to see through the piece or any of the tiny bubbles trapped inside.
- What about surface bubbles? You can pop these with a heat gun, torch, or a light spray of isopropyl, or you can even use a pin or toothpick for popping them.
All is not lost if you mix your resin too fast and end up with air bubbles. In our video below, you can see the effects of mixing fast and what a clear cast will look like vs. a cast mixed with pearlescent powder.
How to Heat Resin
When it’s cold, your resin will thicken up. This makes it a little harder to mix and will also create more air bubbles.
The solution here is to warm your resin. The heat will thin out the consistency of your resin, making it less thick and runnier, and this makes it easier to mix your resin and creates fewer bubbles. Here’s how to heat up your resin:
- You need warm water. Place some warm water in a container. The container should be bigger than the container you’ll use to mix your resin in. The water should be warm, not boiling as this will cause flash curing.
- Pour your resin (Part A) into a container. Check the consistency so that you can compare it later. Then place the container in warm water. The hardener (Part B) is an almost watery consistency and does not need to be warmed up.
- Stir your resin. Slowly stir your resin to help it heat up evenly.
- Check the consistency. As the resin heats up, the consistency will become runnier. If it runs off your mixing stick easily in a smooth streak (no thick clumps), then it’s ready.
- Let it rest. After removing your resin from the warm water, rest for a minute or two. This will help avoid any flash curing. Before adding the hardener, you can use a thermometer to check if your resin is at the ideal temperature (75 Fahrenheit or 24 degrees Celsius). As long as it’s not hot, it should be fine.
Silicone vs. Wooden Mixing Sticks
So which is better? Silicone is the better option of the two because:
- It lasts longer, which saves you money and makes it more environmentally friendly.
- It’s easier to clean.
- It creates fewer air bubbles because it’s not a porous material like wood.
What can I use wooden mixing sticks for?
- They’re great for mixing pigments to your clear resin, which has already been mixed and is ready to use.
- To move inserts around after placing them in your resin project.
- Add a top coat to small resin pieces, such as keychains (watch our video below to see just how handy they can be!).
- Stick them under your project to help level it out.
- To dunk or remove dust that settles on your project.
Working With Resin Molds
Silicone molds are easy to work with and work well with epoxy resin. Once your resin has cured, you’ll be able to easily remove it from the silicone resin mold:
- Use a release agent to prolong the life of your mold.
- Store your mold on a level surface and in plastic zip-lock-type bags
- Don’t store your molds in direct sunlight. This will weaken your mold, causing it to tear or break.
- You can easily clean your silicone mold using Scotch tape or painter’s tape.
How to Quickly and Easily Clean Resin Molds Using Tape
Dust gets everywhere, and yes, it will get on your resin molds too. Here’s how to clean them in a jiffy:
- Grab some painter’s tape or Scotch tape and cut off a piece.
- Get your dusty mold and then press, dab, and wipe the inside of your resin mold with the tape.
- Due to the sticky surface of the tape, the dust will easily cling to it, leaving you with a clean mold.
- And just like that, your resin mold is clean and ready to be used!
How to Pour Resin Into Molds
Well, you can do this just about any way you fancy, but here are a few things to bear in mind:
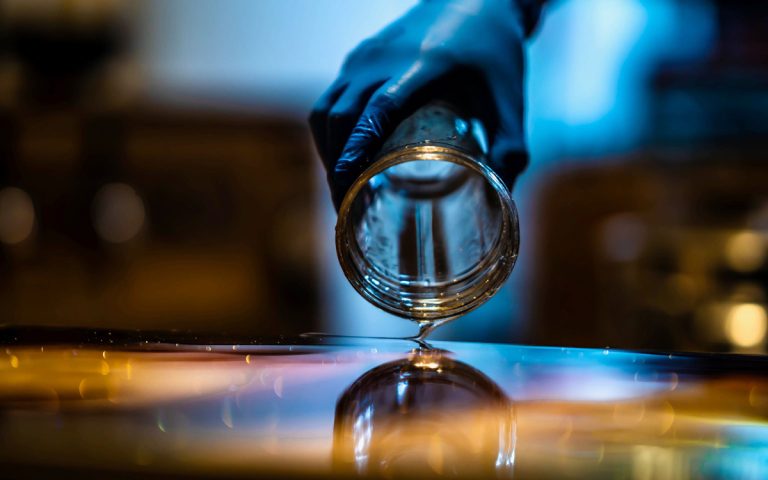
- Pour slowly to avoid spilling and wasting your resin (yes, we know it isn’t cheap!).
- Hold your container close to your mold when pouring – don’t pour from a height – this will give you more control.
- The design or pattern you want to create may require a specific pouring technique or layering of colors. This requires practice, so don’t be too hard on yourself if it doesn’t turn out how you expected it to.
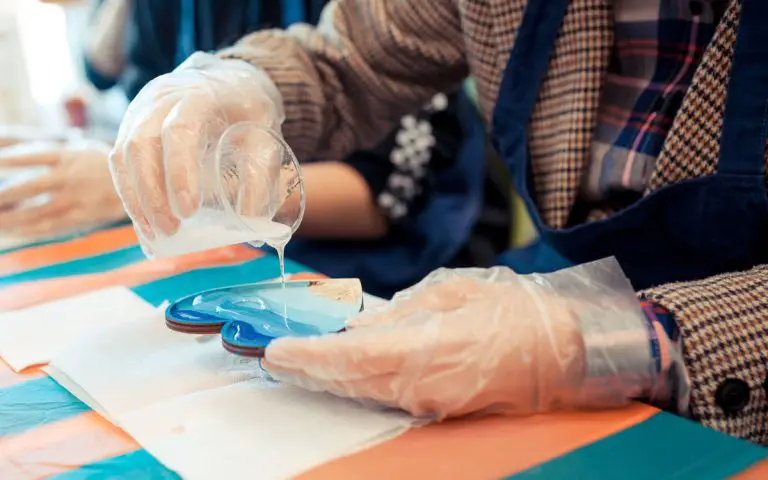
- Always pour a thin resin layer into your mold before adding any inserts, such as pebbles, shells, and flowers. This helps to “glue” them down and allows their bottom side to be fully covered in resin.
Video: pouring purple coaster & pouring pebble keychain
When Can You Take Resin Out of the Mold?
Once your resin is hard to the touch, you can remove it from the mold. At this stage, your resin might not be fully cured and may still be flexible.

So this answer depends on what design you want to achieve:
- A straight, flat piece: Let’s use a coaster in this example. In this case, you must wait until your resin has fully cured (24 to 48 hours). If you remove it sooner, then be sure to place it on a level surface so that it holds its flat shape while it fully cures.
- A curved piece: Let’s use a bowl in this example. You can create a bowl using a flat mold. To achieve this design, you need to remove your resin piece from the mold once it’s hard to the touch but still flexible (you can check if it’s flexible by bending it while it’s still in the mold without having to remove it). Then place it inside or over the back of a glass bowl and press it down firmly. Your resin piece will then hold that shape as it cures.
Watch our video below to see how to create a curved piece.
How to Check if Resin Is Curing?
An important thing to bear in mind is that resin starts to cure as soon as you mix the resin with the hardener. What then follows are the stages of resin curing.
The curing time of resin will depend on the brand of resin you’re using.
We used Kristal 6 Diamond Coat which cures within 24 to 72 hours and has a working time of 40 minutes:
- Once mixed: The resin mixture will be smooth, clear, and have a thin, runny consistency.
- After 20 minutes: The resin is still quite thin and workable. You can still pour the resin, add inserts or move existing inserts around.
- After 40 minutes: The resin will be thicker, making it difficult to pour – especially into small molds. Also, pouring at this stage will introduce big air bubbles into your casting, which is not recommended.
- After 60 minutes: The resin will have a glue-like consistency. At this stage, you should not touch, fiddle with or move anything in your project.
- After 90 minutes: The resin will now be thick enough to create streaks – like the cheesy streaks when you bite into a pizza.
- After 3 hours: The resin will have a toffee-like consistency. It will be thick and sticky enough to pull the mold up if you touch the resin at this stage, creating streaks that won’t level out quickly. This could leave visible streaks, bumps, and peaks on your project.
- After 4 hours: The resin will be very tacky and flexible but hard enough to easily move your project if needed.
- After 24 hours: The resin will be cured and ready for de-molding. However, it might still be a bit flexible, so be sure to leave it on a hard, level surface for another 24 to 48 hours until it has fully cured.
Pouring the resin
Resin after 20 minutes
Resin after 40 minutes
Resin after 60 minutes
Resin after 90 minutes
Resin after 3 hours
Resin after 4 hours
Resin after 24 hours
How to Keep Resin Colors From Blending?
Firstly, we must understand that resin is a liquid and that the colors will always blend to a certain degree. Here’s what makes it blend less:
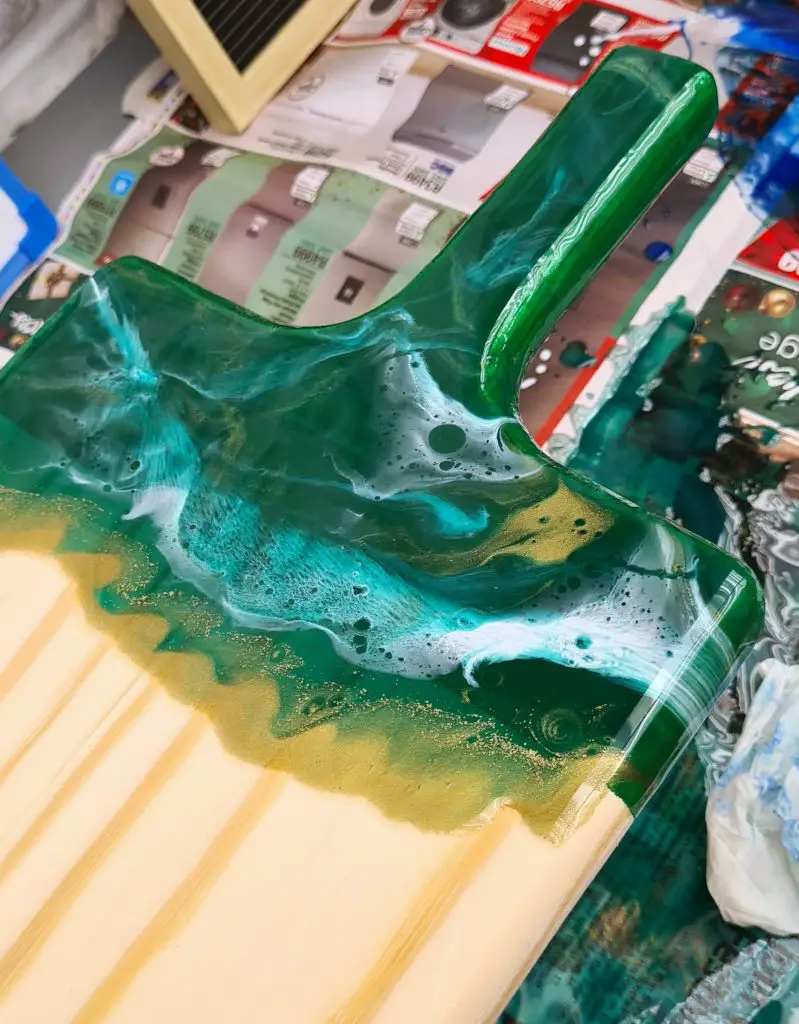
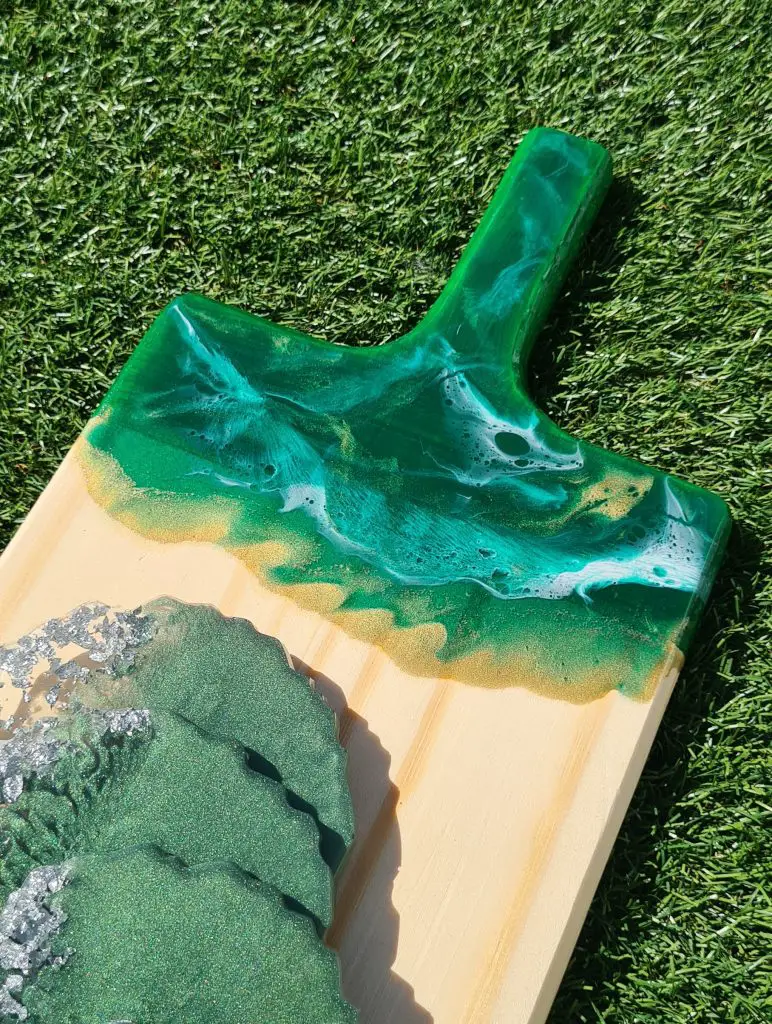
- Using a heat gun: This will not only pop surface bubbles, but will also blow and blend the colors in your design. Use a torch instead. Watch our video below to see the effects of using a heat gun to create blending on a cheeseboard.
- Making sure your surface is level: Yes, this can be the culprit. Resin is a fluid art and will move as it cures. Now add an uneven surface to that, and you’ll have some blending you did not want and a design different from what you intended.
- Not fiddling too much: By moving inserts around or using a mixing stick to help create your design, you will end up blending your colors. So be careful not to move things around too much if you want to avoid too much blending.
- Let your resin thicken: When the resin is thicker, it will blend less. Allow your resin to stand for about 5 minutes after you’ve mixed it. Then check the consistency. And if you’re happy with it, you can pour your design. Again, there’ll be less blending as the colors meet due to the thicker consistency of your resin.
How to Keep Things From Floating in Resin?
As bubbles rise to the surface, so will some inserts, especially flowers. If you’re creating wall art, then it’s fine, but if you’re creating something like coasters, then you need the surface to be smooth and even.
The key to stopping things from floating to the surface is to pour your resin in layers and allow the layers to cure partially before pouring the next one.
- Pour your base layer. This could be a color or clear, depending on your design.
- Allow this first layer to cure for about 2 hours. Again, you want it to be sticky because it needs to serve as a glue which you can stick your inserts onto.
- Carefully place your inserts onto the “glue base” and press them down slightly with a mixing stick to ensure they’re stuck down.
- Pour your next layer. Now, this could be your final layer or not. Again, it depends on your design. This layer can fully cover your insert and will give you a smooth, even finish without any “things” floating to the top.
For some more useful tips and tricks, read this article.
Final Thoughts
We’re sure you’ll agree that resin is a fascinating art with endless possibilities.
With each project you create, you’ll learn something new – what to do or what not to do… which is exactly what we’ve experienced and why we can share these golden resin tips and tricks with you and all the nitty-gritty details of working with resin.
If you learned something new, found something interesting, or would like to share your insights with us, please leave us a comment below! We’d love to hear from you!
Please click the share button and pass this knowledge on to your fellow resin artists!