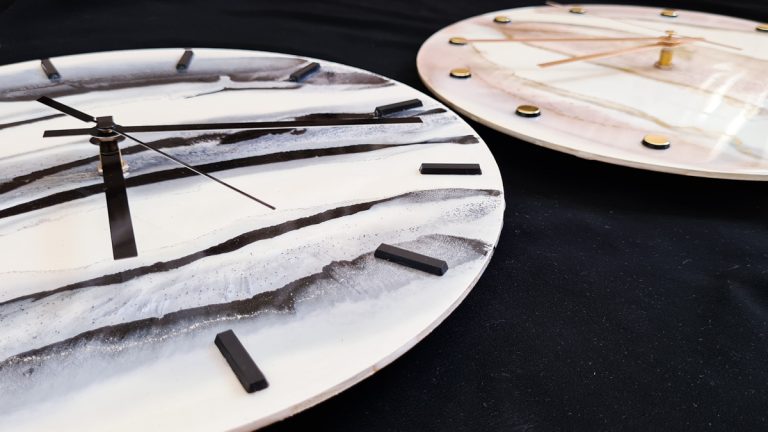
Resin Coasters – Perfect First Project for Resin Artists
If you’re a beginner resin artist, you have to take a swing at making beautiful resin coasters, and our tutorial will show you how!
Resin coasters are exquisitely beautiful. There are many different shapes and designs, and you might be thinking, “how do they do that?”. To make something that beautiful has to be complicated, right? Nope, not this time!
Making resin coasters is an excellent project for a beginner resin artist. Chances are, you can’t get it wrong. You can make it any color, add a mix of inserts and cast different layers. The final design might be different from your original idea, but the coaster will still function as a coaster. And even if you don’t like it, someone somewhere will love it!
We’ll give you the breakdown of DIY resin coasters so that you can be on your way to creating gorgeous coasters as gifts for your friends or perhaps to start a small business.
After reading this article, you’ll know what supplies you need, where to get them and how to make resin coasters yourself.
We’ll look at three different resin coaster designs so that you have a solid foundation for your coaster-making journey. So let’s jump into it!
What Supplies Do I Need To Make Resin Coasters?
First things first, we need to get our materials and tools. Here’s what you’ll need:
- Epoxy resin (resin and hardener)
- A silicone coaster mold
- Mixing cups
- Mixing sticks
- A digital scale
- Nitrile gloves
- A respirator
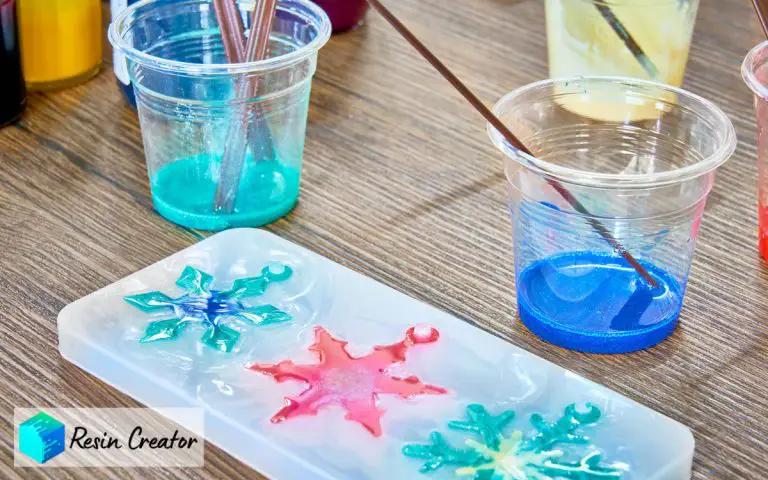
- Color pigments or inks
- Inserts such as flowers, gold leaf foil, glitter, etc
*Paid Links
See our full list of recommended resin art supplies here…
These are the basic supplies that you’ll need to get started. In our article Resin Casting, you can read about all of these in more detail.
Tip: Instead of using a store-bought silicone mold, you can push your creativity to the next level and create a mold using a silicone tube. It’s a relatively simple process. Read our silicone mold-making article to find out how.
As mentioned before, we are making three different coaster designs. We’ll list any additional supplies you need as we get into each of them.
What Do I Need to Prepare Before Casting Resin Coasters
This step is vital due to the limited time you have to work with resin before it starts to cure. The working time of epoxy resin is usually 20 to 40 minutes. This will be indicated on the label, so be sure to read it.
- Check that your workspace is at the ideal temperature. This is around 75 Fahrenheit or 24 degrees Celsius. This is important as it will affect your resin when you mix it and when it’s curing. If your workspace is not at the ideal temperature, your resin and hardener might not mix through well enough, unwanted air bubbles are more likely to occur during colder temperatures, and your resin might not cure correctly or at all.
- Get all your required materials and tools and pack them out on your workbench. Organize them in an orderly fashion and ensure that they are all within reach. This helps save a lot of time when you start to cast your resin and get into the creative part of the resin art-making process.
- Prepare your coaster molds. Ensure that your molds are clean and level. You can clean your molds by dabbing them with painter’s tape or sellotape. This quickly removes dust and any small resin bits from a previous project. Next, spray your mold with Ease Release 200 (Paid Link) to prolong the life of your mold.
- Wear your PPE. Please don’t ever skip this step. Resin is harmful if it touches your skin and when you inhale the fumes. Be sure to wear your gloves and respirator. Read our resin safety article for more detail on your safety when working with resin.
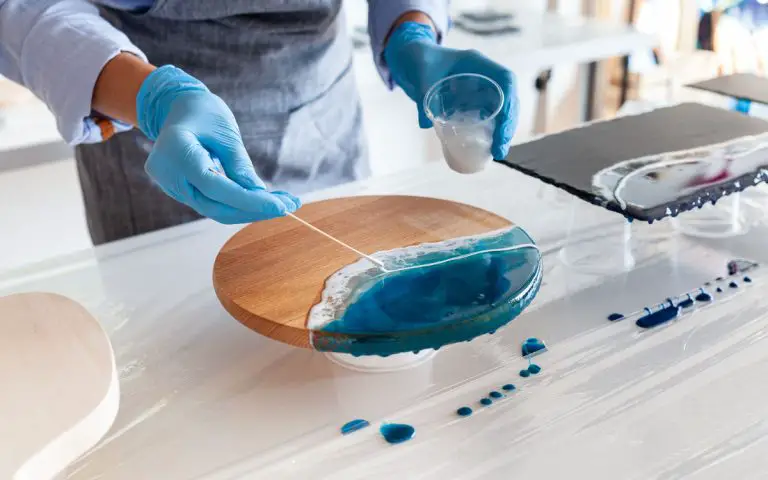
- Mix your resin. Measure your resin and hardener according to its instructions. Then mix slowly and thoroughly, scraping the sides and bottom of the container. This is key to avoiding bubbles and ensuring that your resin cures properly. Refer to step 5 in our Resin Casting article for more detail on how best to mix your resin.
So now that all your prep work, measuring, and mixing are done, we can move on to the exciting part – casting resin!
Design 1: A Simple Round Coaster Mold
This is our first design because it’s the most beginner-friendly coaster mold. It captures the essence of making resin coasters for beginners – simple, easy, no frills, no fuss!
Let’s take you through the steps to create this coaster design!
Step 1: What You’ll Need
You won’t require anything other than what we listed above.
However, if you need a round coaster mold, here’s a great option (Paid Link).
Our primary focus is to teach beginners how to make resin coasters. For this reason, we are starting simply and only using one color. If you feel brave, you can add some glitter to your resin 🙂
Step 2: Cast Your Resin Coasters
Now that all your prep work has been completed, you can cast your epoxy resin coasters.
Here are some essential steps to follow when casting resin coasters:
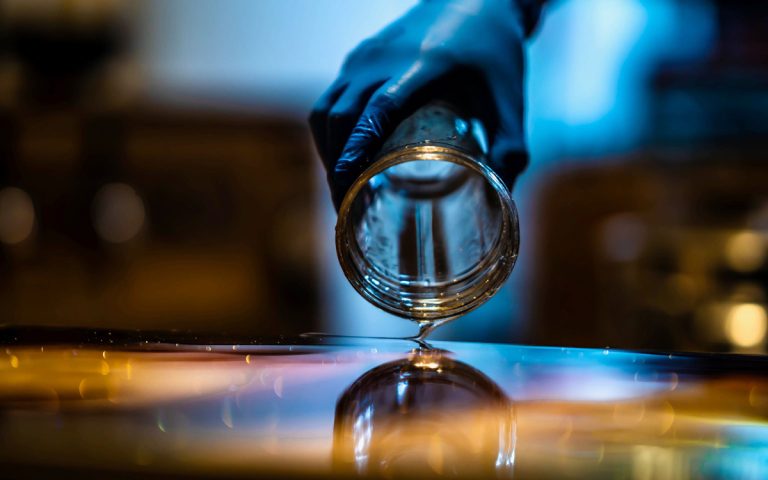
- Pour slowly. Your resin will have a runny consistency after mixing it and can easily spill. Keep your hand steady and pour slowly. This will give you more control and will avoid spills and wastage. Next, start pouring from the center of your mold and allow the resin to spread inside the mold. Pour until your mold is filled to the brim.
- Work on a level surface. We mentioned this before, but it’s crucial because if your surface is not level, your resin will run to one side and easily flow out of the mold and onto your work surface or floor. This can cause quite a mess.
- Check the resin’s working time. This information will be on the label or data sheet. The average working time of epoxy resin is 20 to 40 minutes. Be sure to cast your resin coasters within this time frame to avoid flash curing (this is when the resin cures in a flash and is rock hard within minutes). Keep a clock or timer close by to help you keep track of the time.
- Keep a spare mold on standby. This might not be needed, but it will be useful when you have some extra resin left over after casting your resin coasters. As a beginner resin artist, you might have mixed too much resin. A spare mold can help avoid panic when you scramble to find another mold.
Step 3: Let Your Coaster Cure
And now, we practice patience and allow the resin to do its magic.
Resin usually cures within 24 to 72 hours. Check the datasheet or label to be sure. If it’s hard to the touch, then it’s cured.
Once your coaster is cured, you can de-mold it. It should pop out of the mold without much effort.
Tip: If your coaster has any rough edges, you can lightly sand them off or use a deburring tool (Paid Link) to peel the rough edges away. This tool is convenient and will most likely make it to your “resin must-have tool stash”.
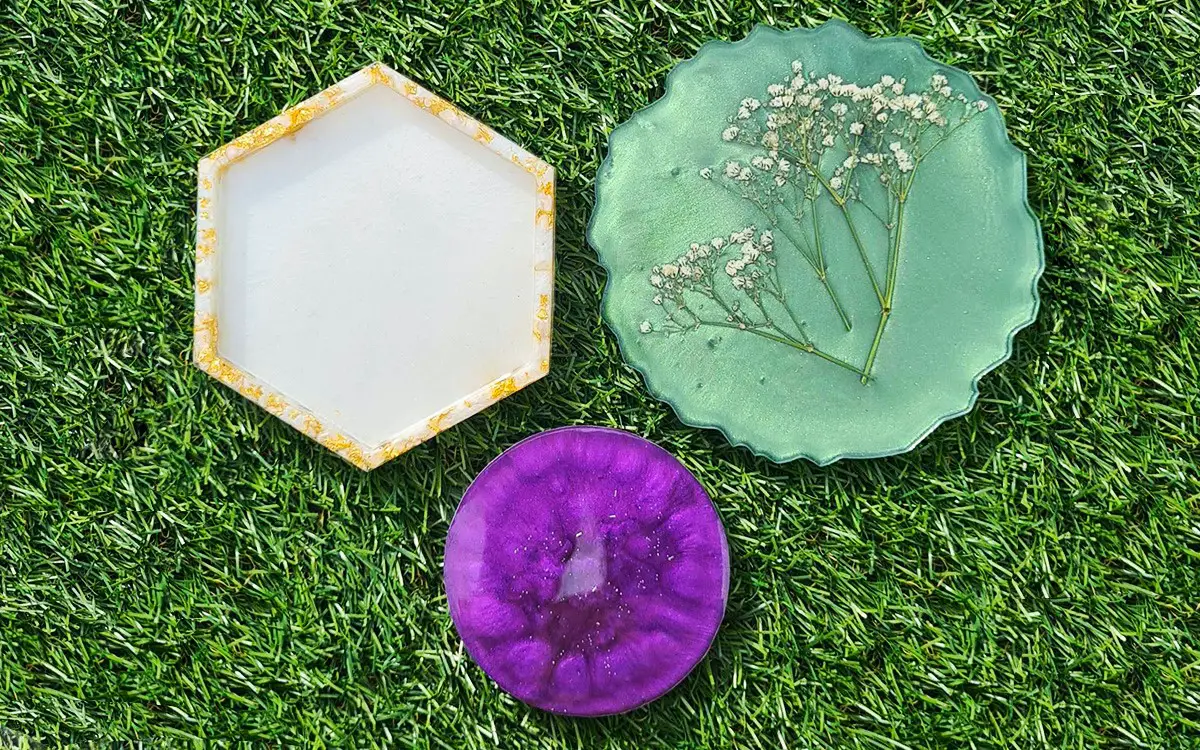
Design 2: A Mold With a Rim
We use a hexagon-shaped mold with a rim (Paid Link) for our second design. It’s also a simple mold, but it has more dimension.
With this mold, the bottom of the mold will create the top of your coaster. You need to bear this in mind when deciding on your coaster design, as you don’t want to end up with an upside-down coaster 🙂
Let’s take you through the steps to create this coaster design!
Step 1: What You’ll Need
For this design, you only need two more things:
- A pearlescent pigment: This is wonderful to use as it creates a beautiful shimmer. It also has the advantage of hiding those hideous bubbles due to its opaque color. Feel free to use any other pigment available if you don’t have a pearlescent pigment.
- Gold leaf foil: This adds a luxurious touch to any resin art piece and pairs well with the shimmer of a pearlescent pigment. You can use glitter if you don’t have any gold leaf foil.
*Paid Links
You can use any color pigments and inserts available to you. However, we decided on the combination of the pearlescent pigment and gold leaf foil as it highlights the design of this mold.
Step 2: Add Your Pigment and Leaf Foil
So you’ve already measured and mixed your resin. Now divide your resin into two cups:
- This can be a 75/25 split.
- You’ll use 75% for the pearlescent pigment and 25% for the gold leaf foil.
- Add the pearlescent pigment to the resin and mix it thoroughly.
- Now add some gold leaf foil to the 25% resin cup and mix it well.
- Remember to switch off your fan when adding powdered pigments and gold leaf foil, as they are sensitive to wind and will blow away and be wasted.
- Only add up to 6% of any pigment to your resin. Adding more could result in your resin not curing properly.
Step 3: Cast Your Resin
Now that your resin and colors are mixed, and your molds are clean and level, you can cast your resin.
Remember, with this coaster mold; the bottom will end up being the top. Here’s how to cast your resin for this design:
- First, pour your gold leaf foil resin into the rim of the mold.
- This space is relatively narrow, so hold your hand steady and pour your resin slowly.
- If any resin spills over onto the rest coaster, you can scoop or brush it back into the rim with a wooden popsicle stick.
- Let the gold leaf foil resin settle for a minute or two.
- Then pour the pearlescent resin.
- Pour slowly and start pouring from the center of your mold.
- If you start pouring straight onto the gold leaf foil resin, you’ll move it around and end up pushing it out of the rim.
- Make sure that your coaster mold is filled.
Step 4: Let Your Coaster Cure
You know the drill by now. Let your coaster cure for 24 to 72 hours before de-molding it and being in awe of the beauty you created!
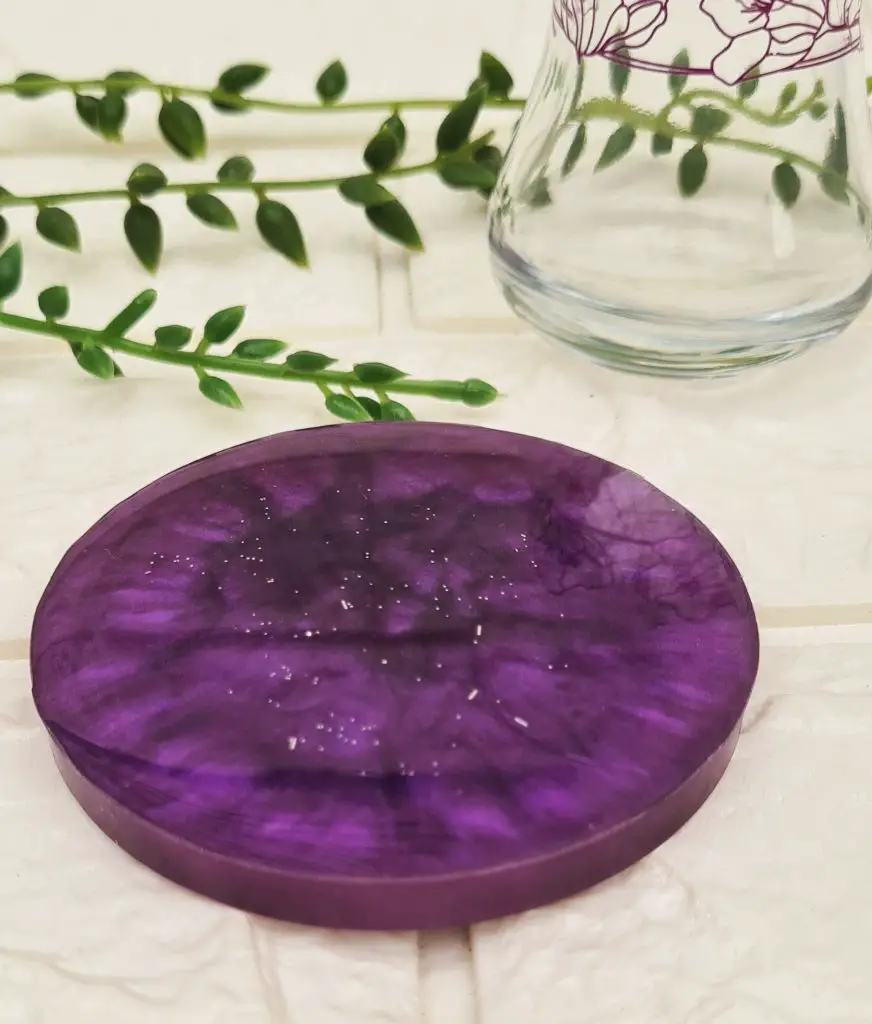
Design 3: A Geode Mold
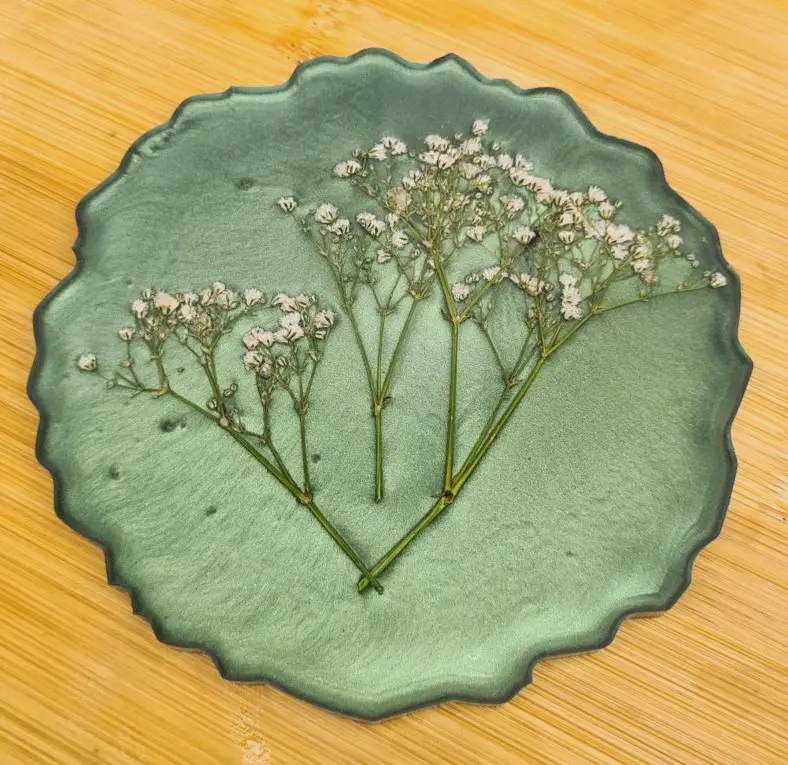
For our third design, we’re making a geode resin coaster.
Compared to the round mold, the geode mold is quite similar in that it’s a flat simple mold. The only difference is that it has an uneven circular edge.
We’ll add flowers to this design to spice things up a bit.
Let’s take you through the steps to create this coaster design!
Step 1: What You’ll Need
The only additional requirement is flowers. These can be artificial or real dried flowers.
Ensure the flowers are flat and can fit inside the coaster without sticking out through the top. If they stick out, the surface of your coaster will be uneven, which means your glass won’t rest comfortably on your coaster (this totally defeats the purpose of a coaster!)
Step 2: Casting Flowers in Resin
We finished our basic resin coaster casting, so let’s move it up a notch.
Here’s how to cast flowers in resin:
- Pour in layers. Flowers are light, float to the top, and stick out through your coaster. To avoid this, you need to pour at least two layers. This will be done over two days – one layer per day.
- Only mix half of your required resin. We are pouring in layers, and at this stage, you only need enough resin to fill your geode coaster molds halfway. If you mix all your resin at this stage, the other half will cure in the mixing cup. Resin coaster molds are fairly small and usually need 60 to 100 milliliters of resin. So, you only need about 30 to 50 milliliters of resin.
- Layer one. Pour your first layer about halfway to the top of your mold. This layer could be transparent, or you could use color. We chose a color as our first layer. This will allow the flower to pop against the background color.
- Wait 30 minutes to an hour. Then, allow your first layer of resin to cure for 30 minutes to an hour. At this point, your resin should be thick – a sticky, gel consistency. This is the perfect base to “glue” your flowers to.
- Make sure the flowers are 100% dry. If not, they could rot and spoil in the resin and ruin your coaster.
- Place your flowers. Carefully place your flowers onto your first layer of resin. Try not to move your flowers after placing them, as the resin will pull at them and most likely break them. Your flowers will be glued to your first layer of resin, kept in place, and will not float to the surface.
- Wait for the first layer to cure. Then, you could pour your second layer 6 to12 hours later. At this stage, your second layer should be distinct from your first layer. As a beginner, play it safe and wait 24 hours before pouring your second layer. Once you become more comfortable working with resin, you can reduce the time between pours.
- Mix your second batch of resin. Remember, you only need to fill half of your mold. Don’t add any color to this resin. You can add some glitter for a bit of shimmer.
- Pour your second layer. The second layer is a top coat of clear resin. This allows you to see the flower and the background color. But most importantly, it completely covers the flowers and creates a smooth finish. Pour slowly and fill your coaster to the brim.
Step 4: Let Your Coaster Cure
Yep! You guessed it! Let your coaster cure for 24 to 72 hours before de-molding it.
Golden Tips for Resin Beginners
Here are our top ten tips to help you on this exciting new adventure and to keep you from pulling out a few hairs 🙂
Tip 1: Stock up on Baby Wipes
Baby wipes are great for wiping up resin spills and a quick way to clean your mixing cups and sticks. Always keep a stash in your workspace.
Tip 2: Keep Some Clear Resin Aside
After mixing your resin and dividing it into the colors, you’ll need for your project, keep some clear resin aside. This comes in handy when you need to top up any of your colors, add a new color, or just fill a gap.
Tip 3: Plan Your Project
Resin is time-sensitive, and therefore planning is vital. Decide on your project – which mold, colors, inserts, etc., you’ll need and pack them out neatly and within reach before starting your project.
Tip 4: Don’t Skip the PPE
This might seem tedious but wearing proper PPE is of utmost importance to your health. No PPE = no resin casting.
Tip 5: Bubbles
These are any resin artist’s worst nightmare. Mix your resin slowly, as this reduces the number of bubbles introduced into your resin mixture.
If it’s cold, warm up your resin (not the hardener) in a warm bath (a little tub or empty yogurt container filled with warm water). This thins out your resin and makes it easier to mix through. Also, a warm bath will accelerate the curing time of the resin, so bear that in mind.
Tip 6: Use a Digital Scale
Resin ratios are sensitive and specific. A digital kitchen scale is your best bet to accurately weigh your epoxy resin and hardener. In addition, investing in a digital scale will save you from wasting resin. Here’s a great option (Paid Link) from Amazon.
Tip 7: Caring For Your Molds
Molds are an investment and can last a long time with proper care. Store them in plastic bags and on a level surface when they’re not in use. Use a mold release agent before each use to protect your molds from the harsh chemical reactions of resin.
Tip 8: Organize Your Workspace
There are many cogs in the wheel of resin art. Some are very small—alcohol ink bottles, for instance, or glitter tubs. Keep your workspace organized to avoid frustration and flash-curing while looking for something. You can thank us later!
Tip 9: Cover Your Pieces
Dust is everywhere and will land on your resin piece when it’s curing. And they are an eyesore! Cover your pieces with plastic to prevent dust from settling on them.
Tip 10: How Much Resin
To determine how much resin your mold requires, place your empty mold on a digital kitchen scale, set the scale to zero, and then fill your mold with water.
This will accurately determine the amount of resin you need in weight. Measuring resin by weight (grams) is more accurate than measuring it by volume (milliliters). Silly example, 100 milliliters of concrete is different from 100 milliliters of water – same volume but different weight.
Final Thoughts
Creating resin coasters is an excellent way to learn the art of resin casting on a small scale.
There are endless options for you to try, which will expand your knowledge and experience in making epoxy resin coasters.
If you enjoyed reading this article or learned something interesting, please leave us a comment below and share this with your friends and fellow resin enthusiasts.