How To Make Resin Clocks – The Simple Way
Resin clocks are absolutely gorgeous and relatively simple to make.
Yes, you read that right! In our world, we like to steer clear of overly complicated methods. So instead, we stick with the simple ones.
We have a tried, tested, beginner-friendly method so that anyone can do it!
We’ll take you through each step and provide you with a list of supplies, what you need to prepare, and how to make your own resin clock.
What Do I Need To Make Resin Clocks?
Here’s a list of the basic supplies you’ll need. We’ve provided links to some great product options on Amazon:
- Epoxy resin (resin and hardener)
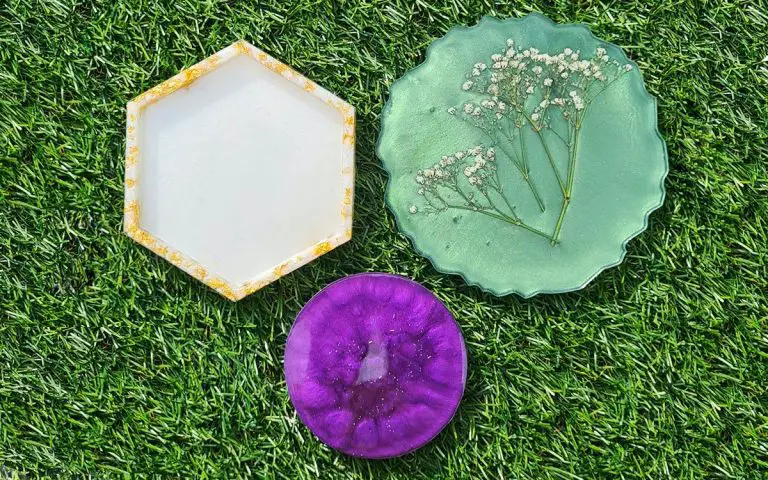
- A wooden base or a silicone mold (in a shape of your choice – round seems to be the popular one)
- Clock mechanism and numbers
- Mixing cups and mixing sticks
- A digital scale
- Nitrile gloves
- A respirator
- Color powder pigments or inks
- Inserts such as flowers, gold leaf foil, glitter, etc
*Paid Links
These are the basic supplies that you’ll need to get started. You can read about these in more detail in our article about resin casting.
The Prep Work
Before you start creating with resin, there are a few things you need to prepare, such as your workspace, any tools you may need, and the colors and inserts you want to use in your project.
This step is vital due to the limited time to work with resin before it starts to cure. The working time of epoxy resin is usually 20 to 40 minutes. The label will indicate this, so be sure to read it.
Let’s go through this step, so you’re fully prepared to create your masterpiece!
- Check that your workspace is at the ideal temperature: This is around 75 Fahrenheit (24 degrees Celsius). This is important as it will affect your resin when you mix it and when it’s curing. If your workspace is not at the ideal temperature, your resin and hardener might not mix through well enough, unwanted air bubbles are more likely to occur during colder temperatures, and your resin might not cure correctly or at all.
- Get all your required materials and tools and pack them out on your workbench: Organize them in an orderly fashion and ensure they are all within reach. This helps save a lot of time when you start to cast your resin and get into the creative part of the resin art-making process.
- Prepare your molds: Ensure that your molds are clean and level. You can clean your molds by dabbing them with painter’s tape or sellotape. This quickly removes dust and any small resin bits from a previous project. Next, spray your mold with Ease Release 200 (Paid Link) to prolong the life of your mold.
- Using a wooden base: If you’re using a wooden base, it’s optional to give it a coat or two of acrylic paint. This will help enhance the color of your resin. Also, ensure your base is level to allow for an even flow of resin.
- Wear your PPE: Please don’t ever skip this step. Resin is harmful if it touches your skin and when you inhale the fumes. Be sure to wear your gloves and respirator. Read our resin safety article for more detail on your safety when working with resin.
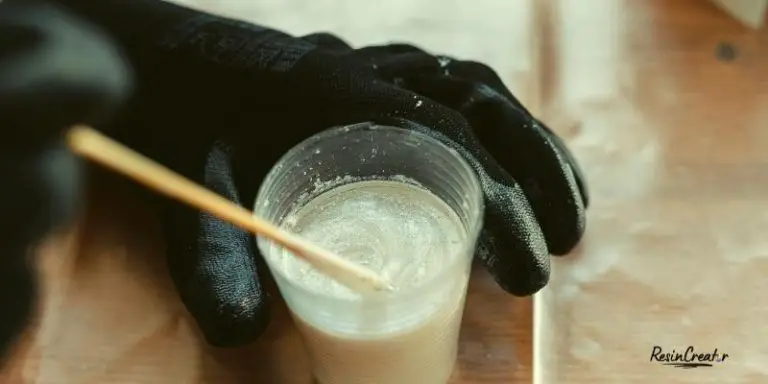
- Mix your resin: Measure your resin and hardener according to its instructions. Then mix slowly and thoroughly, scraping the sides and bottom of the container. This is key to avoiding bubbles and ensuring that your resin cures properly. Refer to step 5 in our article on resin casting for more detail on how best to mix your resin.
So now that all your prep work, measuring, and mixing are done, we can move on to the exciting part – making a resin clock!
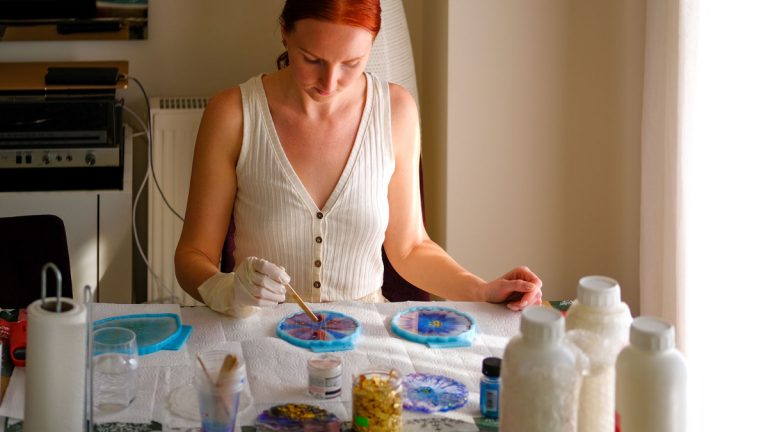
Step 1: Pouring Your Design
By now, you should know what you want your resin clock to look like: which colors you’d like to use, how you’d like the colors to flow and mix, and what inserts or embellishments you’d like to add.
Get Your Colors Ready
Divide your resin into mixing cups. Have one cup for each color. At this point, you also need to decide what your dominant or base color and add-on colors will be.
You’ll reserve most of your resin for your dominant or base color, and then you can split the rest equally between your add-on colors.
Mix your selected color pigments into each cup slowly and thoroughly.
Tip: Keep some clear resin aside as a top-up. This is handy when you’re halfway through your project and realize that you may want to add another color or top up one of your existing colors.
Pour Your Dominant/Base Color
We decided to use a wooden base for our clock instead of a silicone mold. When using a rimless base (something that will not hold all of your resin in a shape after you pour it), it’s advisable to let your resin sit for about five to 10 minutes after you’ve mixed it.
When you mix your resin and hardener, a chemical reaction occurs, and your resin will start to cure. Next, it will get thicker and slowly solidify over the next 12 to 24 hours.
When you allow your resin to stand for a few minutes after you’ve mixed it, you’ll end up with a thicker resin that will not run off the edge of your rimless base so easily. This is beneficial for two main reasons:
- You will have more control over your design as you pour your resin.
- You will not waste a lot of resin, which happens when the resin has a thinner consistency and drips off the sides of your base.
Tip: To save the resin that drips off the sides, you can scoop it up and put it in a smaller mold. This is a great way to create little pendants or charms from what would have been wasted resin.
Stir your base color resin every minute or so to check its consistency. Once you’re happy with the consistency, then go ahead and pour your base color.
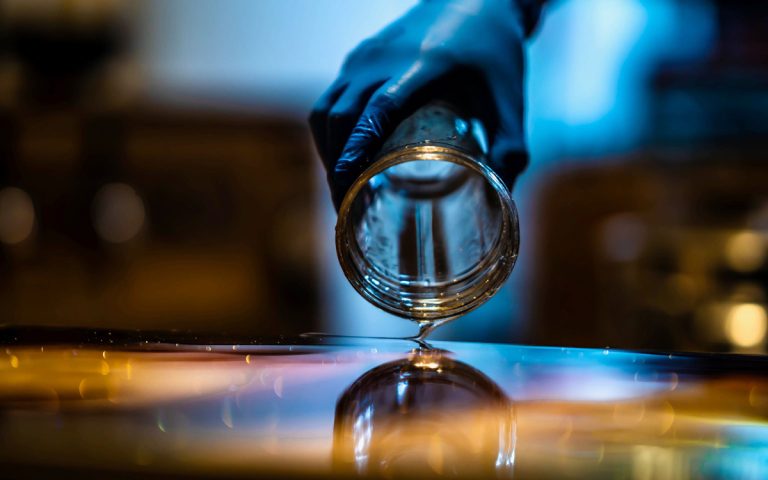
Start pouring from the center of your base or mold and slowly move toward the edge. You can also use a mixing stick to help cover the full surface of your base with the resin.
Pour Your Add-On Colors
After your base is completely covered, you can pour your other colors.
You can do this strategically or just let the artist inside of you take over!
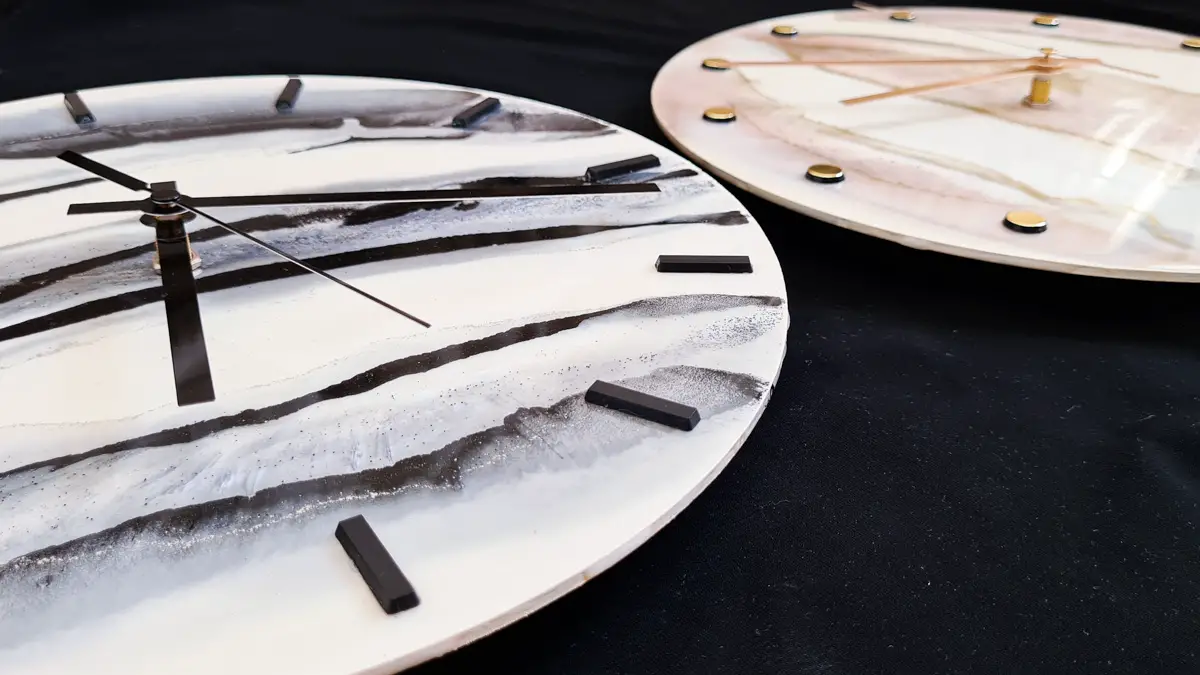
We had a specific design in mind. We were aiming for a type of marble effect. Halfway through, we decided that some glitter was needed.
We added some glitter to one of the colors we had already mixed and a little more pigment and poured that onto our base.
Tip: Instead of using multiple mixing cups for different shades of the same color – use one. Then as you need a darker shade, add more pigment to your mixing cup, stir it through, and pour it on. Remember not to exceed the 10% pigment-to-resin ratio threshold. Adding too much pigment to your resin could result in your resin not curing properly.
Once you’re happy with your design, you can use a heat gun to create some “flow” between the colors. The heat gun will also help pop any surface bubbles in your resin.
If you’re happy with your design and don’t want it to be blown or moved by a heat gun, use a torch. The heat from the torch will also pop any surface bubbles without moving your design. Be careful, though! The torch’s flame can burn the resin – keep it at a distance that only allows the heat from the torch to reach your resin.
Tip: If you’d like to add some 3D objects, such as shells or crystals, to your design, consider their height and if they will block the hands of the clock as they move around. Placing the shells or crystals closer to the outer edge is the safest place if the hands of your clock don’t reach that far.
Step 2: The Curing Phase
There isn’t much for you to do here besides practicing some patience.
But before leaving your masterpiece to cure, cover it to prevent any unwanted dust particles from settling on it.
You can use a plastic container that’s big enough to cover your entire project.
Step 3: Getting Rid of the Drips
Whether you use tape or not – you will have drips of hard resin on the back of your board.
In our experience, the easiest and cheapest way to remove these drips is to not use tape, let them harden, and then remove them with a heat gun and a blade.
Blow the heat gun onto the drips, and they will soften quickly – within seconds. Then scrape the drips off using a blade. Give it a light sand after that; your board is as good as new!
We’ve used tape before and found that:
- Removing the tape is difficult, so you’ll need to heat it.
- After heating it, the tape leaves behind a sticky residue.
- This sticky residue can be removed by sanding it, but this method uses quite a bit of sandpaper.
This step would not apply if you used a silicone mold. In this case, you’ll just de-mold your piece after it has cured.
Step 4: Drilling the Center Hole
Your clock needs a hole in the center for the clock mechanism.
The mechanism is what the hands of the clock will be attached to and what will allow the hands of the clock to move as they should – per second, per minute, and hour.
If you used a mold that provided a hole in the center of your clock – then bravo! If not, you’ll need to find the center and use a drill to make a hole.
It’s quite easy to drill through the cured resin.
We advise you to drill slowly and allow the drill bit to carve out the hole without applying too much force.
By applying too much force, you could damage the resin, make the hole too big, or crack your baseboard.
Step 5: Adding the Clock Numbers and Mechanism
Adding numbers is optional. Lots of people have clocks without numbers or number indicators.
If you use numbers, you need to place them accurately so that the hands of the clock (the minute and hour hands) line up with the numbers.
You can do this very easily by using a clock template. We just Googled an image, printed it out, and taped it down onto the face of the clock.
You will then use the lines on the template as your guide when placing the numbers onto the face of your clock.
This might sound complicated, but we promise it’s easier than it sounds.
You can then place your clock mechanism on the back of your clock, with the center of the mechanism going through the hole you drilled.
Now add your clock hands, starting with the hour hand, then the minute hand, and lastly, the second hand.
Then all you need is to add a battery, and voila! Tick Tock!
Your resin clock is done and ready to be put on display!
Help! Some Troubleshooting
My Design Changed After It Cured
This is most likely due to having an uneven surface, which allowed the resin to run off to one side. Use a level to ensure that your surface is level before pouring your resin.
Another possibility could be too little pigment. The color might have seemed vibrant enough after you poured it, but it faded into the base color as the resin cured. This is tricky, but you’ll get the hang of how much pigment is needed as you create more pieces.
If the color looks terrible or just doesn’t sit well with your soul, you can always pour another coat of resin on top of that. All is not lost! Do this before placing your numbers and adding your clock mechanism.
Also, remember that resin is a fluid art that moves as it cures. This is part of its beauty and what makes it unique. Designs can never be duplicated. Your finished project will not look drastically different from what you initially created, but there will be subtle changes.
Why Is My Resin Still Sticky?
This could be because your resin wasn’t mixed properly or it wasn’t measured correctly.
Read our article Why Is My Resin Still Sticky? which covers everything you need to know and how to avoid this from happening to you.
My Clock is Not Ticking
Try moving the battery or replacing it with a new battery. If that doesn’t work, the mechanism is most likely faulty, and you would need to return to the store and get a replacement.
My Numbers Are Not Sticking To My Clock
Sometimes there’s not enough glue on the back of the numbers. In this case, Super glue is your best friend. Super glue adheres well to resin. But use a tiny amount as it runs quickly and could spill onto your design.
Final Thoughts
By following our tried and tested method for making resin clocks, you’ll be amazed by how easy it is to create something absolutely stunning.
Let us know about your experience in the comments below, and please share this article with fellow resin artists!