Flowers in Resin – Everything You Need to Know
What’s exciting about epoxy is that you can pretty much place anything in resin to cure. You can put hair, stones, beads, shells, coffee, glitter, dead bugs; the list goes on! But more importantly, preserving flowers in resin is achievable.
Flowers can aesthetically bring a room together or leave people in awe over their unique colors, features, and smells. Unfortunately, you cannot preserve the fragrance of a flower. However, you can put a flower in resin to preserve its visuals.
Sentimental value can be attached to flowers. Preserving them in memory of an occasion or a particular person can make extraordinary gifts.
The question is often asked, “can I put fresh flowers in resin?”. The answer is NO. If you put fresh flowers in resin, the moisture will cause the flowers to go brown or rot. Eeek! Can you imagine the disaster?
You can, however, put dried flowers in resin.
How to Dry Flowers for Resin?
The method you choose to follow will depend on the result you want. This depends on the epoxy flower product you are trying to create. Do you want the flowers to be flat, or do you want them to keep their three-dimensional form?
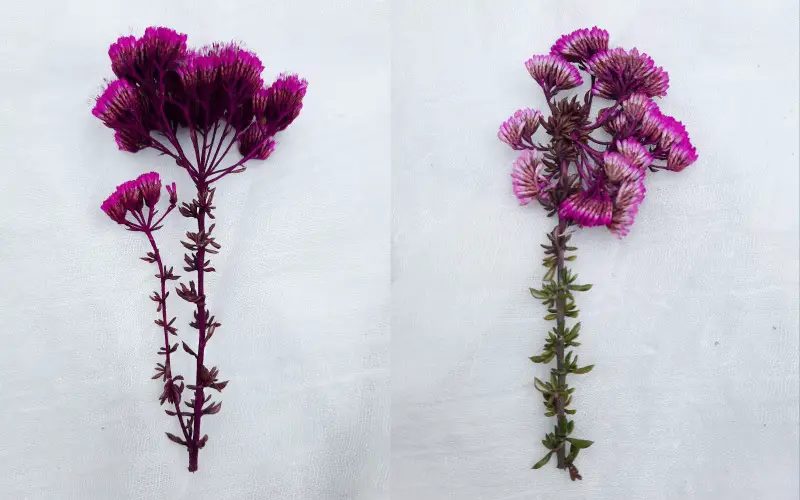
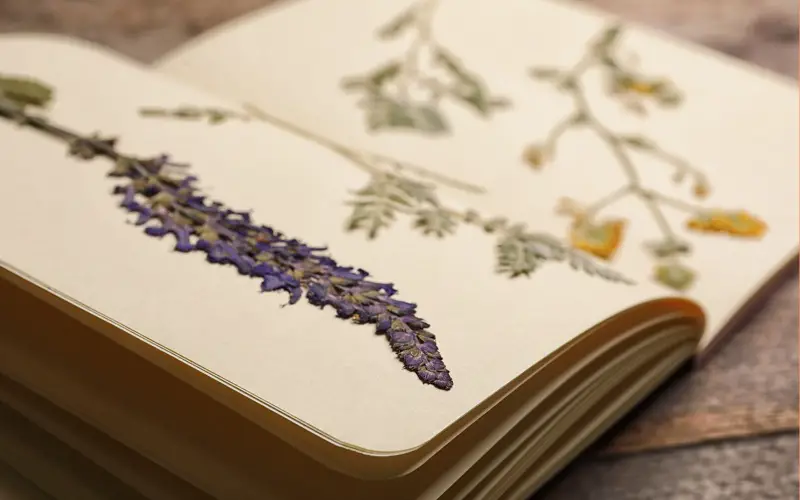
Difference Between Pressed Flowers and Dried Flowers (3D)
are easier to cast in products like coasters, bookmarks, and jewelry pendants. The flatter the flower, the less bulky it will be and the less likely it will stick out the resin.
It can be challenging to flat-dry bulky flowers like roses. However, you can cut large flowers to dry them flat or pick off the petals.
Simple dried flowers in resin are better for preserving their shape, like a whole bouquet from weddings or other special occasions.
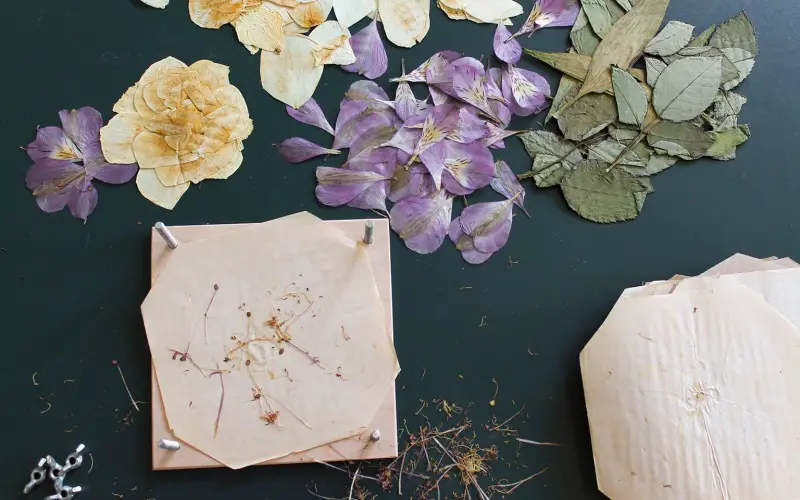
4 Ways to Press Dry Flowers
Pressing Flowers With Books
A traditional way of drying flowers is by placing them between heavy books:
Most people did this as a child (or adult). Did you ever pick flowers in your garden? Place them in books? See how they were preserved a few weeks later? Then made all sorts of different crafts with them? Alright, enough with the reminiscing, let’s get back to business 😉
1. Pick your flowers
You can pick them up in your garden or in a park or flowers kept after someone’s wedding.
2. Trim the flowers
Decide which parts of the flower you need. Then, cut the extra bits off. Sometimes leaving the leaves on the stems of the flowers adds to the beauty.
3. Pat the flowers down with an absorbent towel
Usually, dew remains on freshly picked flowers. However, it depends on what time of day you pick them. Pat them down carefully with a paper towel to remove any excess water. Remember, moist flowers can cause mold during the drying process.
4. Prepare the wax paper(or parchment paper)
Cut out book-sized pieces of wax paper. Place a piece of wax paper in between a book. Another option is to place the wax paper on top of a hardcover book. Books can then be stacked on top as a press.
5. Spread the flowers on wax paper
Make sure that they are not overlapping. The flowers will be challenging to separate if they overlap due to being brittle.
6. Place a piece of wax paper over the spread of flowers
7. Stack books on top of the wax paper with the flowers inside
8. Leave undisturbed for approximately 10-14 days
The flowers should be flat and papery. Check the flowers after a week. If they aren’t quite ready yet, leave them to dry longer.
Pro Tip: Use tweezers to remove the flowers from the wax paper. They will be brittle and will break easily.
Pressing Them In A Wooden Flower Press
Using a wooden press is similar to pressing flowers in between books. The flowers will be flat and paper.
We recommend you invest in a wooden press (Paid Link) If you are someone who enjoys picking flowers while you are hiking or traveling. The flowers can be pressed immediately and stored in the wooden press in your carry bag while on your journey.
If you are feeling creative, you can create your own wooden press. Only two pieces of wood, a drill, and four bolts are needed.
Pro Tip: Start the drying process as soon as possible to preserve the color.
Steps:
1. Pick the flowers
Pick your flowers in the afternoon when they are least likely to be moist.
2. Large flowers can be cut in half first
Make sure you trim away any dead parts of the flowers. Cut your flowers to size.
3. Pat the flowers down with an absorbent towel
Pat the flowers with an absorbent towel to remove any excess water.
4. Prepare the wax paper and cardboard (optional)
Place a piece of wax paper on a piece of cardboard, both cut to the size of the press. The wax paper can be set on the wooden press rather than placed between cardboard. Placing the wax paper on cardboard is optional.
5. Spread the flowers on wax paper and ensure they do not overlap
6. Place the wax paper and another piece of cardboard (optional) over the flower spread
It can be layered as follows: Piece of cardboard, wax paper, flowers, wax paper, and cardboard on top. Or, the flowers can be placed between two wax paper pieces.
7. Place the flower spread into the wooden press
Tighten the bolts in the wooden press. Be careful not to tighten too much, as this will destroy the flowers.
8. Leave the flowers in the wooden press for one to four weeks
After that, it depends on the type and size of the flowers.
Benefits of Pressing Flowers:
- Flowers are dried flat.
- This leaves them manageable to work with and organize.
- It is cheap because you only need wax paper, a few books, or a wooden press.
Downsides of Pressing Flowers:
- This process can be pretty lengthy, and patience is required.
- If there is moisture, the flowers can rot. This leaves them unusable.
- Flowers are dried flat and brittle.
- They can break while working with them.
- They lose their shape and vibrancy.
Why Choose this Method?
This method is suitable for small to medium flowers and flowers with thin petals.
If you want to create resin flower products with thin volumes like bookmarks or jewelry pendants – this method is appropriate as the flowers are dried flat.
This way is appropriate if you don’t have time constraints.
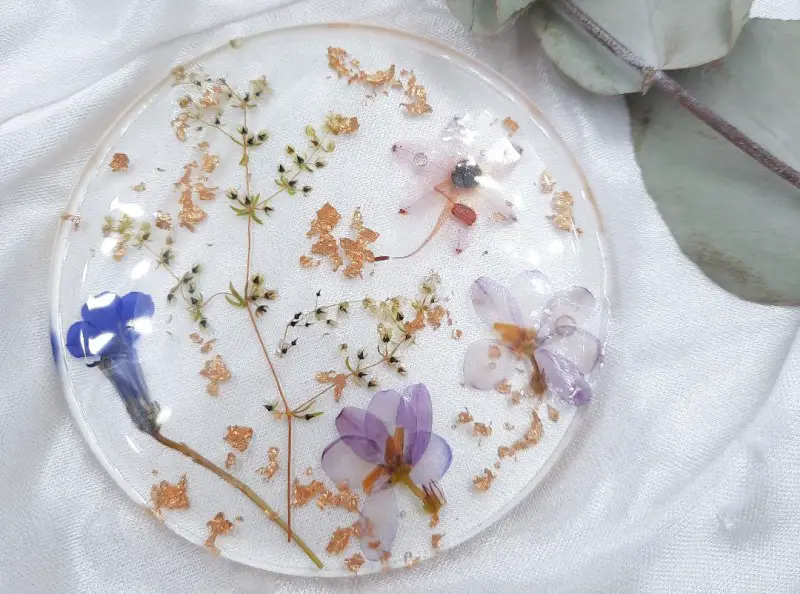
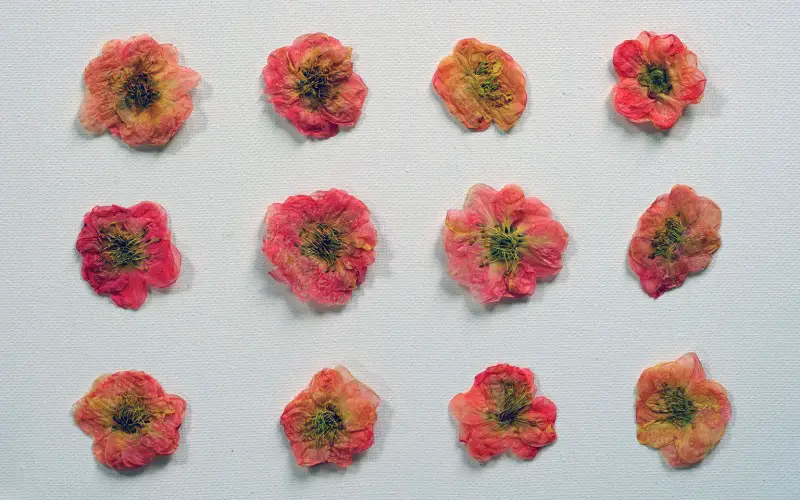
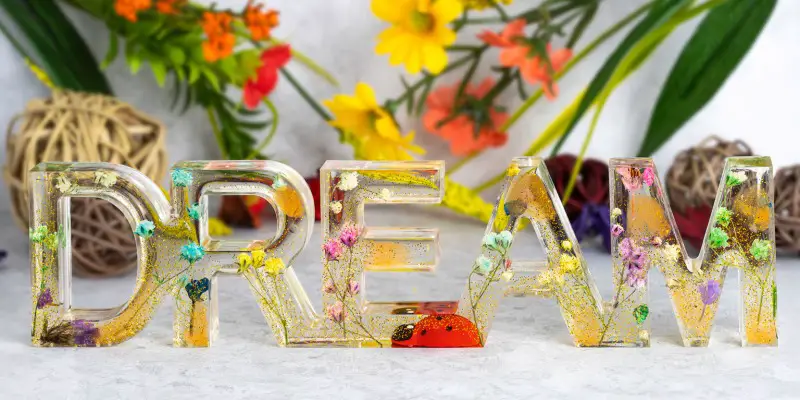
Pressed flowers in a wooden press before casting them in resin with gold flakes.
Drying Flowers With a Microwave
You can have dried flowers in just five minutes.
Using your microwave to dry flowers for resin will be more of a hit or miss. You will need to test it out a few times in the beginning. To work out the right timing based on your microwave and the flowers.
Pro Tip: Dry out your flowers for one to two days using the press method before using the microwave. This helps preserve the color of the flowers.
Steps:
1. Prepare your flowers
Pick, trim and cut the flowers accordingly. Pat the flowers down with an absorbent towel.
2. Cut absorbent paper to size
Cut pieces of the absorbent paper towel to size according to your microwave.
3. Spread the flowers on the absorbent towel
Make sure that they are not overlapping otherwise it will be difficult to separate them.
4. Place a piece of the absorbent towel over the flowers.
5. Place the flowers and absorbent towel in the microwave.
6. Put a heavy glass dish on the flowers during the warming process.
Use a flat, large dish to press the flower spread down during the warming in the microwave.
7. Microwave for 20-second increments
Start off by microwaving for short increments, you can increase the number of seconds depending on your microwave. For example – microwave for 20 seconds, cool for 10 seconds, etc. Complete this until you are happy with your dried-out flowers.
8. Leave the flowers out to cool
Leave the flowers out for at least 30 minutes before using them. The flowers should be completely dry before placing them in resin.
Benefits of the Microwave Method
- This is a fast and inexpensive way to dry flowers
Downsides of the Microwave Method
- The microwave method does take effort to complete as you will have to continuously microwave and then cool until the flower is completely dry.
- A risk is that the flower may burn during this process.
- The flowers will lose shape and vibrancy.
Why Choose the Microwave Method?
This method can be used if you urgently need to dry flowers for resin and don’t have time for more extended drying methods.
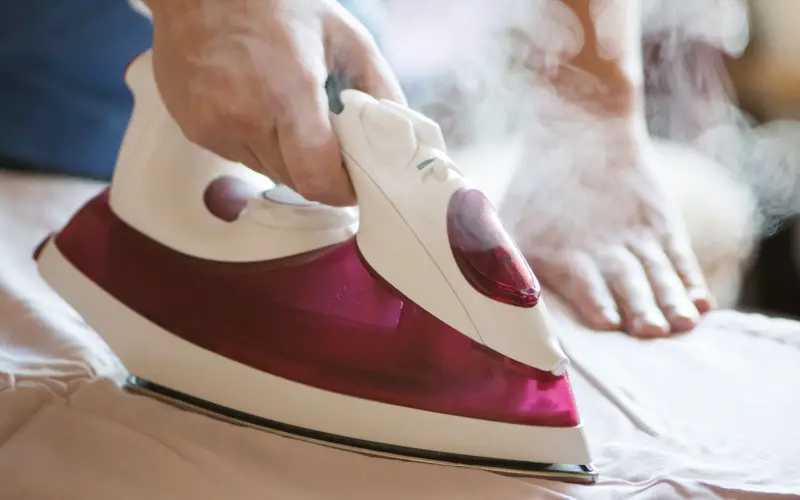
Ironing the Flowers
Another fast method to dry flowers is by using an iron.
Pro Tip: If you find flowers while traveling, store them in a sealed plastic bag and then place them in the fridge until you are ready to preserve them.
1. Prepare your flowers
Pick, trim and cut the flowers accordingly. Pat the flowers down with an absorbent towel.
2. Spread the flowers on a piece of parchment paper
Place the flowers on a piece of parchment paper and place another piece of paper on top. There should be no overlapping.
3. Set up an appropriate working station
Place the flower spread on a towel and use an iron board.
4. Set the iron on its driest setting
When you iron, hold the iron on over the flower spread. Do not move the iron around as this could damage the flowers.
5. Iron for 10-second increments
Do not hold the iron on longer as this could burn the flowers causing them to lose color.
6. Break for 20 seconds
Give a long enough break between the increments to give the flower spread time to cool off.
7. Leave the flowers out to cool
Leave the flowers out for at least 30 minutes before using them. The flowers should be completely dry before placing them in resin.
Benefits of the Ironing Method
- This is also a fast method to use for drying flowers.
- If you have an iron, this method will be inexpensive.
Downsides of the Ironing Method
- It can be a safety hazard as there is the risk of harming yourself.
- The risk of burning the flowers.
- Takes effort as you need to continually switch between ironing and cooling.
Why Choose the Ironing Method?
This method is appropriate for flat and thin flowers. It is suitable if you are on a time limit.
Click here to see four different ways to dry flowers flat.
2 Ways to Dry Flowers in Shape
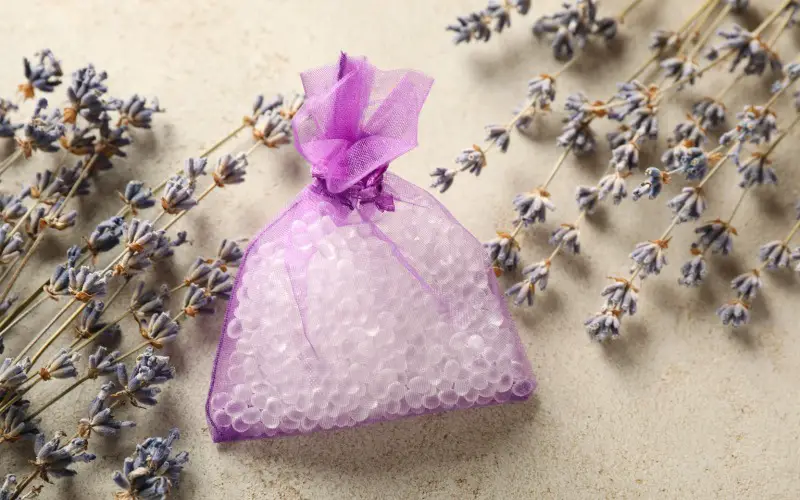
Use Silica Beads/Crystals
Drying flowers using silica beads or silica gel crystals (Paid Link) helps retain the shape of the flower. Silica crystals are smoother and finer than silica beads. The beads are small balls of silica gel.
Silica can be used to absorb the moisture from the flowers, allowing them to dry and be preserved. Read more about silica gel in this article.
We found that using silica crystals gets more surface area around the flowers as they are finer. However, it can be challenging to remove all the crystals from the flowers and can be challenging due to their size.
Safety Tip: Wear gloves and a mask while working with silica. It can be a danger to breathe in the finer dust particles.
Steps:
1. Prepare your flowers
Pick, trim and cut the flowers accordingly. Pat the flowers down with an absorbent towel.
2. Prepare your silica container
A large enough air-tight plastic or metal container is essential. Pour a layer of silica into the container.
3. Spread the flowers in the container
Make sure they are not touching. Place flowers (like roses) with their stems in the silica facing upwards. If they are placed sideways, their form can be affected. Long-stranded flowers can be placed sideways.
4. Pour silica over the flowers
Slowly pour the silica over the flowers until they are completely covered. A spoon or another container can be used to control the pour.
5. Seal the lid and store it for two to seven days
Depending on the flower type, it can take between two to seven days. Make sure the flower is dry before removing completely.
6. Dust off excess silica
Use a brush to brush off any excess silica. Silica crystals will take more time to be brushed off compared to silica beads.
Benefits of this Silica
- This is a quick way to dry flowers, not as fast as ironing or microwaving but faster than pressing.
- This is the best method to preserve the vibrancy and shape of the flower.
Downsides of Silica
- You will need to wear a mask and gloves as a safety precaution.
- Silica is initially very expensive, but the silica can be recharged by placing it in an oven to remove the moisture.
- It can be challenging to remove all silica from the flowers.
Why Choose this Method?
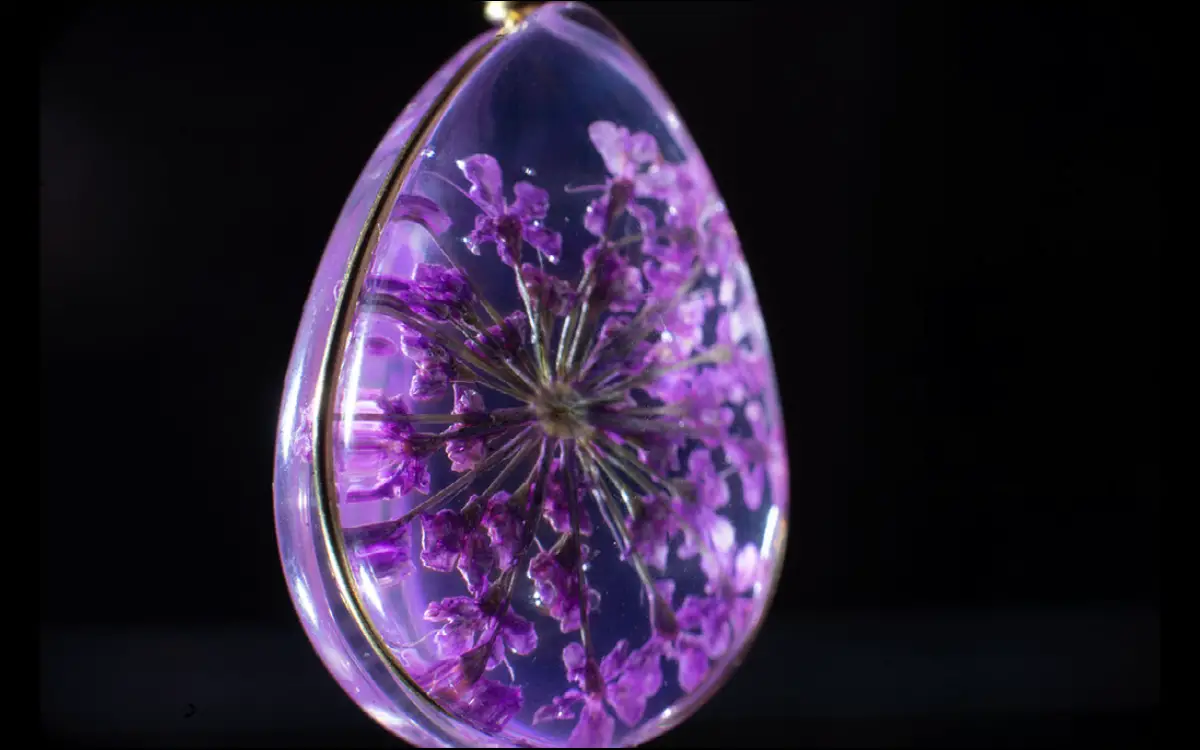
It’s the best way to dry delicate flowers like roses or tulips. Due to the flowers keeping their shape, you can use flowers dried in their shape for more significant resin flower projects that have more volume.
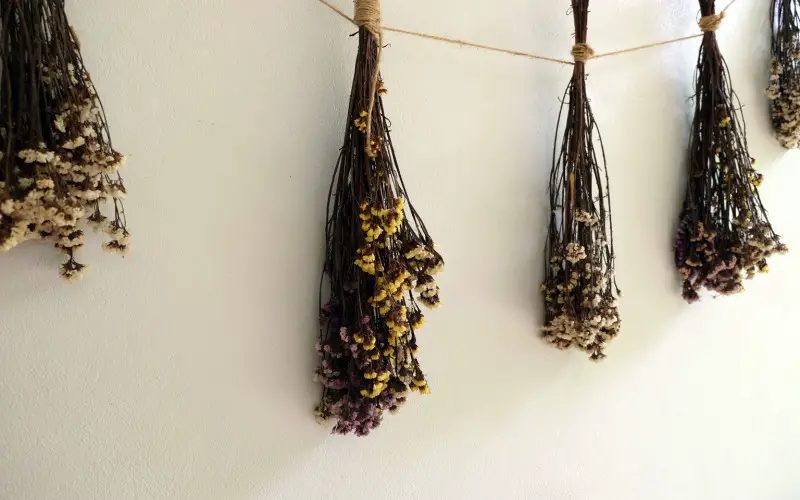
Air Drying Flowers
Air drying flowers is the most traditional way to dry flowers to keep their shape. However, this can be done when you want to preserve a bouquet together.
Steps:
1. Prepare the flowers
Remove any browning leaves and petals. Pat the flowers down with an absorbent towel – if necessary.
2. Bind the flowers
Then, tie the bundle with a string or elastic band to hold them together. Still, tie the flowers even if they are already placed in a bouquet.
3. Hang the bundle’s upside down and store them
Store the flowers upside down in a cool, dark, and well-ventilated area. Keep the flowers dry and out of direct sunlight to preserve their color.
4. Leave the flowers to dry for two to four weeks
The drying period is dependent on the type of flower and the weather.
Benefits
- This is the easiest drying method as hardly any materials are required.
- It is the most cost-effective way of drying.
- This method keeps the flower’s shape and prevents drooping.
- The color is mainly preserved. You will be able to preserve an entire bouquet for resin.
Downsides
- It takes three to four weeks for the flowers to dry completely.
- Adequate space is required to allow the flowers to dry and be undisturbed.
- Most flowers keep their color; however, some lose vibrancy (this depends on the flower).
- The flowers will also shrink and crinkle. They will be brittle and stiff.
Why Choose this Method?
This method can be used if you are required to dry an entire bouquet in place. Perhaps you must create a sentimental wedding gift of a bouquet in resin. This method can be used if there are no time constraints.
Casting Resin Flowers
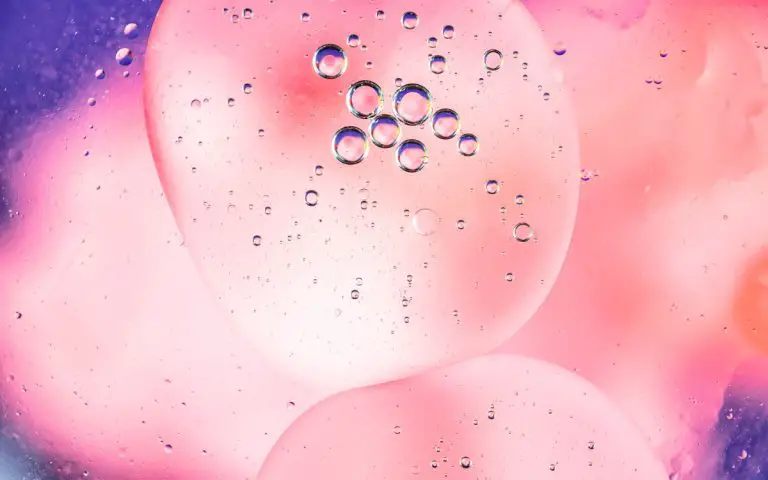
Sometimes, the flowers can react with the resin and create micro bubbles even when they are dry. You will need to create a protective layer to prevent this from happening.
How Can You Seal Flowers in Resin?
You can coat them with:
- Hairspray
- Clear drying Glue
- Mod podge
How To Put Flowers In Resin?
Flowers can be preserved in resin in two ways, highlighted below.
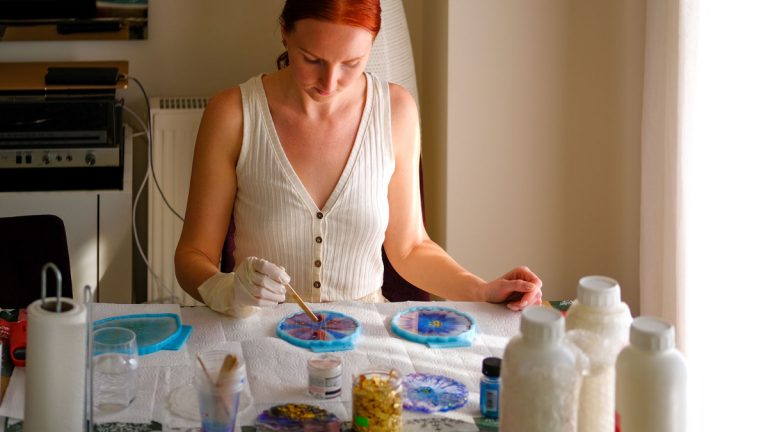
Wear the appropriate PPE and follow the correct safety precautions when working with resin. Prepare your workspace, tools, and materials before the resin pouring process. Organize your dried flowers accordingly in the preferred sequence before mixing the resin.
Flat Press Dried Flowers
Flat-dried flowers are usually thin and light. This causes them to float to the surface of the resin. This results in them sticking out the resin once dried.
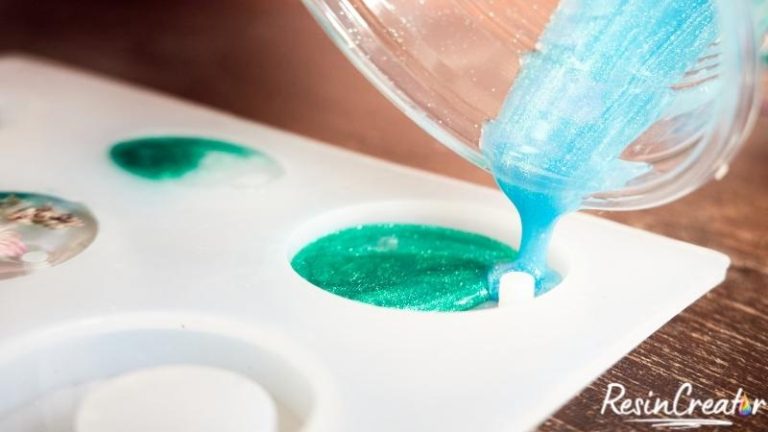
One way to prevent this is to pour twice. First, fill ¼ of your mold with resin. Next, place the flowers in the mold and pour another ¼ on top. Once this is cured, bits of your flowers may be sticking out.
Wait at least 24 hours before pouring again. You will need to mix a new batch of resin. Pour a second time, filling out the rest of the mold and resulting in a smooth surface with no flowers sticking out.
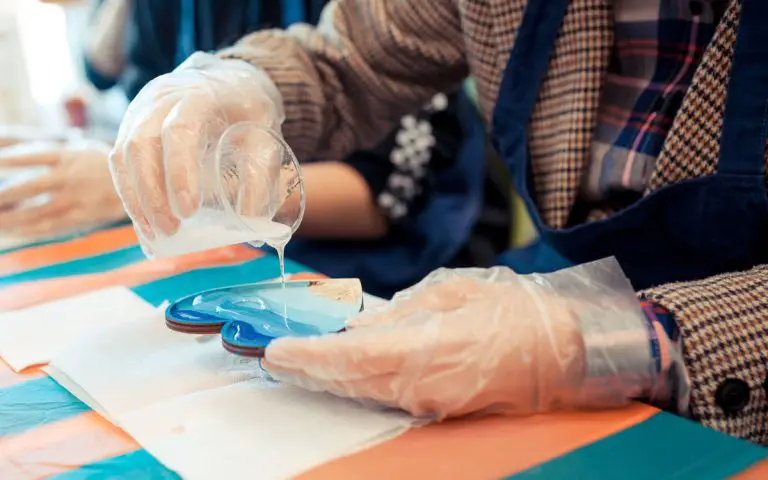
Another way is to pour the resin into the mold. Place your flowers in the mold, then pour resin on top, filling the rest of the mold. You can then use an ice cream stick or toothpick to push the flowers down continuously.
They will keep floating up a few times, but the viscosity will thicken as the resin starts to cure. Preventing them from floating to the top of the surface.
We recommend the first option for big flowers in resin projects, as it will be challenging to continually press many flowers down in a large project.
3D Dried Flowers
We recommend coating the 3D-dried flowers in resin before casting. Dried flowers can still produce bubbles. Having many bubbles in your final product is not ideal.
Coat the flower with resin using a paintbrush. The resin flower can be hung upside down over wax paper to cure. Once the flowers are covered in a layer of cured resin, they can be placed in the mold, ready for the final pour.
This casting method is best used if you want to preserve a whole bouquet in a resin block.
Look at this video demonstrating how to coat flowers in resin. Keep in mind that you risk rotting if you resin fresh flowers. So make sure you dry your flowers first.
Questions about Resin Flowers
What flowers are best for resin?
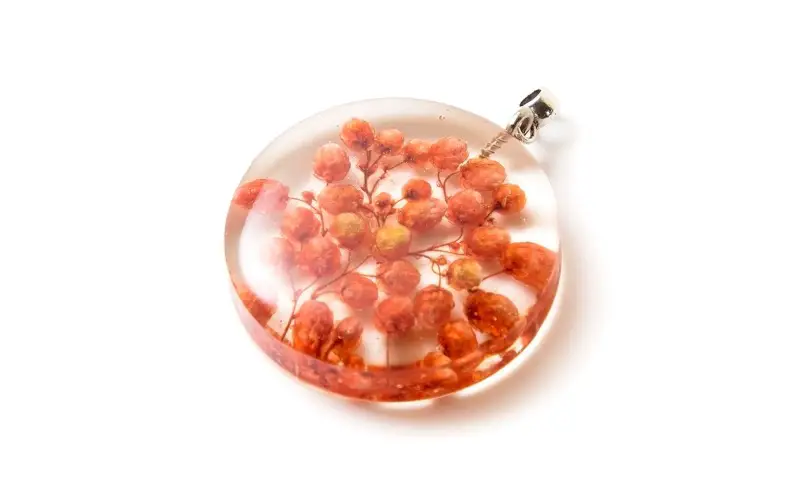
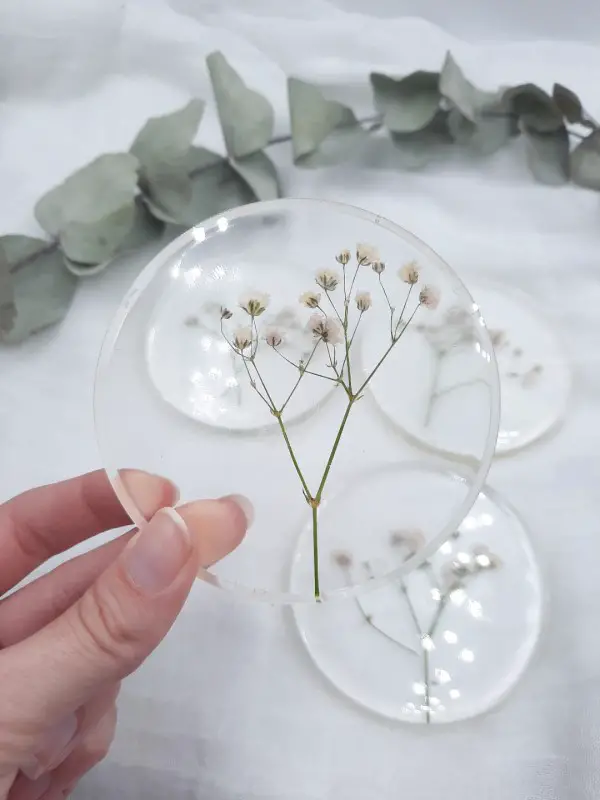
Flat flowers that don’t have a lot of volume, like daisies, violas, pansies, and primroses, babies’ breaths are the best to dry and preserve in resin.
Can you seal fresh flowers in resin?
No, they must be thoroughly dried before they are cast into resin, or the moisture will cause them to discolor and rot.
Is it safe to press flowers in the microwave?
Yes and no. This depends on the type of press you are using. First, check to see if the materials used to create the press are safe in microwaves.
Final Thoughts
Choose the best drying method for epoxy flowers that will be suitable and appropriate for your casting, whether it’s a large bridal bouquet that requires 3D flowers or small jewelry items that require flat flowers.
Consider how much time you have to dry the flowers. Always give yourself extra time in case something doesn’t go as planned.
Each flower reacts to resin differently. Therefore, always test out the resin on a single flower before casting a whole epoxy resin flower product.
Play around with the different methods, and most importantly – have fun and enjoy the process!
It’s time to bring out the creative side.
We would love to know in the comments section below which methods worked best for you.
If you found this article helpful, please share it with other resin art enthusiasts who could benefit from it.