Resin Art Tips and Tricks
How awesome would it be to know what you know before learning it the hard way? So awesome, right?
Good news! That’s precisely what we have in store for you. We’ve done it the hard way, so you can do it easily!
Whether you’re a beginner or a more advanced resin artist, we have done our best to put together a list of our top tips and tricks to help you level up your resin art quickly and easily.
We’ve split our tips and tricks into three main sections:
Let’s go!
Before You Mix Your Resin
Preparation, Preparation, Preparation
Probably the most necessary part of resin art is preparation. This is because you are on a timer as soon as you mix parts A and B of your resin. So it’s essential to:
- Plan your project: Decide what you want to create and get the supplies you’ll need.
- Prepare your workspace: Lay out your supplies, tools, molds, etc., and check that your work surface is level. If you forget to level your artwork, set up your heat gun, or anything else before you mix your resin, then this is time you’ll lose to work with the resin.
- Schedule time: Designate time to work on your project rather than making time for it or squeezing it in between other tasks – resin waits for no man, so give it the time it deserves, or you’ll end up with a disaster project (Yes! We also learned this the hard way!). This also helps you relax while doing your art, allowing it to flow better and enjoy it more.
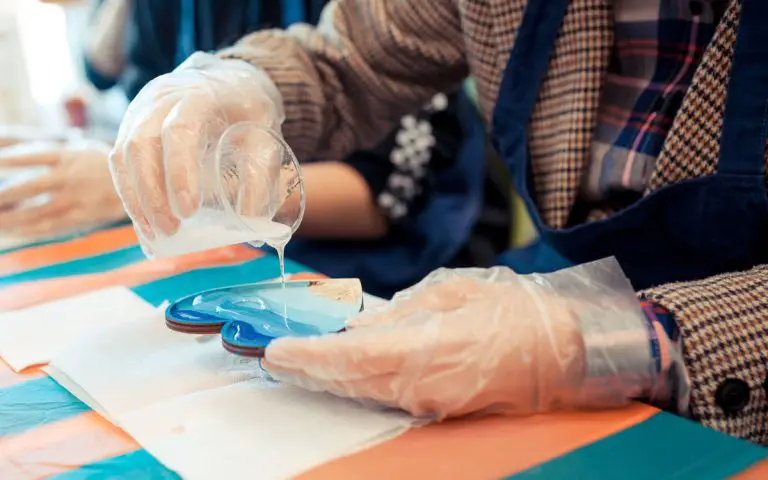
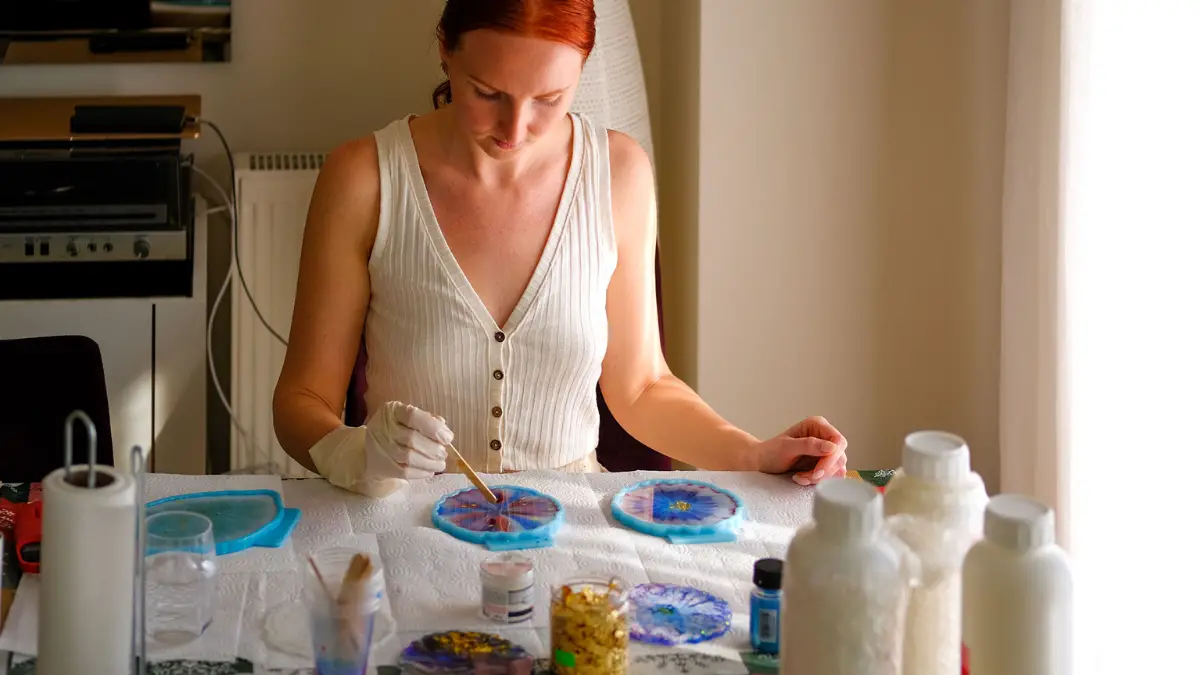
- Wear proper PPE: Resin can be harmful if it touches your skin or if you inhale its fumes. Always wear nitrile gloves and a good-quality respirator (Links sponsored by Amazon). Wearing a long-sleeved shirt is also a good idea as this will protect your arms from any resin drops.
*Paid Links
Your Workspace’s Temperature Is Important
Your workspace’s ideal temperature should be around 75 Fahrenheit or 24 degrees Celsius. This allows your resin to mix easily and to cure as expected – no flash curing or surprises!
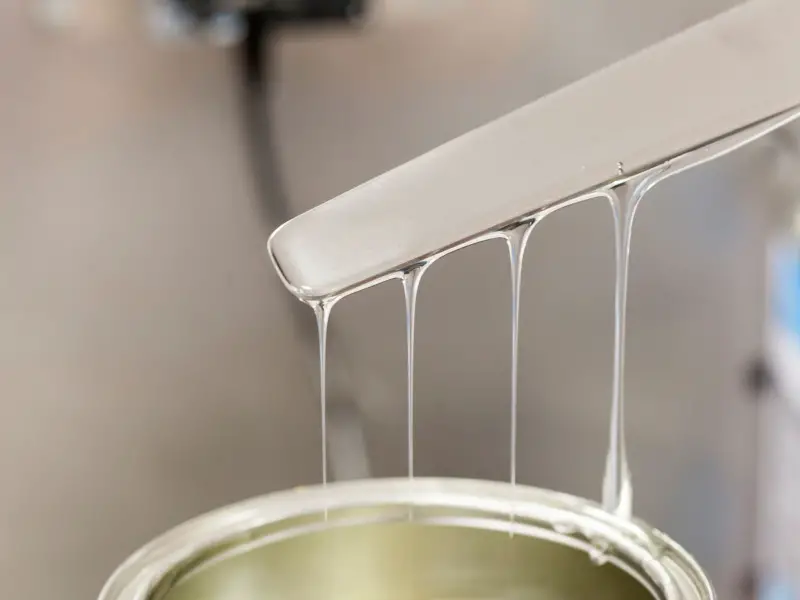
When the temperature drops, you’ll find that your resin thickens. This makes it hard to mix your resin and will definitely result in bubbles.
If your workspace is too hot, your resin will be thin and runny. This is not ideal for all resin projects. Also, this can result in a faster curing time and possible flash curing.
Make Sure It’s Level
Resin is a self-leveling liquid before it cures. This means that no matter how you pour it or what shape the mold or object you pour it on the resin will always level itself out.
For this reason, you should ensure your project is perfectly level. Most of this movement happens slowly over a couple of hours after you pour the resin, so you may do your pour and leave it to set, only to come back the next day and find that it has all moved.
To avoid this, make sure that your project is as level as you can get it. The bigger the artwork, the more attention you should pay to this. A coaster will not be overly affected by a minor angle but coating a table will be affected even if it is out of level by a tiny amount.
Use a Scale

When measuring or weighing parts A and B of your resin, your best bet is to use a digital scale (Paid Link). This accurately weighs the amounts that you require for each part.
If your measurements are inaccurate, you could end up with resin that either flash cures or does not cure fully. And you want to avoid both of these scenarios at all costs because your resin will be wasted
Sellotape for a Quick Clean
Molds tend to get dusty, and sometimes there’s a little bit of resin stuck to it. Just grab a piece of sellotape and dab it around your mold. All those bits of dust and resin will stick to the sellotape, leaving you with a ready-to-use mold.
How Much Resin Do I Need?
Some molds will specify how much resin they can hold, But what if it doesn’t?
The quickest way to determine the volume of your mold is to fill it with water:
- Place your mold onto your digital scale.
- Set the scale to zero.
- Make sure that the units are set to grams, as most resins are measured in weight (check the instructions to be sure).
- Fill your mold with water.
- Check the reading on your scale and then note it in a book or if you have a whiteboard in your workspace, write it down there, or you could even write it on the bottom of your mold using a marker.
You’ll then need to calculate how much of part A and part B are needed to fill your mold. If your resin’s mix ratio is 1:1 (equal parts of A and B), then it’s pretty simple.
However, if it’s 100:33, for example, it’s best to round up the resin required to the nearest 10. It’s better to have extra resin than too little. You can always pour your excess resin into a small spare mold after you’ve finished your project.
When Working With Your Resin
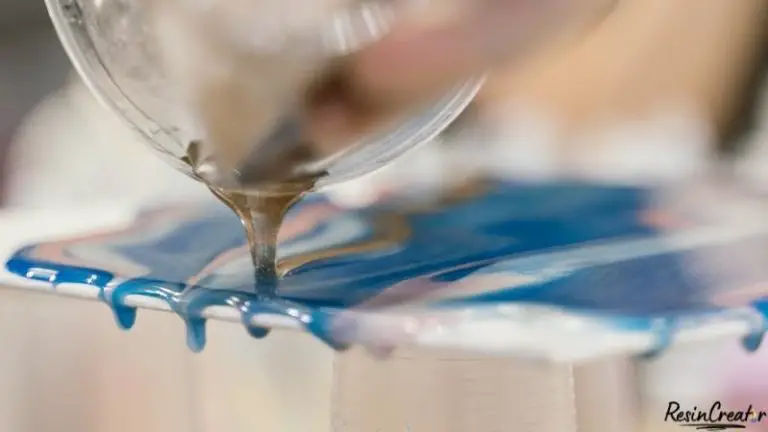
How You Mix Resin Is Key
Bubbles constitute a significant enemy of resin artists, and one of the main ways they make it into our artwork is through the mixing process. Make sure to mix gently and slowly, as this method minimizes the bubbles in your resin mixture.
Silicone or plastic mixing sticks are also a better option when compared to wooden mixing sticks. This is because wood is porous and can create tiny bubbles in your mixture. Silicone and plastic mixing sticks are also easier to clean and last much longer.
Your Resin’s Temperature Is Important
You also need to control the temperature of your resin. Resin naturally heats up after part A and part B are combined. Here’s how to prevent your resin from heating up too fast or too much:
- If you need to heat your resin, say it’s a very cold day, then do so before mixing your resin. Weigh out the amount you need and then heat parts A and B in separate containers filled with warm water. Once warmed up, combine the two parts and mix as usual.
- Be careful not to make your resin too hot. This will decrease the working time of your resin because it will start curing at a faster pace. Flash curing is also a possibility when you overheat resin.
- When mixing a large amount of resin, use a container with a bigger surface area – not a deeper container but a wider container. This allows more space for the heat from the chemical reaction of the resin to escape and will prevent overheating and flash curing.
Use a Timer
Resin has a limited working time; after this, it will quickly start to congeal and harden. Read the instructions for your resin and set a timer for the amount of working time your resin has.
This will ensure you know how long you have left to work with your resin and won’t have it going hard halfway through your project.
While you may think this isn’t that important, it is very easy to lose track of time while choosing colors and preparing everything, so having a timer will keep you on track and make sure you don’t run out of time.
Keep Baby Wipes Close
Spills are inevitable, and baby wipes are a lifesaver! They are very convenient for wiping up spills from your work surface or around your molds.
You can also use them to wipe your mixing sticks and containers. You can then use some acetone to clean them thoroughly, leaving them as good as new.
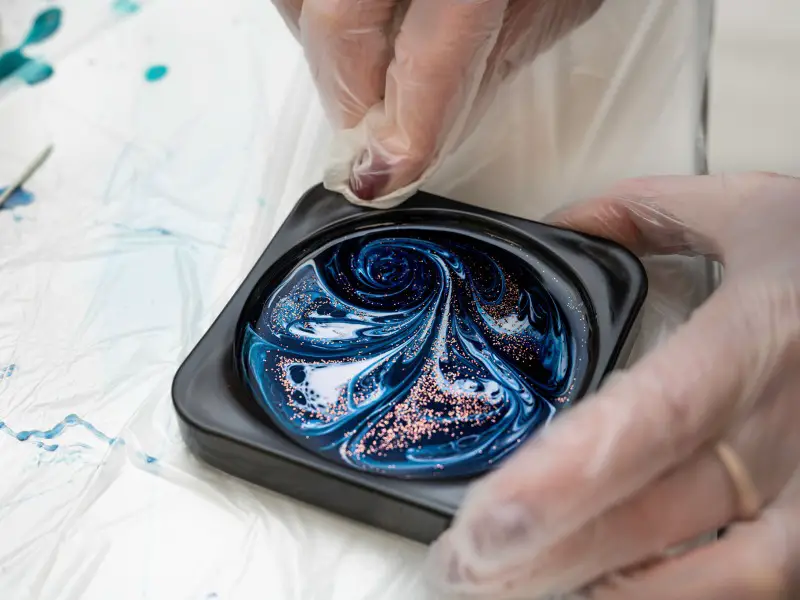
Don’t Work the Resin Too Much
Try to mix and pour your resin, then leave it alone! If you keep playing with it, you will only make it worse. If it’s not what you wanted, then rather start again.
Also, you might be surprised to find that someone else loves it as is. Different strokes for different folks!
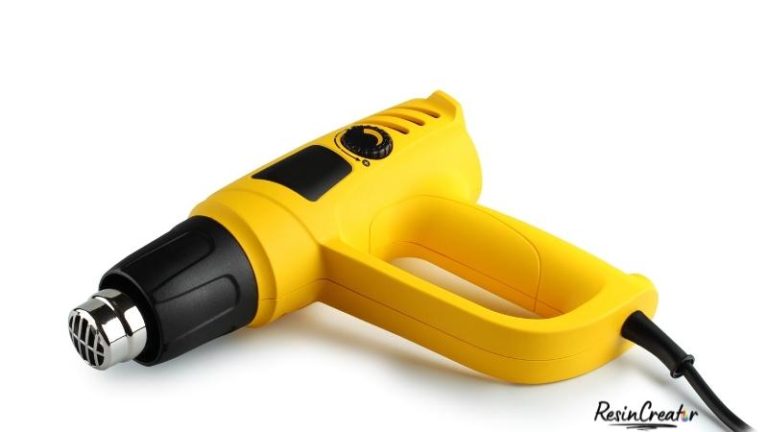
Be Careful With Heat Guns and Isopropyl Spray
Yes, they are helpful to get rid of surface bubbles in your resin. But too much of anything isn’t good:
- Too much heat will burn your resin and leave you with an uneven, wave-like surface. You only need the heat to remove any surface bubbles, not the flame.
- You only need a light spray of isopropyl to pop surface bubbles. Using too much isopropyl can result in your resin being unable to cure fully.
- Use both of these methods with caution.
Sealing Photos and Printed Inserts
Always seal your inserts with a good quality spray-on sealant. This will prevent the ink from running and ruining the insert when it’s covered in resin.
You can also opt to laminate these inserts before covering them with resin.
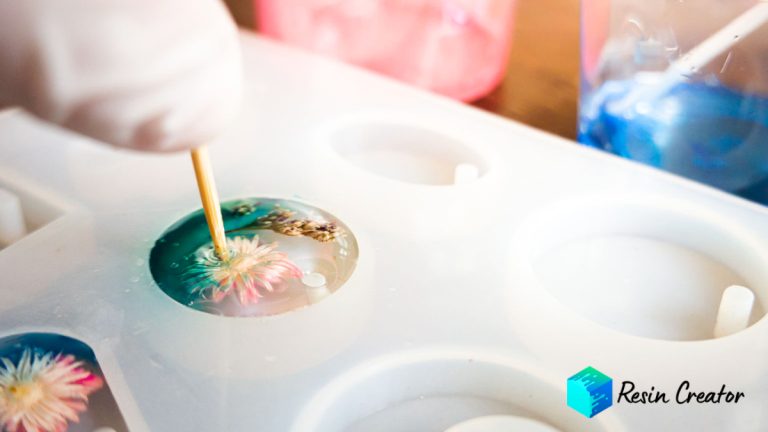
Adding Organic Inserts
The most vital point here is ensuring it is 100% dry. Whether it’s flowers, wood, fruits or foodstuff, etc.
There’s a high risk of organic inserts spoiling in resin. This is because it will be completely sealed into the resin with any water or dampness that it may still retain. Over time, this water or dampness will cause the insert to rot.
After Completing Your Resin Project
Beware of Dust!
You should try to do your resin projects in a clean space or, at the very least, cover them. The last thing you want to do is to return to find your beautiful resin art with a bunch of dust set into the nice smooth surface.
This is particularly important on windy days. You may not think that the wind will affect your art if it’s inside, but the wind has a way of stirring up dust, which can still affect your art even if it’s inside. Just wait for a calm day if you are making something big that you can’t easily cover.
Keep a Spare Mold Close By
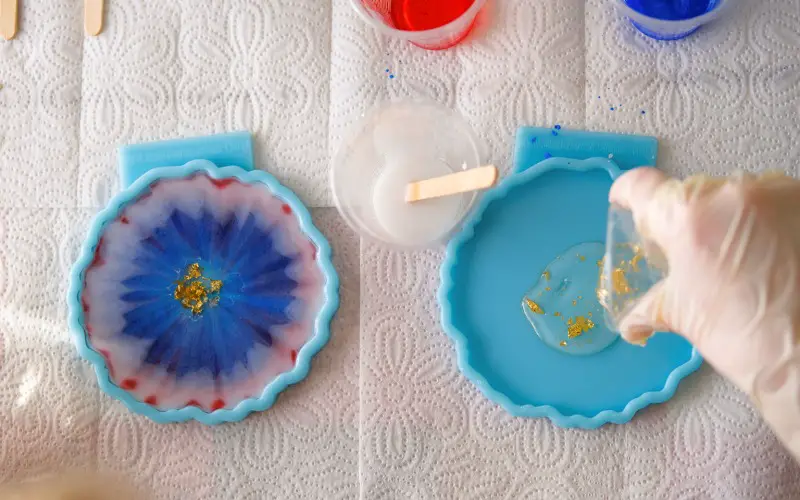
You’ll likely have some leftover resin after pouring your project. So it’s a good idea to have an extra mold close by and to pour your leftover resin into it.

You can either use a small mold such as a keychain. Or something bigger you can continuously use to pour your excess resin into.
And eventually, once it’s full, you’ll have a one-of-a-kind piece made from resin that would have ended up in the trash!
Be Mindful When Storing Your Molds
Silicone molds can last long if cared for properly.
- Store your molds in plastic bags to prevent dust and dirt from accumulating on them.
- Always place your molds on a level surface when not in use – this will prevent them from warping.
- Keep them away from heat and direct sunlight, which will weaken your molds and cause warping.
Final Thoughts
Sharing is caring, and we’re delighted to share our learnings and experiences with you, our resin family.
If you have any tips or tricks to share with us, please comment below. We’d love to hear from you!