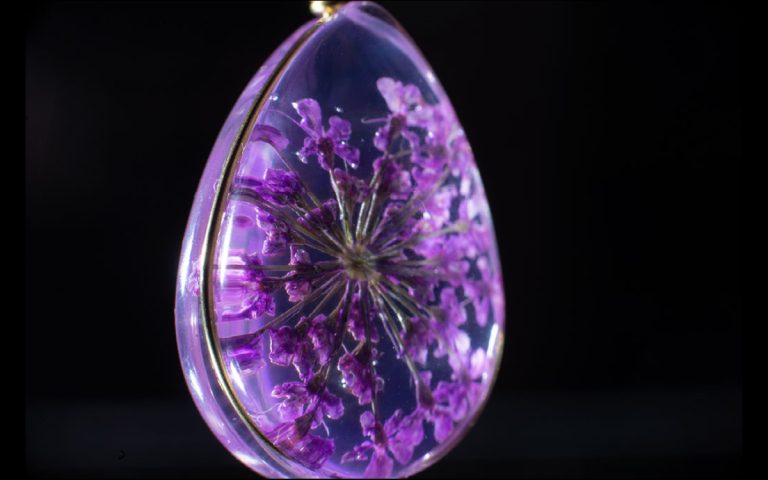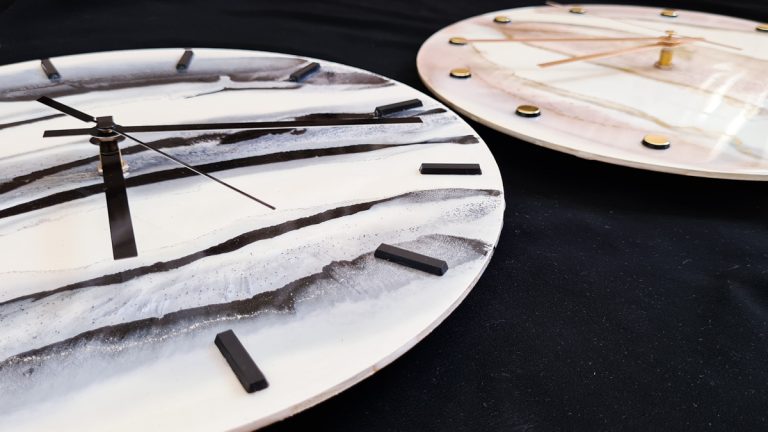
How To Get Bubbles Out of Resin: 11 Different Methods
Cured bubbles in your final resin piece are one of the most frustrating things resin creators have to deal with. Not only is it unsightly and takes away from the clear finish most artists are after, but it also compromises the integrity of your piece and can bring down the value of your art—if you’re trying to sell your work.
Though these bubbles can be frustrating and may feel hard to avoid, there are many things you can do during the different stages of creating your piece to either prevent them from forming in the first place or remove them after they’ve developed.
This article will focus on all the nifty tips and tricks you can try to keep resin bubbles at bay. But before we jump into the ways to fix resin bubbles, let’s first look at why they form in the first place. Understanding how they form and where they come from is valuable information for preventative measures.
So, let’s get started.
How Are Resin Bubbles Formed?
When it comes to resin, bubbles are one of the significant problems crafters have to deal with. These bubbles might appear for a variety of reasons. The following are the most common reasons why these bubbles form in your resin:
Cold Temperatures
It’s essential to keep your workspace and resin craft project at a temperature between 75 and 80 °F, a little warmer than room temperature. This is because the consistency of epoxy resin is similar to honey, and it is crystal transparent.
However, if the resin is cold, it may have a thick, clumpy consistency that makes working with it challenging. Due to the numerous microbubbles, it may also appear milky or foggy. Using a torch won’t be able to get rid of these bubbles.
To avoid this, it is always recommended to work in the warmest room in your house and to heat the resin and hardener in warm/hot water before attempting to work with it.
An easy way to remove imperfections from resin is simply submerging the resin and hardener in hot/warm water before using them. This procedure, known as degassing, is merely changing a liquid’s viscosity so that any air present in the normally thick substance rises to the surface as bubbles and pops!
Off-Gassing
Depending on the temperature and atmosphere, organic materials, including wood, porous materials, leaves, and some low-quality paper, release air or moisture. Even after you encase these materials in resin, they emit air.
This procedure, known as off-gassing, causes bubbles to develop in the resin. These bubbles sometimes appear hours after you’ve poured and torched the resin.
Reactions
An interaction between the resin, photo paper, and the mounting glue can be the culprit behind bubbles in your resin. Micro-sized bubbles can form as a result of this reaction.
How To Remove Bubbles From Resin?
The most upsetting thing for an artist is to put endless hours into their craft only to see results that fall short of their expectations. Bubbles in your art could ruin the overall aesthetic of your piece, not to mention lower its durability. That’s why removing the air bubbles from the resin is essential before it hardens.
Select the Right Resin
Choosing the appropriate resin for the type of work you are doing is crucial. For instance, a thinner resin is excellent if you want to cast it in molds or bezels since it has a low viscosity and a decreased likelihood of forming bubbles.
However, don’t worry if your mixture still contains a few bubbles. The bubbles will easily escape because your resin and hardener mixture is thinner.
Because castings often have a high viscosity, the thicker resin creates bubbles. Therefore, you’ll need extra care when working with casting resin to prevent bubbles from forming and to remove the bubbles before the piece hardens completely.
You can read more about the different types of epoxy resin for art here to ensure that you select the suitable resin for the project you have in mind.
How To Deal with Bubbles in the Mixing Stage
The mixing and pre-mixing stage usually forms most resin bubbles. Though bubbles are prone to develop during this stage, there are a few things that you can do to prevent this from happening. Let’s take a look at what you can do to prevent bubbles from forming:
Pre-Heat Resin
As mentioned earlier, resin bubbles are more likely to form in cold resin due to the resin being thicker and harder to work with. Therefore, ensure that your resin is roughly at room temperature before starting your project. This will ensure that the resin is easier to handle and will lessen the chance of bubble formation.
If your resin bottle feels cold, you can warm it in a warm water bath for about 10 minutes. Just be sure to check the lids of the resin bottles. If they are entirely sealed, moisture will enter the bottles, and we want to avoid that.
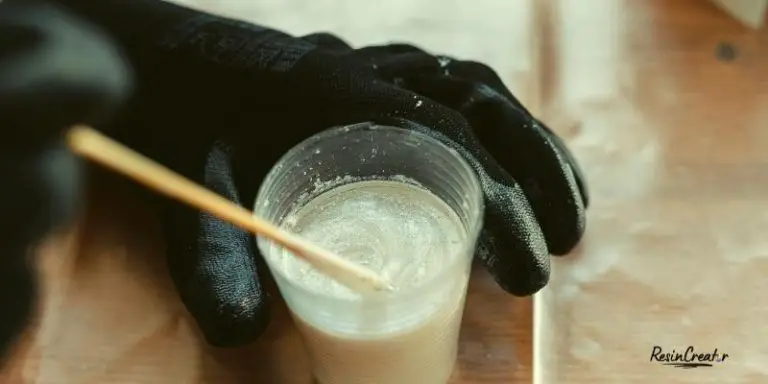
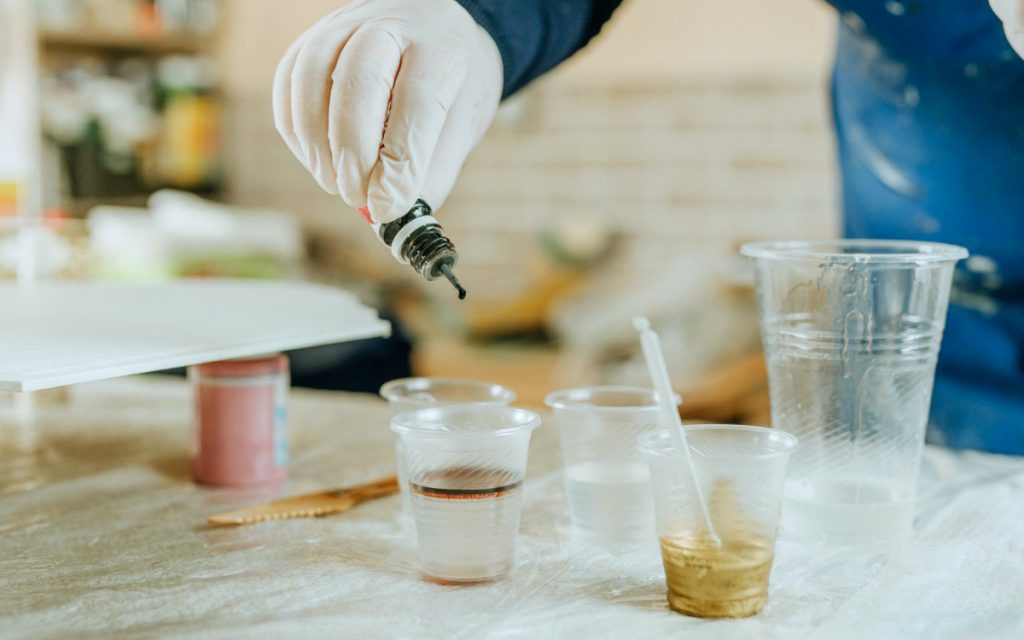
Mixing the Resin and Hardener
There are numerous resin brands available, and each one has a unique surface tension as well as a varied mixing ratio. Some resins are more prone to bubble formation, while others are less likely to form many bubbles. When you combine the resin and hardener, it is the stirring process that, if done carelessly, frequently results in bubbles.
Mixing resin gradually is essential, just like you would when incorporating egg whites into a cake. While mixing the resin and hardener thoroughly will take more time, if you take your time at the beginning of your project, you will be less likely to need to remove air bubbles from your poured resin creation.
Also, take caution when pouring your resin into the mixing cups. Only pour small amounts of resin into the cups at a time; slowly pour a little of the resin to avoid bubble formation.
You can also pour the resin into the cup by tilting the cup and allowing the resin to seep into the cup down the sides. This will lead to fewer air bubbles getting trapped in the resin.
Plastic Mixing Utensils
Although wooden mixing sticks are popular among resin crafters, we advise using plastic mixing utensils. This is because wooden sticks are porous and could release tiny micro-sized bubbles in your resin, whereas plastic utensils are not porous and easy to clean and reuse.
Find other Resin Supplies Here…
Monitor the Temperature of Resin, Surface, and Surroundings
The recommended temperature for curing resins is between 70 and 75 °F. But, of course, it isn’t practical for everyone to have heaters on all the time to keep the temperature at the ideal range for resin; instead, choose to heat a small area of your home, such as a closet or bathroom.
For this, a portable heater may be more than adequate. Another great idea for smaller resin crafts is to create a “hot box,” especially if you want to cast the resin in molds or bezels.
How To Deal With Bubbles in the Pouring Stage
To prevent bubbles from forming during the pouring stage, you can do the following:
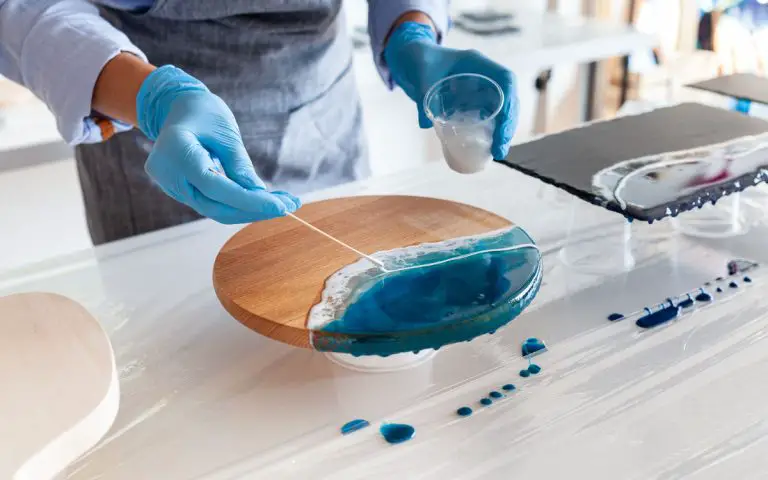
Pour the Resin the Right Way
In the pouring stage, it’s important to pour the resin correctly to prevent bubbles from entering your art piece. Start by pouring the resin right in the middle of the cast while you hold the pout 2-4” away from the surface to ensure even distribution. Afterward, you can pour the resin in circular motions, clockwise or anticlockwise.
When pouring a layer, avoid pouring the resin over itself. First, complete the layer and allow it to even out; use a heat gun to eliminate the bubbles, and then pour another layer on top. If you use thick resin, it can help to pour the resin into thin layers. Only fill 1/8” at a time.
Also, when pouring the resin, be sure to pour it as close to the surface of the mold as possible. Also, remember that resin art is a delicate process. You’ll want to pour slowly to prevent bubbles from getting trapped in the piece.
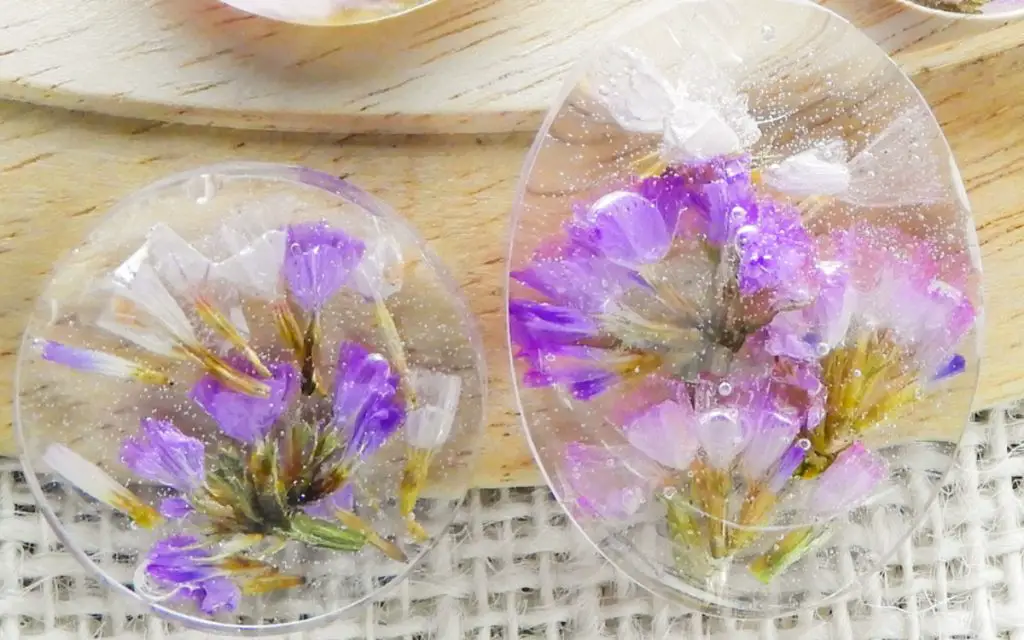
Inclusions
If you use inclusions in your piece, seal them off by applying a resin layer over them and allow them to dry properly before adding the inclusions to the mold. This will ensure that your inclusions release only tiny microbubbles into the resin during the curing process.
Powder to Break the Surface Tension
Some resin crafters use a helpful trick to eliminate the surface tension that will prevent resin bubbles from forming is to apply either baby powder or dust a small amount of resin powder (e.g., Micra powder) into the mold before you pour the resin.
Additionally, pouring resin around the mold’s perimeter before you fill it with resin will stop air bubbles from forming on the sides and leaking into the center.
How To Deal with Bubbles After Pouring
After you’ve poured the resin into the mold or onto the surface you’d like it to stick to, you can remove trapped air bubbles in the art piece in the following ways:
Let Bubbles Escape Naturally
Resins and hardeners with a thinner viscosity are unlikely to form many bubbles. However, if any bubbles form, give them time to escape from the resin surface naturally.
Because the resin and hardener mixture is thinner, the bubbles tend to release more readily from the surface of the resin, which is why they naturally escape. But it only applies to thinner resin combinations; it does not apply to thicker resins.
For furniture construction, sculpture creation, and doming projects, thicker resins are typically used. With thick casting, they hold bubbles. Avoid this by pouring the resin in thin layers at a slow speed. Allow each layer three to four hours to dry before pouring the next layer.
Manually Target Stubborn Bubbles
If you’ve tried everything you can to avoid bubbles from forming in your resin piece, but there are still some bubbles left, there are different ways to remove them manually. We’ve listed each of these methods below:
Method 1: Heat Gun
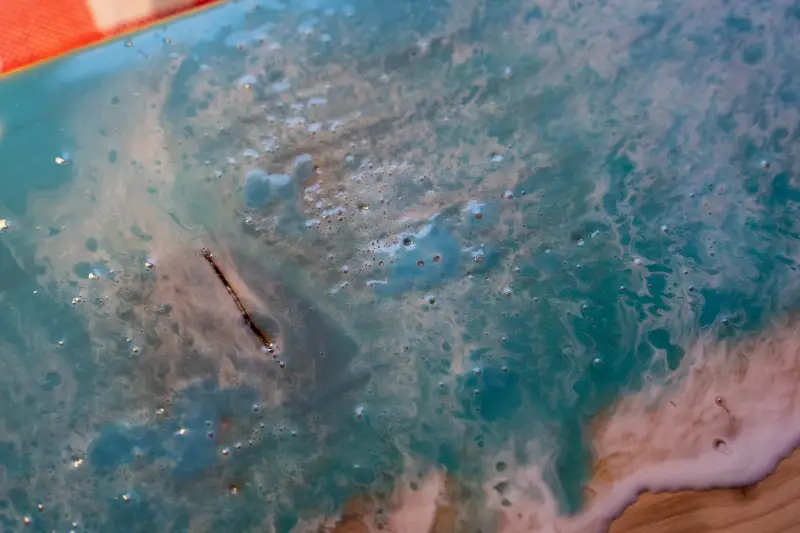
Heat guns are the most effective ways to remove bubbles in the resin. The heat applied to the resin softens it and allows the bubbles to burst when the heated air breaks the surface tension of the resin.
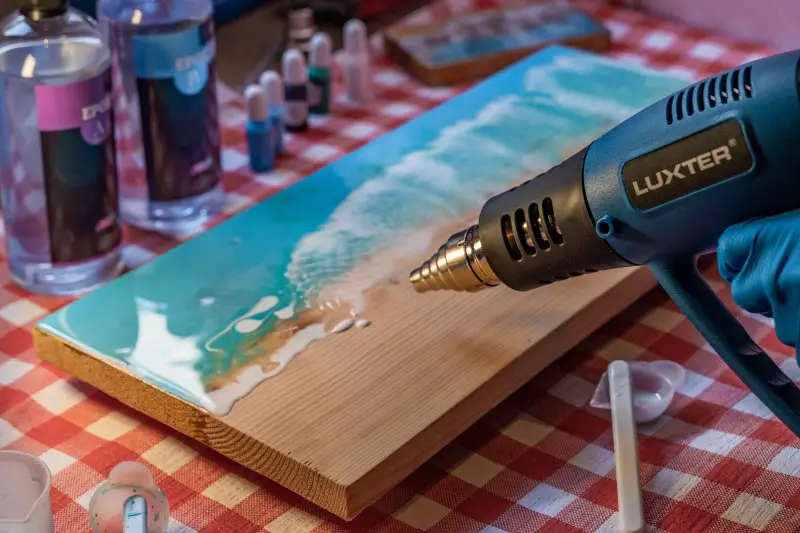
Most resin projects can benefit from using a torch; however, it is not recommended for use with silicone molds or alcohol inks because it uses an open flame.
Alcohol inks are flammable and can catch fire, whereas silicone molds can melt when exposed to an open flame. Therefore, heat guns are more appropriate in these circumstances.
You can also use a lighter to release trapped air bubbles, but like a torch, it is less safe and not recommended for use with silicone molds or alcohol inks. When it comes to using heat to burst air bubbles, heat guns are often the safer choice.
Find the best heat guns for resin here…
Method 2: Use a Hairpin or Toothpick
You can use a pin or a toothpick to remove air bubbles manually, but this can be a tedious process and only works well on microbubbles.
Pressure or Vacuum for Removing Resin Bubbles
One of the most reliable ways of ensuring that there are no bubbles in your artwork is to use either a pressure pot or a vacuum chamber to compress all the bubbles until they are invisible or suck all the gas out of your resin.
Use a Pressure Pot
A pressure pot is another way to remove resin bubbles. However, this method only applies to smaller projects.
If you want to opt for a pressure pot, take note that you must pour the resin into the mold first before placing the resined mold in the pressure pot. Then, the pressure pot will degas the resin and remove all the bubbles. Pressure casting essentially crushes the air bubbles in the resin by applying pressure.
NOTE: Make molds under the same pressure, or deformation may occur.
Use a Vacuum Chamber
A vacuum chamber is not a tool that is accessible to everyone and can be very expensive, but if you do have access to one, you could use it to degas your resin art. However, this method is perfect for small and relatively large projects, unlike a pressure pot that is only suitable for small-sized projects.
The mixed resin goes in a container, which is subsequently put inside the vacuum chamber to degas. Therefore, the resin storage container must have three times the original volume.
The resin bubbles get vacuumed out, causing the bubbles to rise and finally burst. Usually, this procedure takes a few minutes.
NOTE: Vacuum degassing is not ideal for resins with short working periods.
How To Remove Bubbles From Dried Epoxy
Removing bubbles from resin after the resin has cured can be tricky, but in some cases, it is possible. To remove the bubbles, you can follow the sand and repour technique.
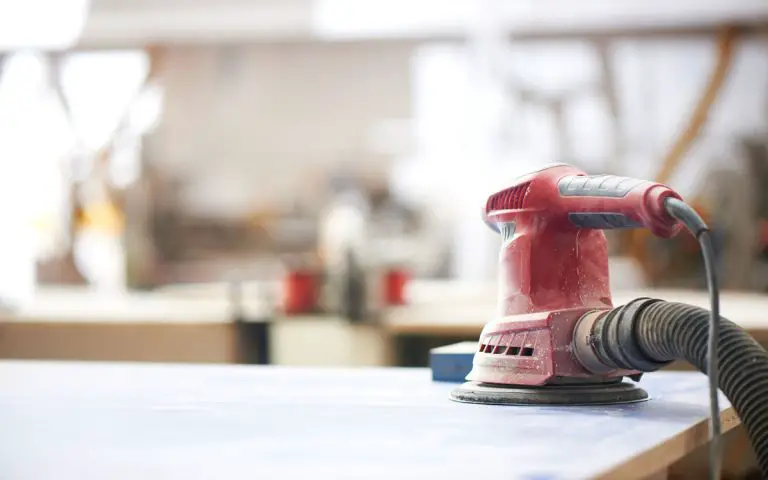
Sand-Out and Repour
Resin bubbles formed in the center of the mass can be impossible to remove after the resin has cured. However, if the resin bubbles are only on the surface or near the surface of the cured piece, it is possible to remove them by sanding the piece and then reapplying a resin coat on top of the sanded layer.
Final Thoughts
Resin bubbles can be a nuisance, but they don’t need to ruin your artwork completely.
There are many ways to either prevent them from occurring or remove them before the resin cures. Removing some bubbles might be possible after the resin has cured by sanding the piece down and adding a new resin layer to your art.
We hope this article was insightful and that you are now armed with the knowledge to create your best resin project.
Thank you for taking the time to read our article, and don’t forget to share it with your fellow resin creators.