How to Clean Resin Cups: The Complete Guide for Beginners
Whether you’re an aspiring or a seasoned artist, you most likely wonder how to clean resin cups.
You probably love to create jewelry and other crafts out of resin. Making your incredible resin art pieces may be a source of happiness for you, but it can be pretty stressful when it’s time to get rid of leftover resin and clean out your resin cups for their next use.
This article will teach you everything you need to know about how to clean resin cups. So keep reading to learn the most straightforward ways how!
How to Clean Resin Cups
There are two simple ways to clean resin cups:
- Clean out the resin from the cups when it’s still wet. You can do this by using alcohol and acetone.
- Clean the resin after it dries out. This is done by sliding the resin out of the cup or placing the cup upside down.
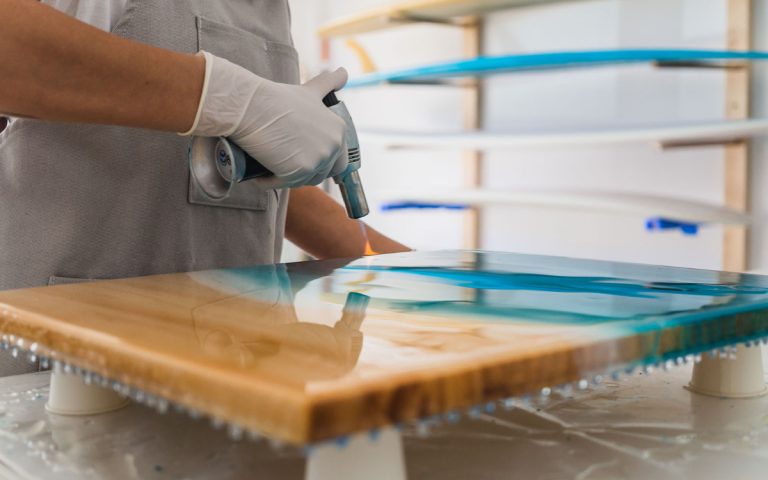
Resin has common uses for arts and crafts purposes, and the most commonly used is epoxy resin. However, epoxy resin hardens quickly and is far more expensive than other resin, and it’s more difficult to remove.
The process of cleaning resin cups and how to clean epoxy resin cups are almost the same. However, it is best to be quick when cleaning an epoxy resin cup.
Let’s discuss how to clean epoxy resin cups in detail!
How to Clean Wet Epoxy Resin Cups?
It would help if you were careful not to spill any resin on your table and floor while cleaning your wet epoxy resin cup. Spilling resin can also ruin your furniture and belongings.
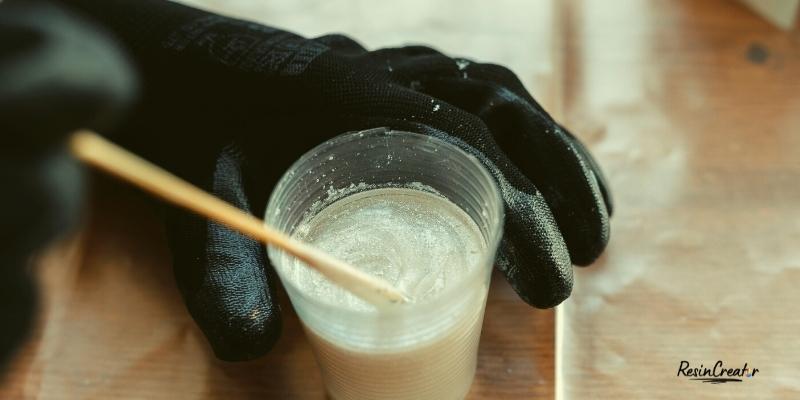
Cleaning wet resin is a lengthy process, so you must be prepared. You’ll need the following to clean your wet resin cups:
- Gloves
- Paper towel
- Alcohol or acetone
- Hot soapy water
Procedure
- Wear gloves to prevent resin from gluing itself to your skin. Resin on your skin can cause dermatitis, which is a long-lasting illness. Symptoms of the condition include itching, swelling, and blisters.
- Use a paper towel to wipe off any excess resin leftover in your cup. Try to clean as much as you can with a paper towel. The bottom and the sides of the corner are places where it can be tricky for you to clean out the resin.
- Use alcohol or acetone to wipe off the remaining resin from the cups. Put alcohol or acetone on your paper towel and thoroughly wipe the cup. Again, do not forget to run your fingers firmly through the corners and the bottom of the cup.
- After cleaning every bit of the resin from the cup, dip your cup in hot soapy water for a few minutes. Then, rinse it thoroughly so there is no resin left in your cup for the next time you need it.
- Tape the leftover resin and throw it in the trash. This way, it will not get into your sinks and block them.
How to Clean Dry Epoxy Resin Cups?
Cleaning resin after it dries is more manageable than cleaning it when wet. However, it can also be a bit tricky.
You’ll need the following to clean a dry resin cup:
- Gloves
- Wax paper or a shower curtain
- Wooden stick to hold the resin in place
Procedure
- Wear gloves as resin can harm your skin, as discussed above.
- Place a wax paper, a silicone mat, or a shower curtain on your table to prevent the resin from damaging your furniture.
- Place the resin cup upside down on the shower curtain. This will cause the leftover resin in the cup to flow down to the bottom.
- Let the resin set for 24 hours. This allows it to dry up entirely.
- Once it dries up, you can pick up the cup and see that all the resin has come down to the bottom. Pull the resin out, which will come out in a molded shape.
- Use your hands to roll the cup if the resin does not come at the bottom and gets stuck to the cup’s walls. Wiggle it a bit, and then you should be able to remove resin from your cup.
- Another way to take out dried resin is to place a wooden stick in the cup (use the wooden stick you usually use to mix a resin solution). Once the resin dries, you can wiggle the stick to pull it out. The molded resin will come out of the cup and attach to the wooden stick.
- Please don’t dispose of resin by draining it down the kitchen sink or flushing it down the toilet. That’s because the resin can harden and block your pipes. This can lead to a hassle as you’ll have to call a plumber to fix the drainage system.
Why Is It Essential to Clean Resin Cups?
People who usually use resin for different purposes know why it’s crucial to clean resin cups after using them.
Cleaning resin cups is essential because this cuts your costs down, prevents mess, and protects the environment. Let’s discuss why it’s necessary to clean your resin cups in detail below:
- Plastic is currently one of our planet’s biggest problems. People often use plastic cups to make resin solutions, and wasting those cups can harm the environment! Silicone and disposable cups are equally harmful to the planet when you dispose of them in large quantities.
- Epoxy resin can create far more mess than you can ever imagine. If it sticks to any surface, it takes forever to come off. And even when it does, it ruins the surface or material it gets stuck to.
- When you remove the resin while cleaning your resin cups, you can reuse your cups for your other projects. Reusing is easy and saves you additional costs on materials.
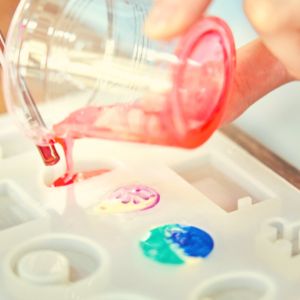
Types of Cups You Can Use for Resin
You can choose from various cups and containers to mix resin and use them for resin art. Many digital companies and physical stores provide a wide range of cups and tools to use resin for your handiwork.
Artists usually use these three types of cups to mix resin:
- Paper Cups
Paper cups are disposable and easy to come by for single-time use. However, to use paper cups for your resin, you’ll need to have them available in bulk because you won’t be reusing them.
Paper cups can significantly harm the environment
as excessive waste is not suitable for the environment. Therefore, it is better to reuse and recycle your materials as much as possible.
- Silicone Cups
Silicone cups are easy to use, and when the resin stuck to them dries up, you can easily clean them out for future projects. You can clean the silicone cup using a paper towel and alcohol, and it’ll be ready to get reused.
Cleaning these silicon cups can be a bit tricky, but they’re an excellent way to avoid the cost of buying more disposable plastic or paper cups. You can also avoid making a mess when cleaning these cups by wearing gloves.
- Other Containers
Many people use reusable containers for resin mixing and using. For example, you can reuse yogurt containers, pet food containers, baby food containers, and frozen food containers for epoxy resin mixing.
PRO TIP: Check for the ‘PP’ or ‘PP 05’ sign at the end of these containers to ensure they are reusable. .
‘PP’ means polypropylene, meaning the container is a thermoplastic polymer. The thermoplastic polymer is a strong plastic highly resistant to heat, so you can reuse it to mix the resin.
To clean them, let the resin dry up, and then squeeze the containers for the resin to come out. These containers are affordable, and you can reuse them several times (depending on how well you clean them).
How to Clean Resin from Your Hands and Skin
When working with resin, you should always be careful that it does not stick to your hand. Wearing safety gloves is the best way to avoid this situation.
Some artists also prefer to wear face masks to avoid inhaling resin.
It is not the end of the world if resin gets glued to your skin, but it can be dangerous if inhaled or swallowed. So, be extra careful not to inhale or swallow resin.
For your skin, you should avoid things like vinegar, acetone, rubbing alcohol, or alcohol wipes, as these agents can corrode or dry out your skin. Instead, to clean resin off your skin, we recommend two easy and natural ways, which are:
- Use baking soda and dish soap: Pour one tablespoon of baking soda into your hands (don’t add water). Next, add dish soap and scrub your hands gently. Then, rinse your hands with water. Your skin should be free of resin now.
- Use a sugar scrub to clean your hands. To make a sugar scrub, you need two cups of sugar, half a cup of oil, and 15-20 drops of essential oil. Mix all of these ingredients and use them to scrub your hands. This is a fantastic natural method to get resin off of your skin.
Is It Safe to Drink from Resin cups?
Resin takes about 24 hours to set 90% and 72 hours to set 100%. So while making something out of Epoxy resin, you can handle your product after 24 hours and use it to hold food or drinks after 72 hours.
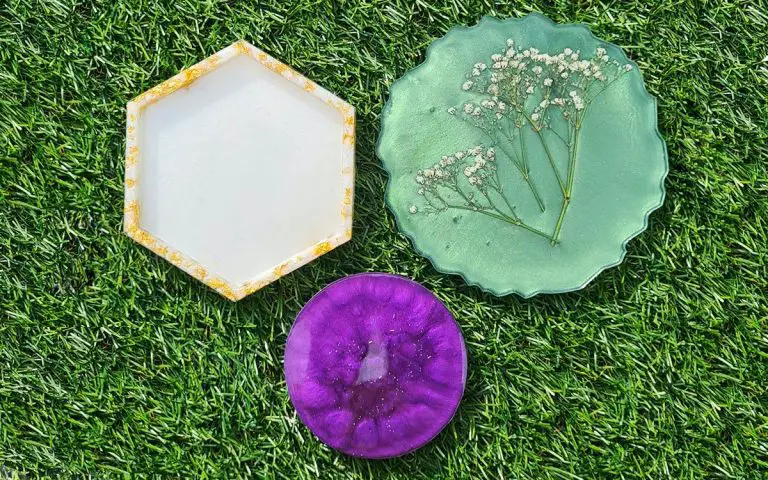
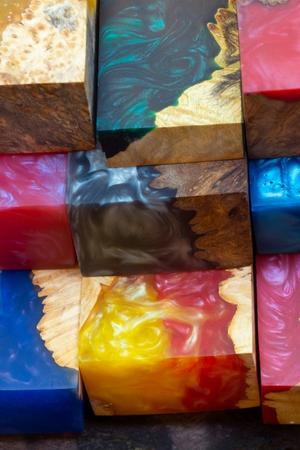
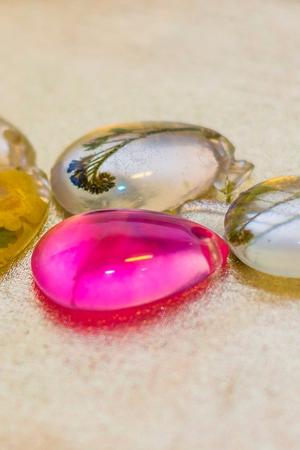
Two of the most commonly-made epoxy resin items are resin cups and mugs, which usually have different beautiful patterns and colors and have fun sequins and glitter as decorations.
You should let your epoxy resin cup/mug set for 24 hours before touching it to see if it requires amendments. First, however, you should consider the following facts before you drink from a resin cup:
- Epoxy is an element that can release harmful chemicals into our drinks, which can affect our bodies if the mixture doesn’t settle in the mold properly. It can cause symptoms like digestive problems, vomiting, and nausea. Swallowing any epoxy resin particles can also negatively affect your lungs and kidneys.
- If you touch the resin before it settles, it can harm your eyes, nose, and skin– whichever part of your body it comes into contact with. In addition, it is a compound that can cause itching and irritation to your skin when touched and irritation to your eyes and nose when you inhale. Therefore, you should always wear gloves and a mask when making something out of epoxy resin and touching it before it sets.
How to Cure Resin Quickly?
Cure your resin quickly by using these tips and tricks:
- Increase the temperature: Resin can cure rapidly in hotter temperatures, and the curing can slow down when the temperatures are colder. Recommended temperature to cure resin is 77 to 88 degrees Fahrenheit.
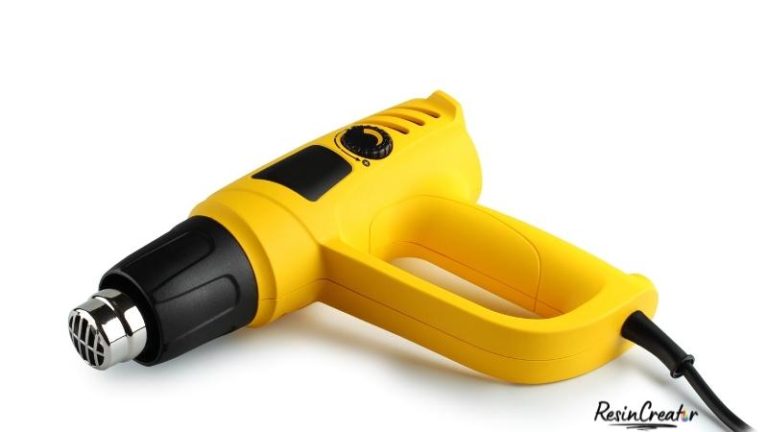
- You can place a heater or heat lamp near your resin artwork to help the resin cure faster.
- Keep the temperature the same for at least 24 hours to achieve maximum results.
Here’s what you shouldn’t do when curing resin:
- Don’t try to add more hardener for quick curing. There is a ratio of 1:1 for hardener and resin, and you shouldn’t change this.
- Don’t use other agents or chemicals to speed up the curing process. People tend to use alcohol for better results. This causes a harmful reaction between the two agents and can lead to toxins in the artwork.
Final Thoughts
We hope this guide helped you learn how to clean resin cups and what things you should keep in mind while using epoxy resin.
Share this article with a fellow resin art enthusiast!